Leaderboard

Incoming Velocity Build

VIP controls, 500k + 500k DPDT push/push + Switchcraft 3 way.

I was thinking because Morse uses 250k pots, maybe using the DPDT to add a ~500k resistor in parallel to the pots but am worried about messing with the taper. I’m also neither capable of nor too hung up on sounding like Steve anyway.

It is not too late to change any of this, I don’t mind drilling holes and buying guitar parts
 
Why not just use 250K pots to start with?

Without any extra holes a Freeway 3x3-03 or 3X3-05 Model switch would give you a six position toggle and, along with a DPDT push-pull can give you many options.
 
Well, both the Y2D and the DiMarzio site showed 500k pots and I figure that’s a good starting point for humbuckers generally.

The freeway switches are interesting. I think I will do a dual partial coil tap to avoid over complicating things.
 
Well, both the Y2D and the DiMarzio site showed 500k pots and I figure that’s a good starting point for humbuckers generally.

I know the DiMarzio site shows that, but as I recall I have a Y2D diagram from a while ago and that had 250K. The Musicman Morse I had definitely had 250K.
 
I know the DiMarzio site shows that, but as I recall I have a Y2D diagram from a while ago and that had 250K. The Musicman Morse I had definitely had 250K.
to add to the confusion, I double checked and sure enough found a new Y2D diagram that shows 250k!

Choices choices.
 
At this point I might slow down the build and rout a third pickup and go full Y2D clone electronically with a flange less DP117.
 
I contacted DiMarzio on my current build, which according to the DiMarzio web page, my mini humbuckers normally take 500K V and 250K T. But they said that a 500K T is perfectly fine. And the freeway toggle will get the switching you want. Pots and caps are easy enough to swap. Remember, you can't add tone to a pickup, you can only subtract.
 
Last edited:
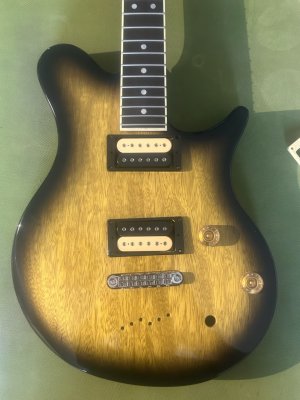
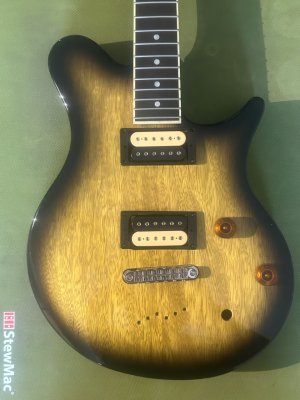
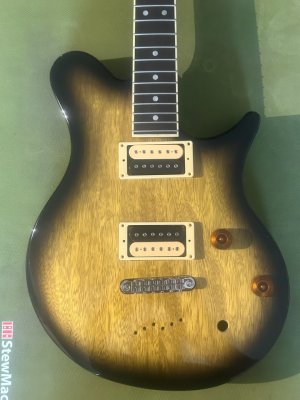
We have some color decisions to make:

Gold/crème:

IMG_6646.jpeg
Gold/black:
IMG_6647.jpeg
Amber/black:
IMG_6648.jpeg
Amber/gold:
IMG_6649.jpeg
 
I like the Gold knobs better because they are a good match to the body colour. Either color pickup rings are workable IMO.
 
Because there's cream in the zebra PUPS, cream rings match. As to the knobs either. If you want more contrast, then amber, more harmony gold. Anyway... knobs are easy to swap.
 
IMG_6655.jpegIMG_6656.jpegIMG_6654.jpeg

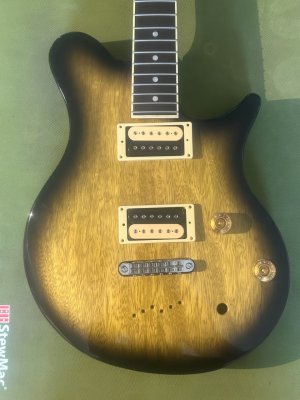
Here’s some nicer lighting, and I must say bravo Warmoth 👏👏

I am going to take my time and ponder electronics, maybe fish out some black speed knobs from the parts bin, find some 250k pots. No sense in rushing this one.

Initial thoughts:

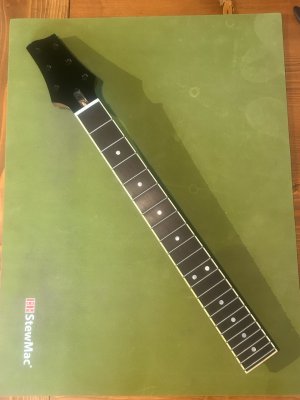
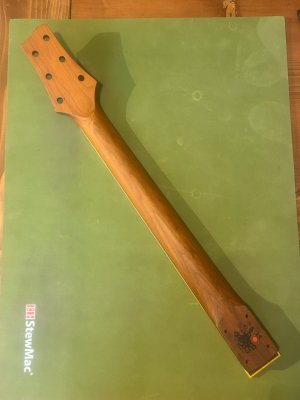
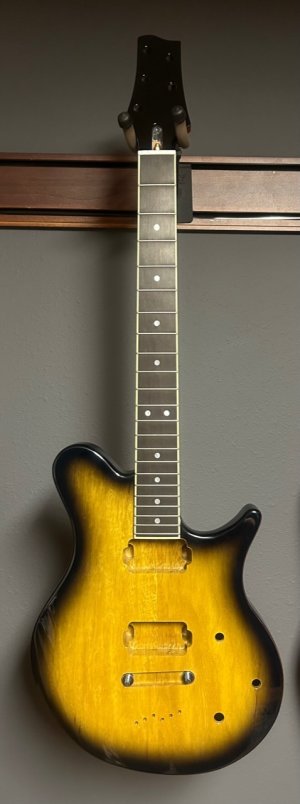
Build quality appears pretty darn good. Small amount of amber lacquer on the ivoroid binding at the 22nd fret is the only flaw I found. I had actually forgotten that I even specified vintage tint nitro for the neck due to the requirement for a rear finish when purchasing a painted headstock. It’s not enough of a concern for me to return an otherwise perfect looking neck. I’ll provide some closer pics later when we get to initial neck setup. Also, the ebony is really nice and even, I’m surprised as I did not opt for the “black” option.

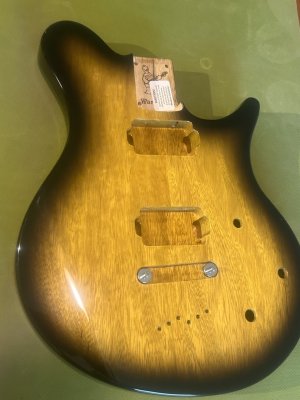
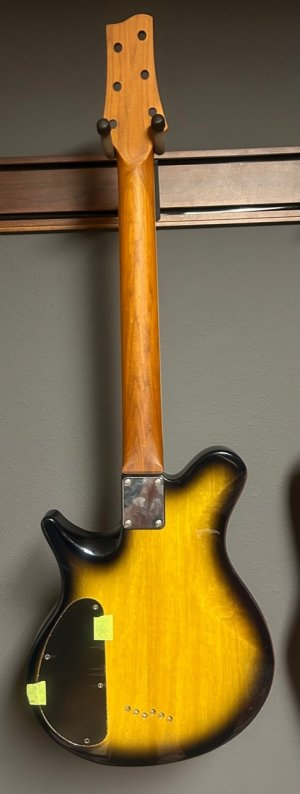
As for the body - past 3 months I have been wondering if I made the wrong decision changing the order from Tobacco Burst to Black-Yellow Burst, Sitting in my hands today, I absolutely love it. It adds a vintage-cranked-to-11 sort of charm to the more modern Velocity shape in my opinion, and the grain on this korina really flashes in the light.
 
At this point I might slow down the build and rout a third pickup and go full Y2D clone electronically with a flange less DP117.

That is a cool idea. If it is wired without the hum cancelling, it will be close to the proprietary single coil in the Y2D. Though if I was doing so I probably would keep the hum cancelling in place. ( no, I don't need ideas for another project or mod :)) My green mahogany strat is using a variation of Y2D wiring and there are diagrams in my build thread.

I would also think cream pickup rings as it also goes with the binding of the neck.

Remember, you can't add tone to a pickup, you can only subtract.

With passive volume and tone, this is the case, but an active circuit, whether with actives or passive pickups, can add tone.
 
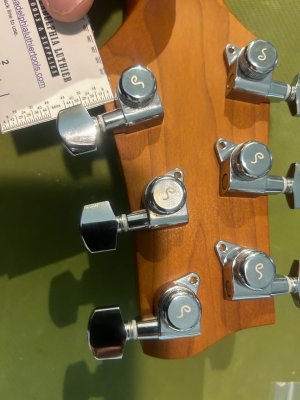
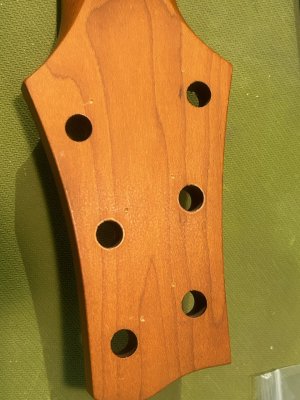
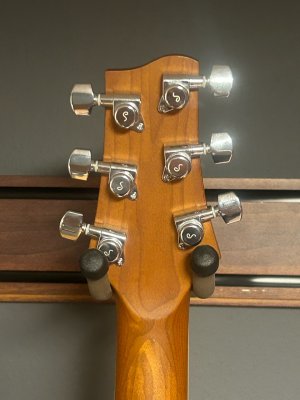
Tuners are in. I went back and forth on whether they should sit perpendicular to the centerline, a centerline through each side, or follow the curve of the Warmoth headstock. Ultimately I decided to follow the curve of the headstock. After loosely eyeballing it, I made sure the top and bottom of each tuner was equidistant to the edge profile and used a 1/16” drill bit with a hex shank in a screwdriver to mark the pilot holes, after which point the tuners were removed and the pilot holes drilled with a depth stop drill bit.

IMG_6664.jpeg
IMG_6665.jpeg

Here they are installed from the rear:

IMG_6668.jpeg

This is the first time I’ve done a 3x3, normally I am a Tele fanatic and that means 6-inline Klusons and a straight edge. Compared to Klusons (excluding Gotoh CARD) the Schaller install process is a joy. Really clever design, and thanks to Warmoths attention to detail I did not even need to remove any lacquer from the tuner holes. The fit was snug requiring only thumb pressure to seat the actual tuner housings, and the bearings went right in with a 10mm socket and a little elbow grease.
 
It's great to finally see some action on this project! Everything is coming along nicely. Another vote for cream rings/gold knobs from me. I like your decision to "contour" the tuners. I've gone back and forth in my mind when contemplating a Warmoth headstock neck. My current Tele/non-Tele build is most likely going to have a tiltback 3+3 neck ... I just can't decide which one! Anyway, those parts look awesome. I love the Schaller locking tuners.
 
I was not happy with the chalky appearance of the corian nut, so I polished it last night and oiled the fretboard. Next up will be the copper shielding.

There will be some delay in finishing as I decided to go with @stratamania’s advice, and I have ordered 250k pots + .047uf cap + a 6 way freeway toggle switch so I can get closer to Y2D wiring.

I am also looking at maybe just direct mounting the humbuckers for the time being by shimming the bottom of the screw holes and inserting a 2-56 threaded insert. I may 3d print something to help…

I also decided against a 3rd pickup route for now, but direct mounting gives me the flexibility to do so later without having to fill any holes I’d have to drill for the pickup rings.

With the 6 way, I will have one side of the switch wired typical (neck,neck+bridge,bridge) and the other side I am going to get creative with. One position will be a bridge coil tap, but I am toying with the idea of also putting the neck HB in parallel in one of the positions, or maybe doing two parallel positions and one split coil. Experiments will have to be conducted!
 
Back
Top