Leaderboard

Crackle Finish Project

neverstock

Junior Member
Messages
50
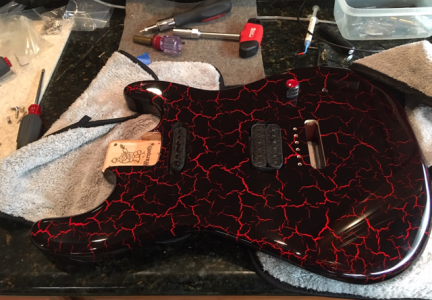
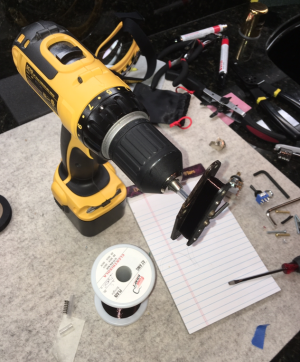
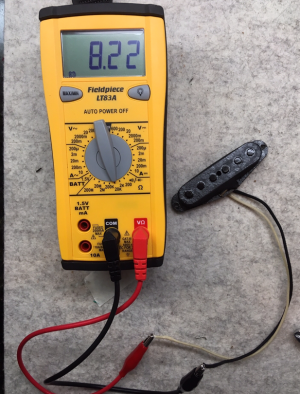
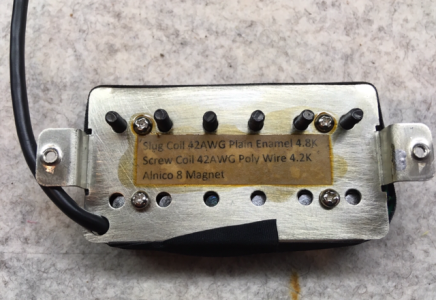
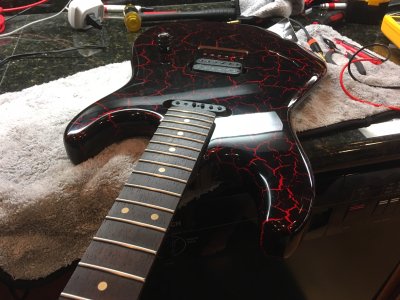
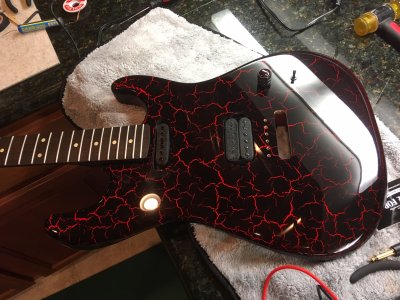
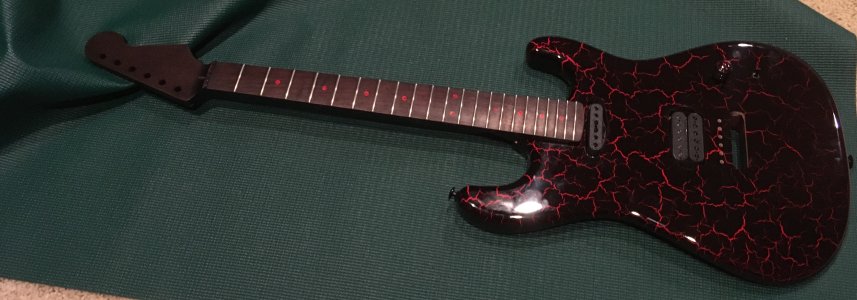
The Red Crackle is an inspiring finish in person. This an alder body, and I felt it looked like the top of lava flow. So I was inspired to wind pickups for it and decorate them as lava rocks using a black lacquer pen. The pickups have some interesting specs. Wound the single coil to 8.22k with 42AWG plain enamel wire in order to match the 9k bridge humbucker better.  The humbucker is wound asymmetrically with poly on one coil and plain enamel in the other.

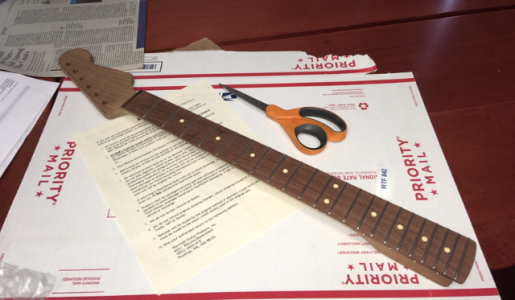
Have a really nice sounding toasted maple/ Madagascar Rosewood neck for it- rings like a marimba key.  It it is the wrong color for lava flow.  I will look to color it with potassium permanganate and/or transtint dye.


Attachments

  • PNG image.png
    PNG image.png
    737.3 KB · Views: 56
  • PNG image.png
    PNG image.png
    1,013 KB · Views: 17
  • PNG image 2.png
    PNG image 2.png
    542.3 KB · Views: 24
  • PNG image 3.png
    PNG image 3.png
    1.1 MB · Views: 9
  • PNG image 4.png
    PNG image 4.png
    704.6 KB · Views: 13
That does look sweet and the pickup idea is cool :icon_thumright: Looking forward to following the progress on this build.
 
Thanks guys. Pickup wiring is done. 

- Push Pull Volume / Pickup Selector (George Lynch style)
- 3 way DPDT mini-toggle for  series/split/parallel for bridge humbucker.

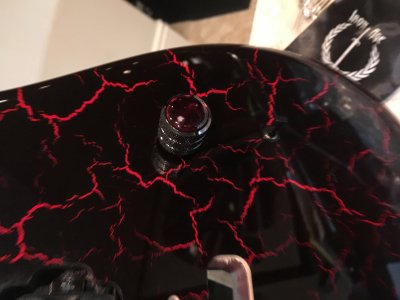
Iron Age "Roman Red" Knob decorated with some black lacquer to match the finish.


Attachments

  • IMG_8864.JPG
    IMG_8864.JPG
    1.9 MB · Views: 24
Potassium Permanganate didn't do much for my neck, but it was fun watching it react with the hydrogen peroxide after.

Maybe because the maple was already roasted, or someone maybe treated the fretboard with oil. Not sure why it didn't do much.

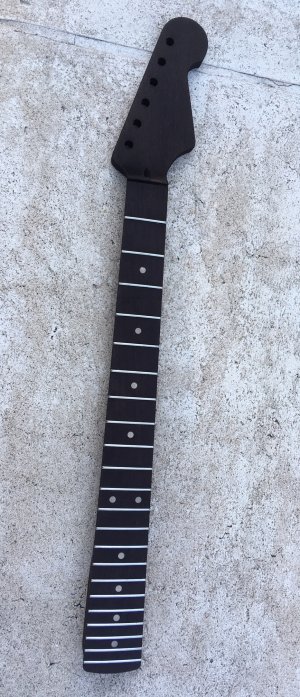
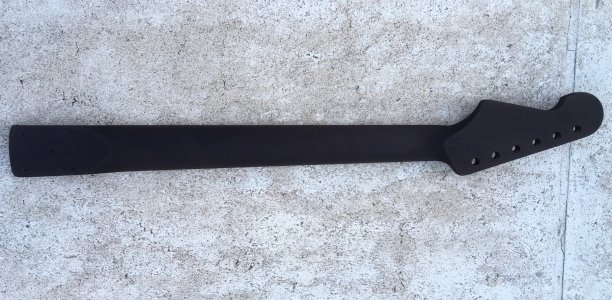
So went to Transtint black dye in rubbing alcohol. There's a point where it stops looking natural. But that's ok with this guitar, and it was quick and easy.

Matches the body much better now. Not sure yet how I'll finish the neck.

Edit: the process started with the Potassium Permanganate attempt - that only dissolves in water - so that attempt raised the grain a lot.  I then dry sanded it back to 600, which is far beyond the recommendation I think, but dye is molecularly so small I didn't think 600 would block the dye from working. I also took the fingerboard to 600. I applied the dye with a microfiber cloth, and used about 0.4-0.5 oz Transtint in a shallow dish of just few ounces of isopropyl alchohol,  So the dye was fairly concentrated, especially at the end.


Attachments

  • IMG_8874.jpg
    IMG_8874.jpg
    1 MB · Views: 35
  • IMG_8875.jpg
    IMG_8875.jpg
    986.5 KB · Views: 31
Damn, that looks great! I've often thought about how a dark dyed neck would look. Now I know. It's cool.
 
Wow - that neck looks like it's made out of charcoal! 
I didn't realize you could get such a deep, even dye onto/into maple...
 
I suspect the potassium permanganate was ineffective on maple is the absence of tannins in the lumber.  The "aging" is effective on oak, cherry, mahogany, and other species that are higher in tannins, which provide the chemical reaction with the KMnO4  salt. 
 
That could be - I wasn't sure if tannins were absolutely necessary for KMnO4 as there are some reports of people doing it on Madagascar rosewood with good effect.

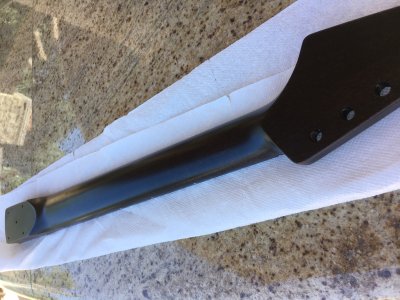
I brought back some of the natural grain and highlights so it looks more like wood. Roasted maple, so just a few Tru-Oil coats will be all, and I will decide on wax later. 

I let the dye set and dry for 24 hours, sanded to 600, and now First Tru-Oil coat is on, and will let it cure for 24-48 hours. The fingerboard got one thin coat of Tru-Oil as well.


Attachments

  • fingerboard with 1 coat tru oil.JPG
    fingerboard with 1 coat tru oil.JPG
    795 KB · Views: 17
That fretboard is a nice rich color, now. I take it that the rest of the neck similar, then?
 
Not as much as the fingerboard - I sanded the fingerboard back a bit more as there is more to see there. The back of the neck is darker, but there was not much grain or figure anyway. 


Attachments

  • back of neck after 1 coat Tru Oil.JPG
    back of neck after 1 coat Tru Oil.JPG
    477.9 KB · Views: 18
That looks good. If it's like leather dye, it'll warm slightly when you put something on it.
 
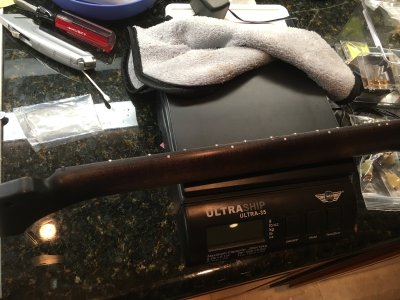
2nd coat of True Oil on the back of the neck now, but took the opportunity to mock it up a bit. Really like how the fingerboard is turning out. The True Oil is curing but taking longer than the maple part of course.

Just waiting on Hipshot to send me the bridge and tuners.


Attachments

  • IMG_8891.JPG
    IMG_8891.JPG
    995.2 KB · Views: 19
  • IMG_8894.JPG
    IMG_8894.JPG
    1.1 MB · Views: 20
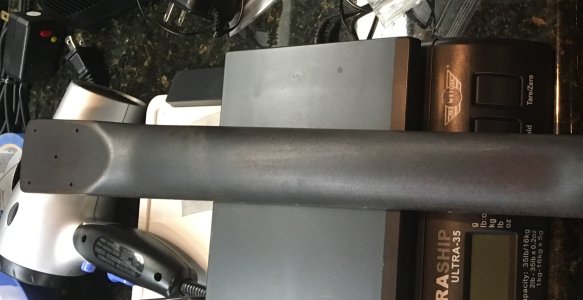
Thank you. 5 coats of Tru-Oil on the back of the neck and headstock. It is picking up some gloss. No sanding yet - very thin coats with at least 24 hours and no tackiness to touch between coats.

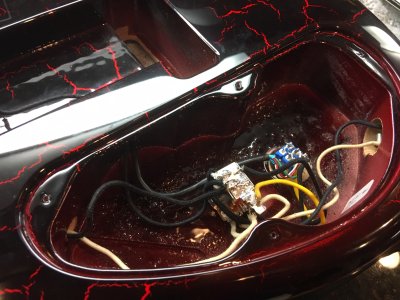
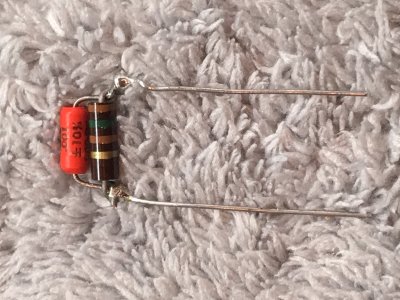
Also a pic of the wiring cavity - a lot of space for one Emerson push-pull pot and the mini-toggle. I used a Forstner bit to get the toggle closer to the top. I have a treble bleed ready to go but not sure if I will use it.


Attachments

  • IMG_8912.JPG
    IMG_8912.JPG
    1,000.7 KB · Views: 14
  • IMG_8890.JPG
    IMG_8890.JPG
    1 MB · Views: 13
  • IMG_8914.JPG
    IMG_8914.JPG
    764.4 KB · Views: 6
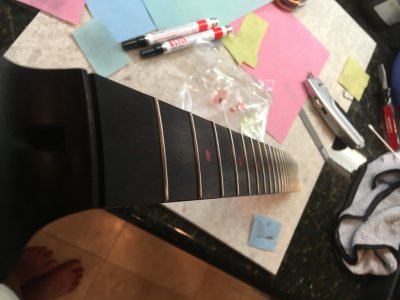
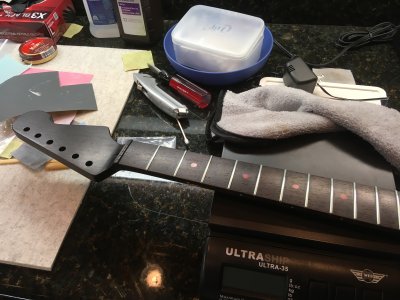
Update - sanded the back of the neck back more, still mostly dark, but you can see the wood in there. Went out to 8000, and it's very hard and smooth - burnished feel. Colored the inlays with black and red lacquer, and made the black TUSQ nut.  Still waiting on the Hipshot hardware.  Debating whether to shellac or shoot Nitro or just leave it be over the front of the headstock.


Attachments

  • IMG_8937.JPG
    IMG_8937.JPG
    2.3 MB · Views: 20
  • IMG_8938.jpg
    IMG_8938.jpg
    1.4 MB · Views: 22
Thank you for following!

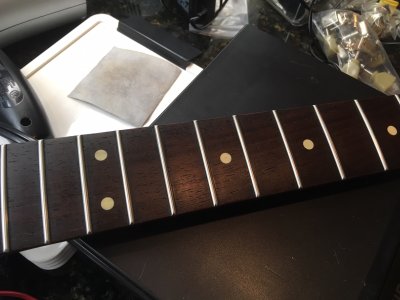
To recap, the Madagascar rosewood fingerboard got about a dozen coats of Transtint dye in alcohol, sanded back to 600, and two coats of Tru Oil that has now cured/crosslinked judging from the feel. Then I sanded it back to 1200.
I tried to take a couple of pictures to give an idea of the "solid natural" look it has- I had heard so much about how not to put Tru Oil on Rosewood, but I really like how it came out. Feels great, not sticky. 
Have to watch the sides of the fingerboard though - they have a serious risk of getting too much Tru-Oil, so I taped the sides of the fingerboard off when working on the back of the neck.
This also had the benefit of giving the fingerboard side more differentiation from the back of the neck, which was not true earlier - when it was all black, I had trouble seeing where the fingerboard started.
All black was neat, but also a little boring, which is why I processed the neck more.


Attachments

  • IMG_8933.JPG
    IMG_8933.JPG
    1.6 MB · Views: 10
  • IMG_8936.JPG
    IMG_8936.JPG
    2.2 MB · Views: 16
Back
Top