bagman67
Epic Member
- Messages
- 9,236
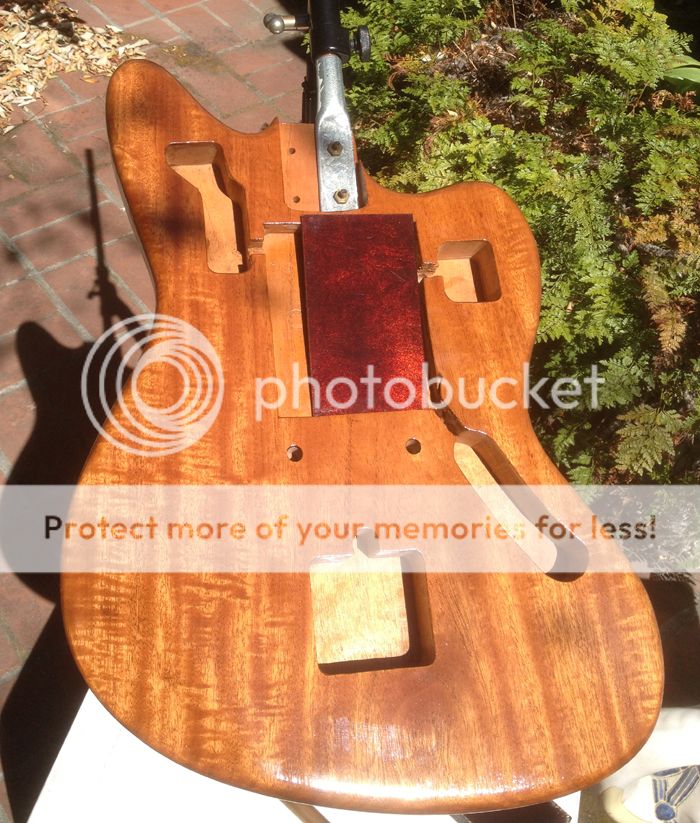
telecutie said:Bagman67 said:I sanded back with a 220-grit 3M sanding sponge, and got this. You can see the naphtha I wiped down with still in a few of the pores. As you can see, the General Finishes ebony stain really holds on to the wood. If I were to do another one of these, I'd reduce 1:1.
When using two colors of dye, I prefer to use an alcohol base because it will evaporate quickly and penetrate the wood to a lesser degree than water. So, sanding back that first layer is much easier, making the contrast between the two colors and the wood figuring very defined.
I may go that route next time. To be honest, I was so happy with how the water-based orange worked two years ago that I just went with the same line for this one. I do like the longer working time that water affords, but it may not make a huge difference if I go with alcohol for a future project. Obviously experimenting on scrap is the key to happiness...
Thanks for the thoughts.
Bagman