bagman67
Epic Member
- Messages
- 8,822
So I've been sitting on this Strat body for a couple years, thought I would sell it and nobody bit, so it's time to put 'er into service.
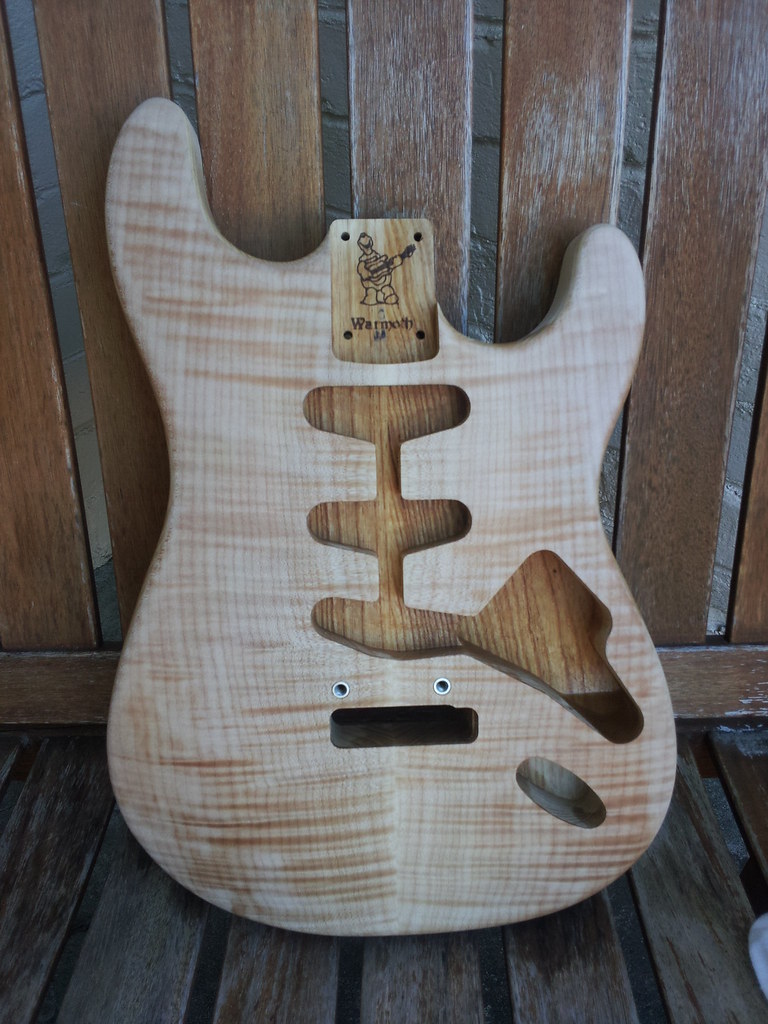
This is a chambered Strat body, flame maple on swamp ash, weighs a feather-and-a-half. The plan is to do the top in a modified BBY burst, applied as General Finishes water-based dyes (ebony, medium brown and Amber instead of yellow). I may finish the body in Tru-Oil or go with the tried-and-true Deft rattle-cans.
Appointments will be gold hardware - specifically, a Wilky tremolo bridge, Planet Waves locking tuners, and so on. I have a loaded Eric Johnson Strat pickguard in single-ply aged white/parchment that I picked up on ebay that I may keep as-is; or I may swap the pickups into a BWB pickguard with black covers and knobs. I'll see how it looks when the finish is complete. This will be a lot quicker and easier than the koa-topped LP, since I won't have to do any wiring beyond attaching the output jack and grounding the trem claw. Hallelujah.
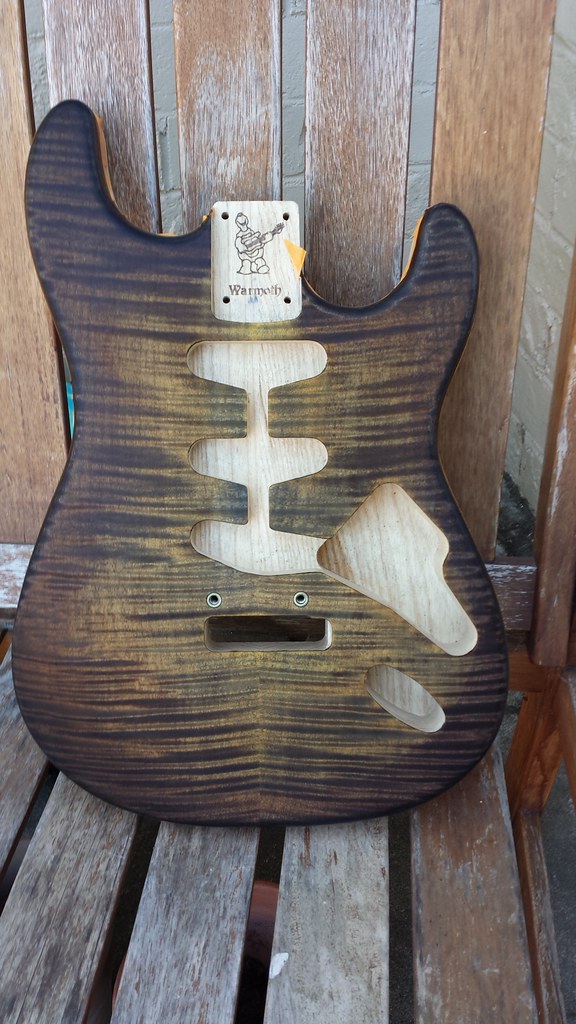
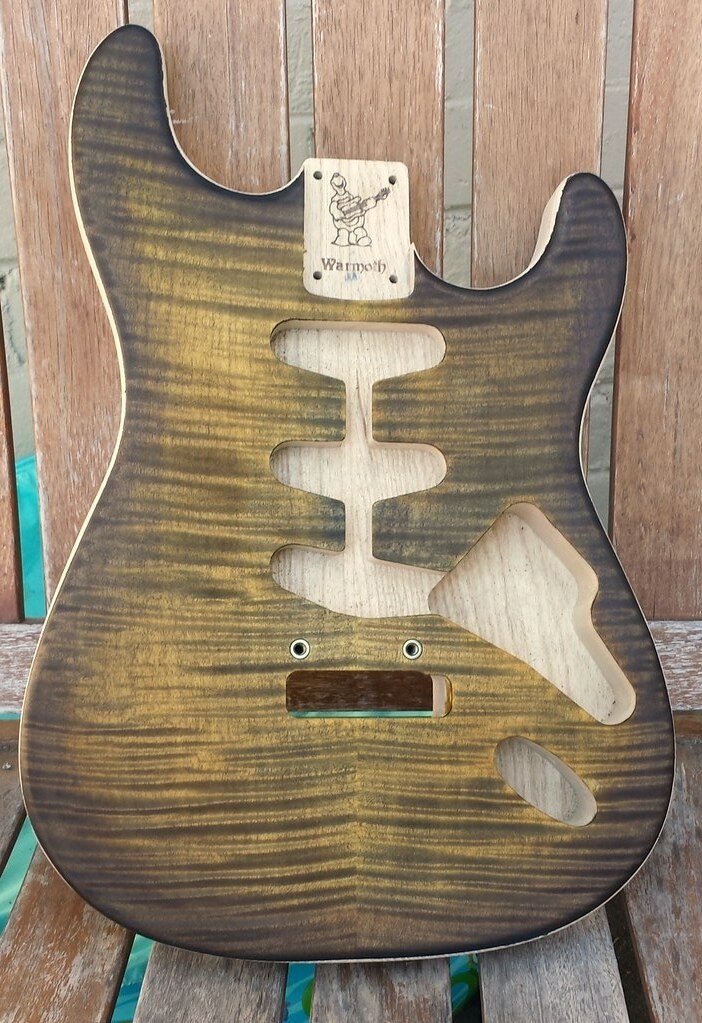
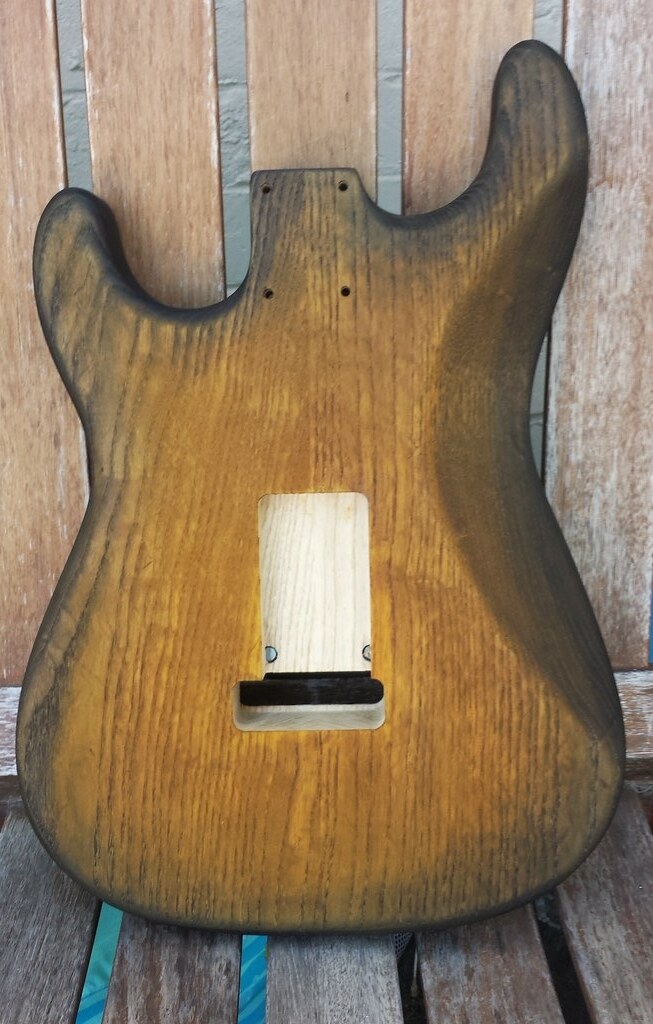
Anyway, here it is naked, with a splash of naptha to bring out the grain pattern:
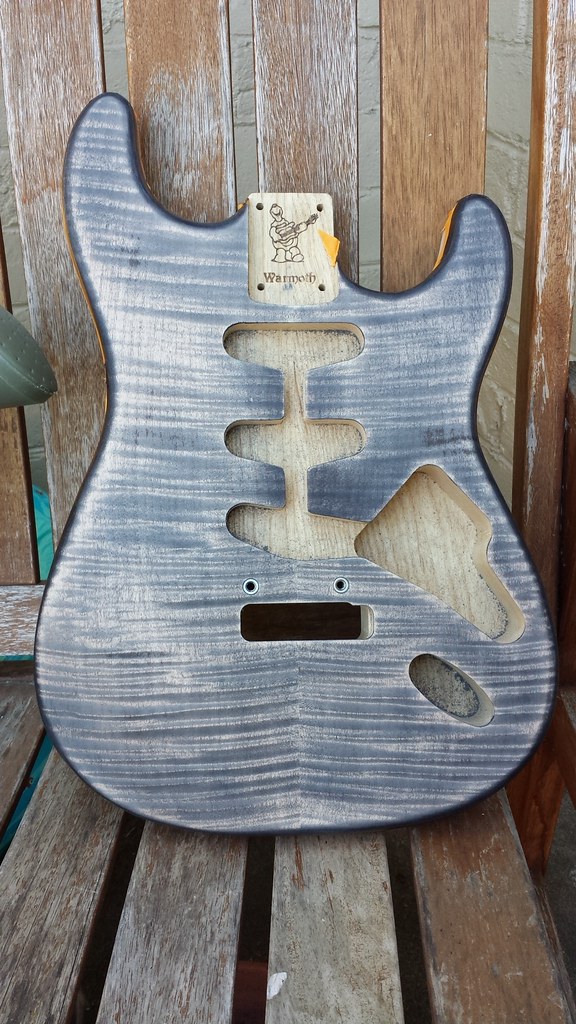
And here it is with the first layer of General Finishes Ebony dye, which will be sanded back to make the amber more exciting.
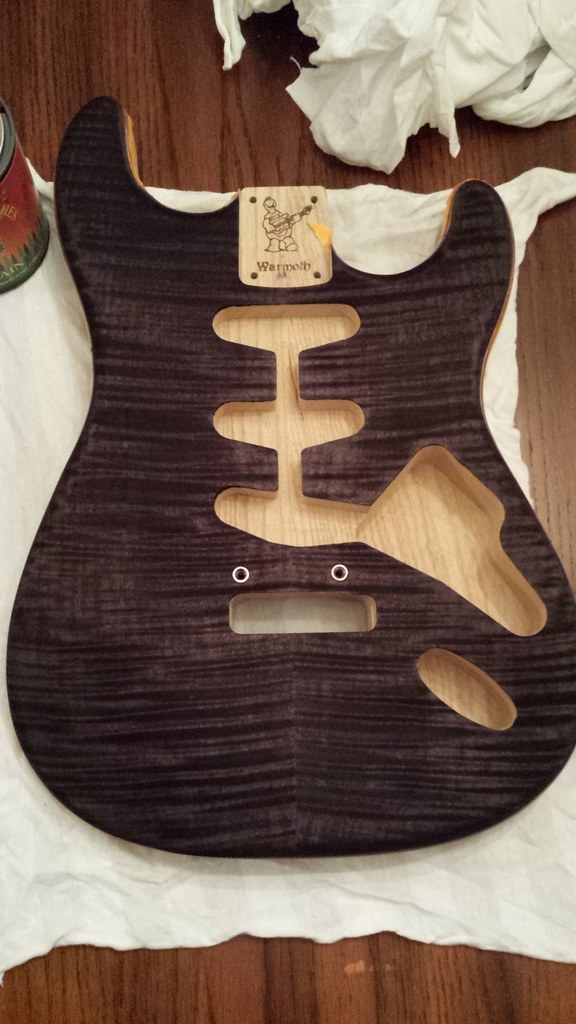
As it turns out I will have enough dye left over after this to do 174 more guitar tops, so anyone who wants it will be welcome to it.
Bagman
This is a chambered Strat body, flame maple on swamp ash, weighs a feather-and-a-half. The plan is to do the top in a modified BBY burst, applied as General Finishes water-based dyes (ebony, medium brown and Amber instead of yellow). I may finish the body in Tru-Oil or go with the tried-and-true Deft rattle-cans.
Appointments will be gold hardware - specifically, a Wilky tremolo bridge, Planet Waves locking tuners, and so on. I have a loaded Eric Johnson Strat pickguard in single-ply aged white/parchment that I picked up on ebay that I may keep as-is; or I may swap the pickups into a BWB pickguard with black covers and knobs. I'll see how it looks when the finish is complete. This will be a lot quicker and easier than the koa-topped LP, since I won't have to do any wiring beyond attaching the output jack and grounding the trem claw. Hallelujah.
Anyway, here it is naked, with a splash of naptha to bring out the grain pattern:
And here it is with the first layer of General Finishes Ebony dye, which will be sanded back to make the amber more exciting.
As it turns out I will have enough dye left over after this to do 174 more guitar tops, so anyone who wants it will be welcome to it.
Bagman