Caelstrom
Newbie
- Messages
- 8
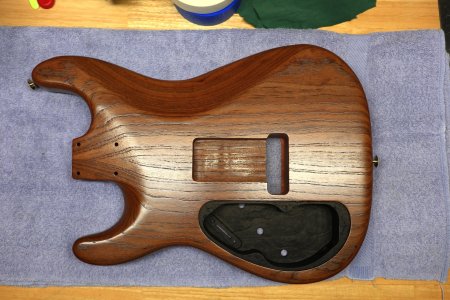
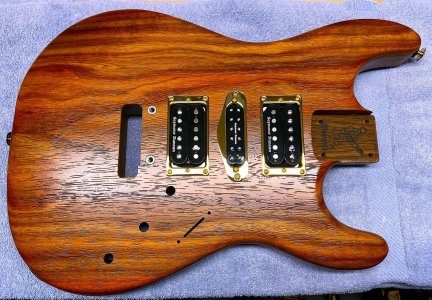
I started my first partscaster build this week. The goal is to build a guitar that cosmetically shows off the beauty of the wood it's made from (I really love the look of Barlow guitars), and has the tonal flexibility of a PRS 513/Special Semi-Hollow (HSH, 5-way switch, with coil-tapping options). I'd been kicking around ideas for years waiting for the "right time" to start this project when Warmoth released the limited run of Marbled Padouk bodies. I rarely drop that much money on something without several days of mulling it over, but I knew as soon as I saw those that it would make the perfect body for what I was going for cosmetically (as a side note, I would have preferred a different body shape than a standard Strat - say a Meadowhawk or Velocity, but beggars can't be choosy). I especially like the new "Natural Semi-Gloss" finish that leaves the grain mostly open and allows you to feel the character of the wood.
For a neck, I wanted an exotic wood that was smooth and fast feeling with lots of figuring in the grain. I narrowed it down to Pau Ferro and Goncalo Alves, but decided that Pau Ferro would probably fit best cosmetically with the Roasted Swamp Ash body. When I was first envisioning this guitar, I really wanted a heavily figured fretboard that would stand out (I had been thinking Kingwood), but I ultimately decided that it would distract from the body and wind up looking too busy, so I went with a darker Indian Rosewood that still has a nice linear grain to it, but is more subdued. I really like that Warmoth has the Gibson scale conversion necks. My first electric guitar was a 1996 Gibson Les Paul Studio, which I eventually sold in my early 30's because I wasn't playing it. I briefly owned a MIM Fender Stratocaster that my brother passed on to me, but it never really felt right in my hands and I didn't play that much either. When I finally decided to get back into electric guitar, I did a bunch of research and wound up buying my current PRS SE Custom 22, which I love. I also really enjoy the smooth feel and mellow tone of flatwound strings (I know that's an oddity among guitar players, but hey, to each their own). The only problem with flatwounds is that they tend to run a little heavier in gauge, which translates to higher string tension. The slightly shorter scale of PRS (25") and Gibson (24 3/4") guitars compensates for this a little with a reduction in string tension.
With all those considerations in mind, here are the specs for my Warmoth body and neck:
Strat® Replacement Body
Construction: Solid
Core Wood: Roasted Swamp Ash
Body Upgrades: Extra Light
Lam Top Wood: Marbled Padouk
Neck Pickup Rout: Humbucker
Middle Pickup Rout: Strat®
Bridge Pickup Rout: Humbucker
Controls: Volume 1, Tone 1, Tone 2, Blade Switch
Bridge Rout: Wilkinson
Body Contours: Forearm Contour, Tummy Cut, Contoured Heel
Meadowhawk Guitar Neck
Construction: Tiltback Gibson® Scale Conversion
Shaft Wood: Pau Ferro
Fretboard Wood: Unique Choice Indian Rosewood (Dark)
Nut Width: 1-11/16" (43mm) - Modern Medium
Right / Left Handed: Right-Handed Reverse
Neck Back Profile: Standard Thin
Fretboard Radius: 9.5" - 14" Compound
Number of Frets: 22
Fret Size & Material: SS6150 - Wide & Tall (Stainless)
Tuner Hole Size: Gotoh/Grover (13/32" - 11/32")
Inlay Shape: Diamonds
Inlay Material: Gold Pearloid
Side Dots: Mother Of Pearl Side Dots
String Nut: Standard Nut - GraphTech Black TUSQ XL
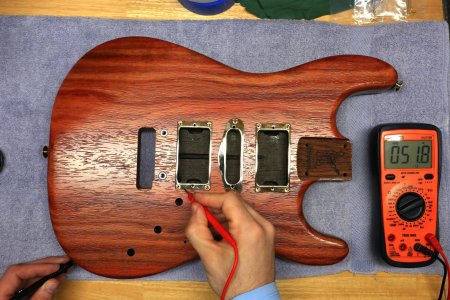
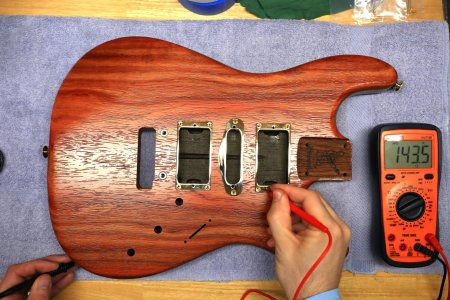
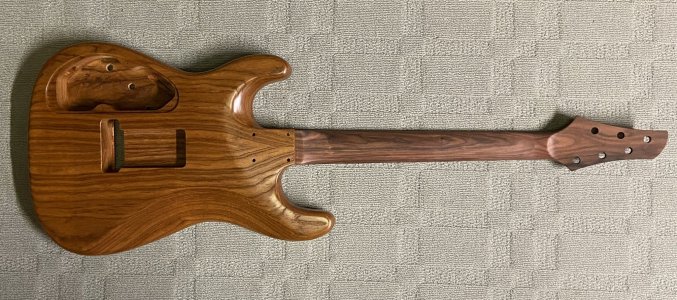
The parts arrived a little over a month ago and did not disappoint (see attached pics)!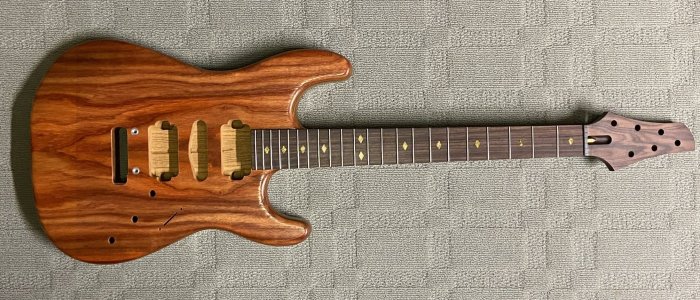


