stratamania
Mythical Status
- Messages
- 12,392
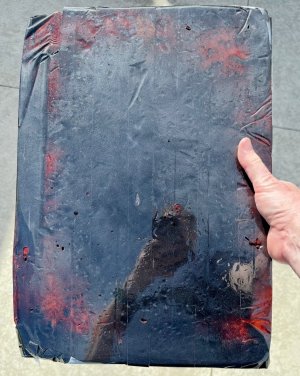
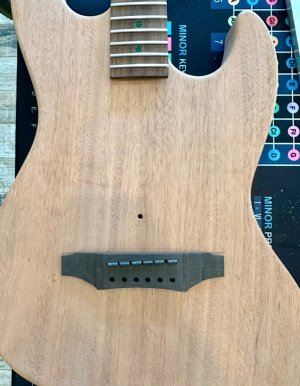
I am not sure what you have planned, but would a flood coat not have been better after fitting it to the body to make it easier to work?


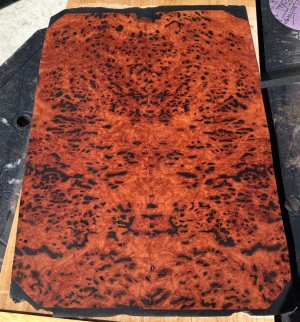
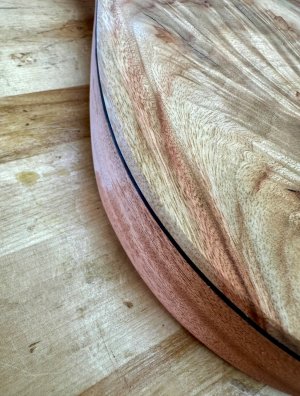
The flood coat is just to fill defects and stabilize the wood into a flat, uniform lam top to glue to the top of the guitar (after a corresponding thickness is planed off the top). 99% of the epoxy will be removed with a wide belt sander. I did the same thing with my last build with a piece of Red Gum Burl with literally hundreds of defects.I am not sure what you have planned, but would a flood coat not have been better after fitting it to the body to make it easier to work?
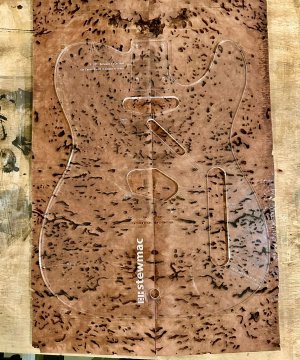
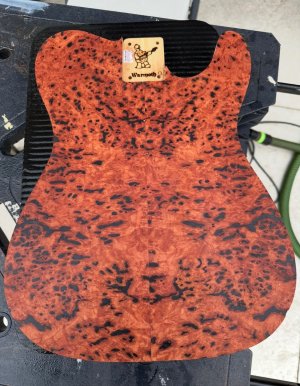
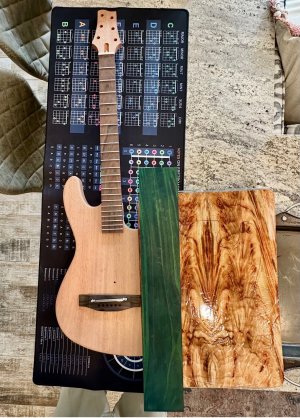
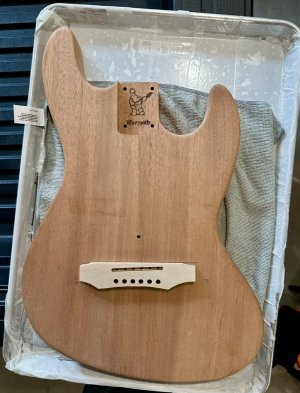
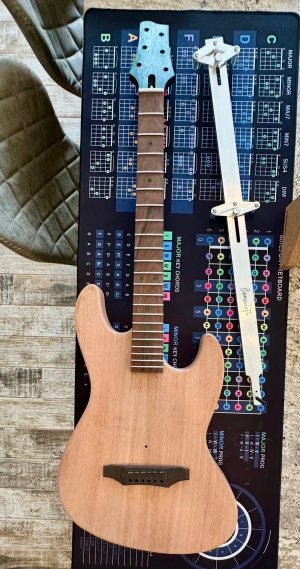
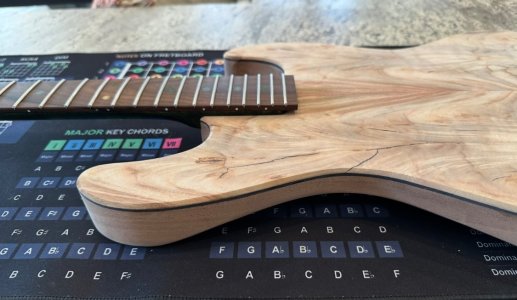
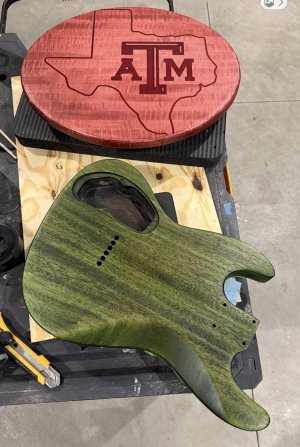
I called Warmoth and they agreed to sell me a DinkyCaster with no forearm contour.@casper100 okay got it, I was thinking more of whether your Dinkycaster would have a forearm contour needing a corresponding bend in a drop top.
Ok great, look forward to seeing the rest of the build.I called Warmoth and they agreed to sell me a DinkyCaster with no forearm contour.
I also asked them for a Tele edge radius. That way, when I take 5mm off the top, it should be straight and 90 degrees to the sides.Ok great, look forward to seeing the rest of the build.

 www.sire-usa.com
")
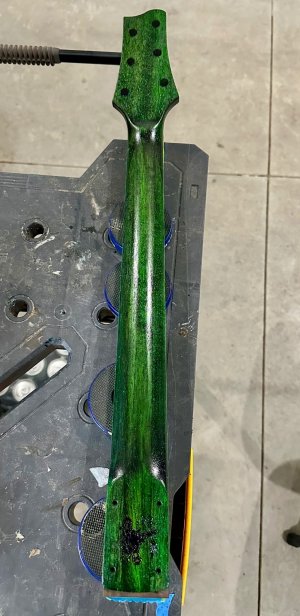
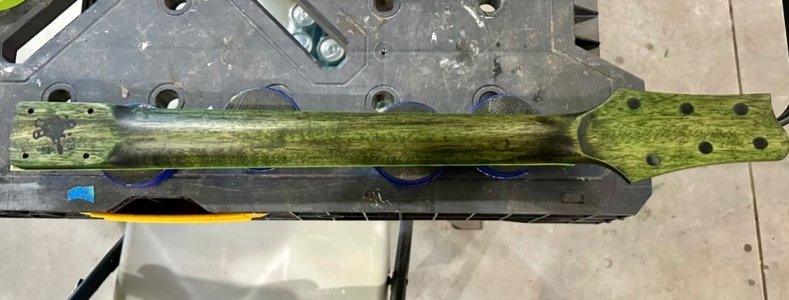
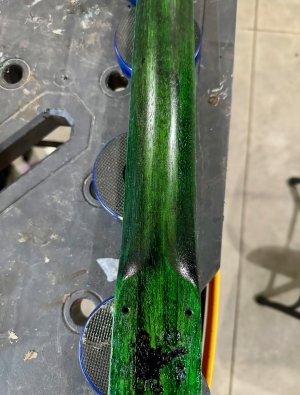
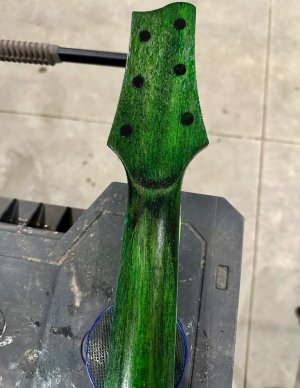
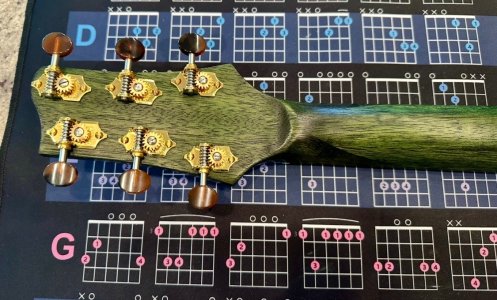
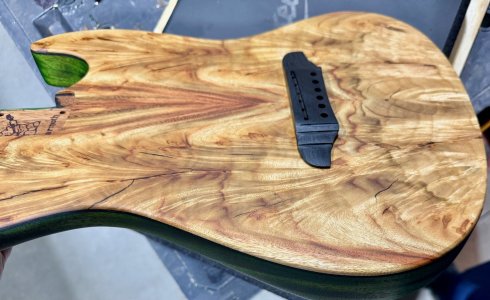
Looks great with the jade fret dots.Emerald over mahogany is one of my favorite finishes ever! Looking really good
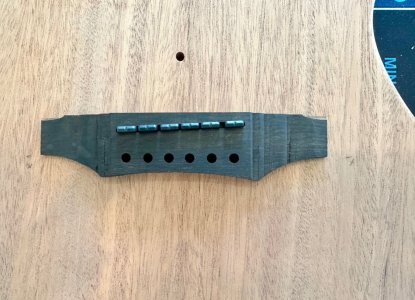
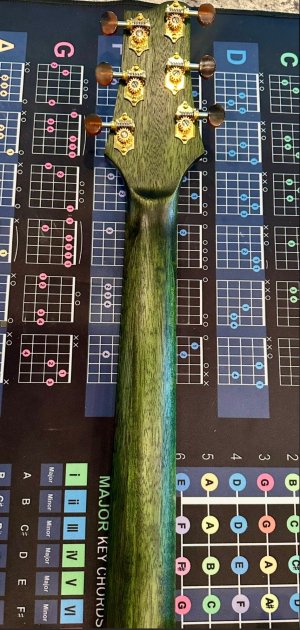
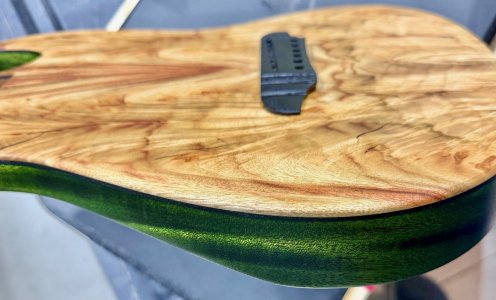
WOW ! That IS a great look !The bridge is finally on after much tweaking for saddle height and intonation adjustments. First few layers of finish on the top as well. Just really loving how the sides look with that green next to the top. It freaking glows.
Back and sides are……WOW ! That IS a great look !
Is the Rubio Emerald an Oil Plus or a Precolor ? Looks great !