Leaderboard

The Adventure Begins ends

JPOL007

Senior Member
Messages
470
So I’m jumping into the deep end of the pool and starting the Cutting Board build. Not going in without my water wings though. I’m taking some guitar building classes with a local luithier. Ari has been building custom instruments for over twenty years.
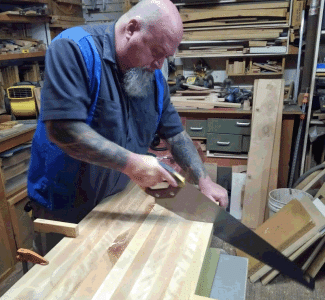
My first class was last night and I loved almost every minute. Been a long time since I used a hand saw. We talked about the limitations of the laminated piece of wood and planed the build process.
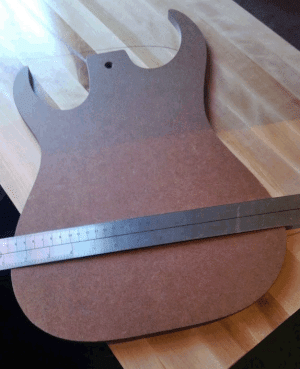
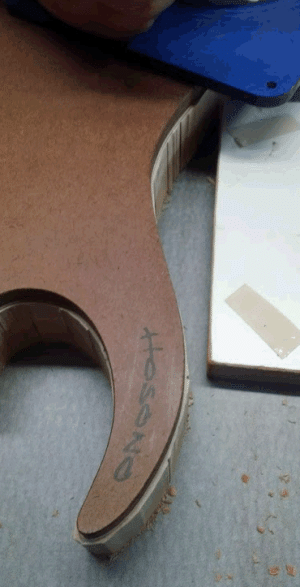
He had a Tak Hosono Ibanez RG template from a student who worked at the Ibanez U.S.A. California plant back in the early 90s. The plan is to reinforce the laminated wood with a curly maple top. I’m going to taper the body in the prestige series manner.
 

Attachments

  • G6 copy.gif
    G6 copy.gif
    161.7 KB · Views: 27
  • G3 copy.gif
    G3 copy.gif
    275.4 KB · Views: 44
  • G4 copy.gif
    G4 copy.gif
    225.7 KB · Views: 18
  • G5 copy.gif
    G5 copy.gif
    348 KB · Views: 40
  • G2 copy.gif
    G2 copy.gif
    169.3 KB · Views: 25
What an ambitious project!  I will be very interested to watch this unfold.  Really cool and best of luck with it!
 
Rgand said:
You're off to a great start. It'll be fun to follow your progress.
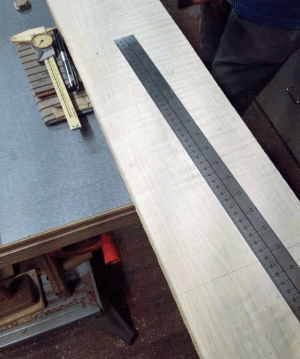
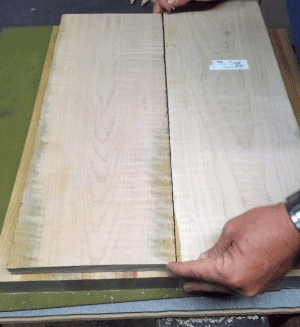
Thanks,I am going to learn a lot about hand tools. Not sure these guys have discovered electricity yet. Used a sanding block to sand down the edges of the maple boards where they are getting glued together. The boards were laided on a "shooter board" to do the sanding. It had a straight edge bilt into the board to check your sanding surface. Mostly kidding about the electricity...used a router to smooth down the maple edges before hand sanding them.
 
Dano said:
What an ambitious project!  I will be very interested to watch this unfold.  Really cool and best of luck with it!
Thanks, I seem to bite off large jobs that force me to perform above my level. Going to have to figure out why I do that to myself. Must be some kind of stress junkie and haven't realized it yet. Congrats on you build winning :icon_thumright: That is beautiful work.
 
Wow,,....just f'ing wow!  That looks like a seriously fun project.

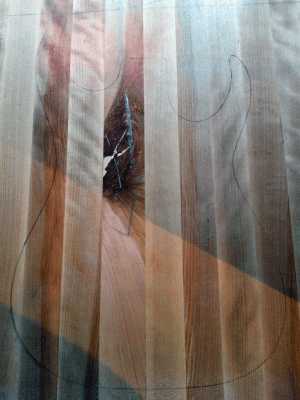
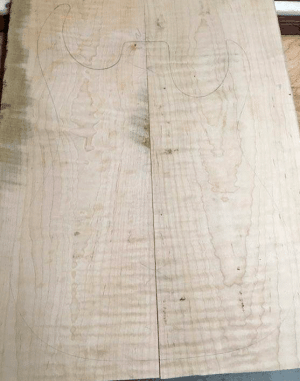
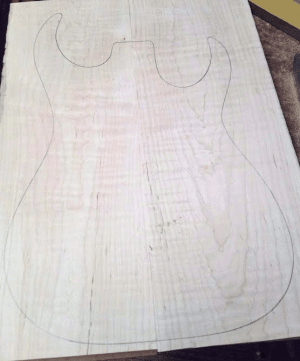
In the pic with the template drawn out over the wood, it looks like there is a big knot.  Does that negatively affect anything?  Also, really looking forward to seeing how this comes out.  Very very cool.
 
rauchman said:
Wow,,....just f'ing wow!  That looks like a seriously fun project.

In the pic with the template drawn out over the wood, it looks like there is a big knot.  Does that negatively affect anything?  Also, really looking forward to seeing how this comes out.  Very very cool.
The knot will be removed during the routing process to adjust body thickness. The target body thickness is 1.75". The laminated wood is 1.75" and the maple is 0.875". The laminated wood will be reduced from 1.75" to 0.875" to meet the 1.75" requirement. The knot doesn't go all the way through to the other side. 
 
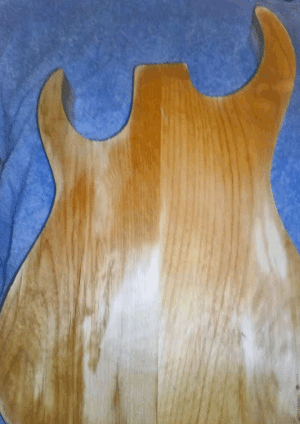
So...lesson learned about laminated wood :doh: Don't leave the laminated wood in your car when the temperature reaches 110 F inside of the car. Went to class this evening expecting to do some planing, sanding and gluing on the cutting board build. Discovered that the laminated wood had cracks where the pieces were glued together. Lucky for me the teacher had some body blanks stored away. I scored a piece of alder that has been in the shop since 2004 :icon_thumright:. New plan is to use the curly maple as the top and the alder for the back. Going to still shoot for the RG S series body style. Will post photos of tonight's progress later.
 
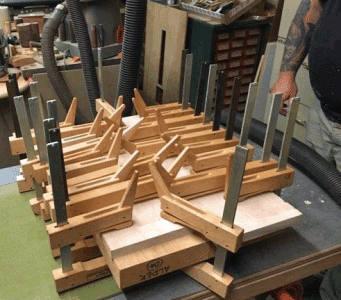
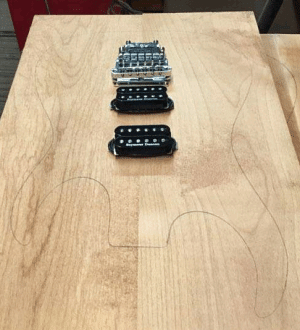
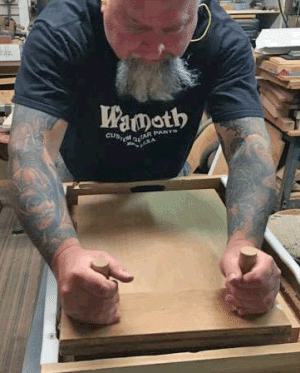
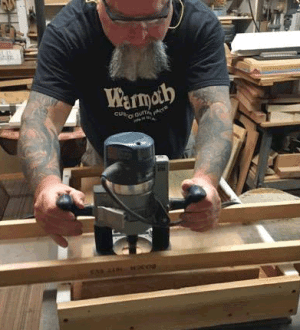
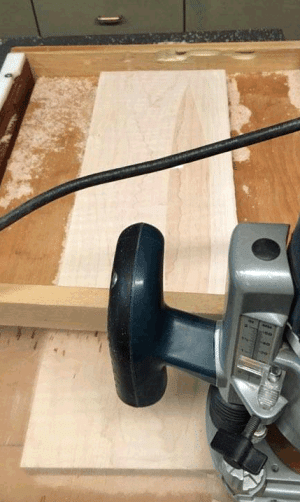
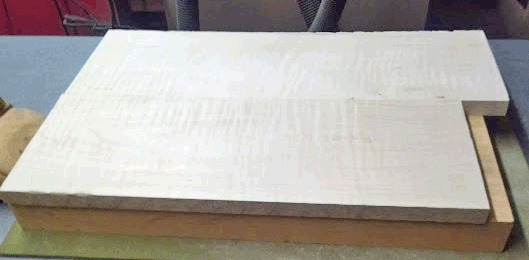
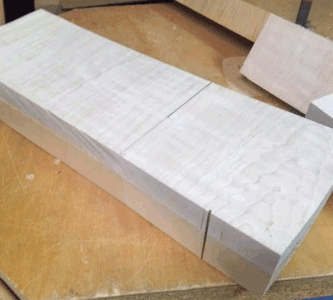
Some photos from last build session. Tried to find the best side and grain position of the maple boards before the maple was planned or sanded. The maple was placed in the box and held in place using double sided tape. A router was used to level the maple's surface and then 180 sanded smooth. The alder received the same planning and sanding process as the maple. The maple boards were glued into position, held in place with clamps and allowed to dry (45 minutes) while the alder was being planned and sanded. We did a mock placement of the bridge and pickups on the alder while waiting on the maple to dry. Titebond and luthiers merchant instrument glue was used to glue the top and back together. Glue was allowed a few minutes to set before clamps were put into place. This was done to help prevent any sliding from clamp pressure during clamp placement. The top and back remained clamped for about 55 minutes. Glue manufacture said wood could be machined after 1 hour.
 

Attachments

  • Glued Top & Back.gif
    Glued Top & Back.gif
    144.5 KB · Views: 21
  • Mock-up on Alder.gif
    Mock-up on Alder.gif
    160.4 KB · Views: 34
  • Maple before Planning & Sanding.gif
    Maple before Planning & Sanding.gif
    294.4 KB · Views: 22
  • Sanding Alder.gif
    Sanding Alder.gif
    92.5 KB · Views: 23
  • Planning Alder.gif
    Planning Alder.gif
    100 KB · Views: 16
  • Planning the Maple.gif
    Planning the Maple.gif
    154.6 KB · Views: 16
Major progress, and cleanly done.  I'd like to add my support for your excellent sanding block.


One thing I've seen a lot of builders do is to use 1/8" dowel or even predrilled holes for screws, strategically located where you plan to place pickups or neck pocket.  This helps to keep the top in place so it doesn't slide around during clamping.
 
Thanks guys, the table was built by my teacher to use for planing wood using a router. It also works great for sanding. I wish I had a shop or room to work in at home. Taking these classes gives me access to the knowledge, tools and work space I don't have at home. Have to admit it is some serious fun. I now have a small taste of the hard work required to build all of those wonderful bodies from Warmoth. Much love and respect to all of the people who make it possible to buy those Warmoth products :occasion14:
 
I have to admit, I am getting a bit jealous as I watch your progress and all you are learning and doing with this project.  Great work and thanks for sharing it with us!
 
Dano said:
I have to admit, I am getting a bit jealous as I watch your progress and all you are learning and doing with this project.  Great work and thanks for sharing it with us!
I have stolen your idea for using the black paint on your Tele build. May use it to separate the top and back if needed. I'm jealous of the finish on your maple Tele...sweet job on that build :icon_thumright:
 
JPOL007 said:
I have stolen your idea for using the black paint on your Tele build. May use it to separate the top and back if needed. I'm jealous of the finish on your maple Tele...sweet job on that build :icon_thumright:

Glad you liked the build and very glad you got something out of the post!  I have built about 15 Warmoth guitars and have only recently gotten involved with the forum and doing my part to share ideas by posting build threads.  These two were after the fact, but glad some folks have gotten something of use from the documentation. 

It is really enlightening to watch your build unfold!  Have fun!
 
TiteBond said you could machine the wood after 1 hour. I’m soo glad I waited 2 weeks. The top needed to be adjusted because one side was slightly uneven at the glue joint. I really shudder to imagine what would have happened after only 1 hour drying time.
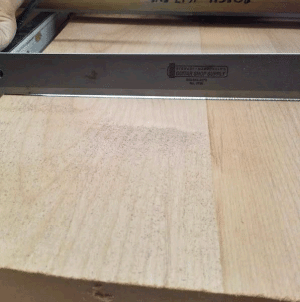
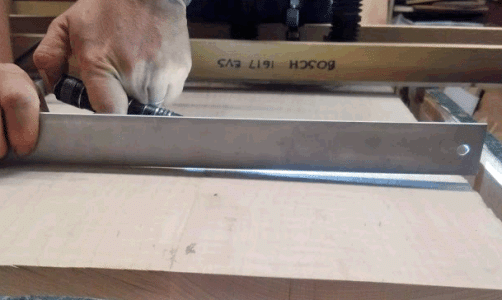
The body blank would not fit into the sanding/routing box after the top was glued to the back. We trimmed off some excess material and placed the blank into the box. A straight edge was placed on the top and a light was used to check for evenness across the top. This process was repeated on the back. You can see in the photos how much the top and back changed from the night they were planed flat.
The blank was held in place using double sided tape and the top was leveled. Using the same holding process the back was planed to the thickness I wanted for the project. About 7/8 of an inch was removed. This made the body blank 1 ¾” thick, with the back and top having about equal thicknesses. Both the top and back was sanded smooth using 180 grit sandpaper.
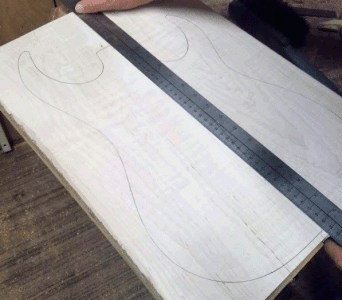
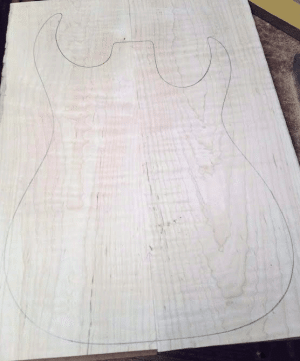
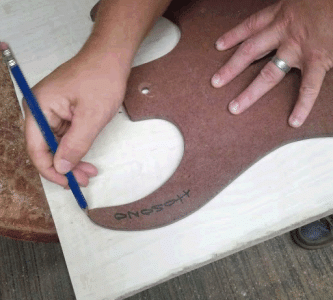
The template was used to find the best placement for the shape on the blank. There was a small knot place I wanted to avoid on the top. We then had to find the center line of the blank before tracing the template shape on the blank.
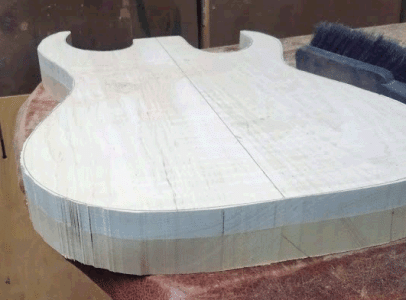
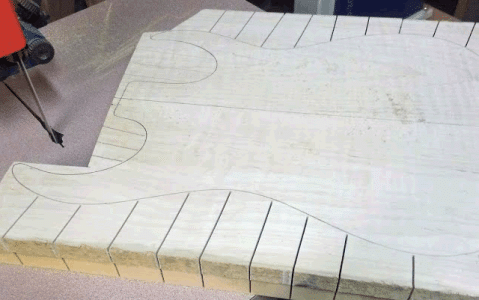
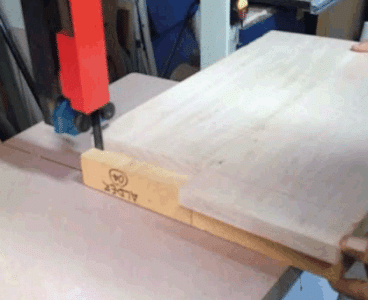
Relief cuts were made in the blank using a bandsaw. Making relief cuts will help making the contour shape cuts. The blank was then cut into shape using the outline drawn onto the body from the template. The photo shows how a sharper blade would have aided the process.
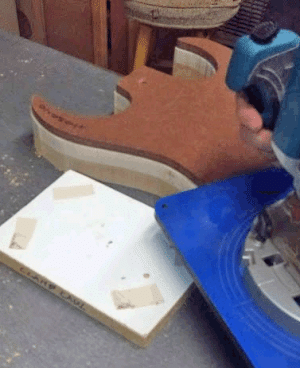
The template was attached with the tape again and used for the final shape routing process. Using sharp router bits and not over heating the bits can’t be stress enough.
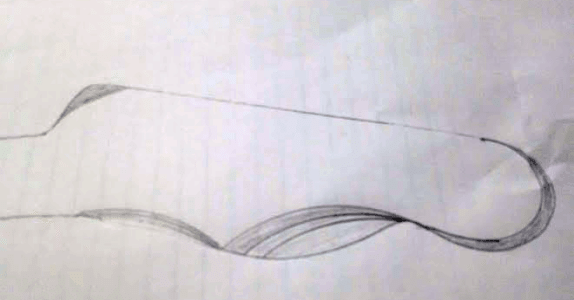
Next week drum sanding, neck joint and pickup cavity routing are on deck. What do you guys think of the headstock redesign I have included in the photos? I also had some material left over from trimming the body blank. Considering making control knobs and control cavity cover with them.
 

Attachments

  • After bandsaw cutting.gif
    After bandsaw cutting.gif
    90.1 KB · Views: 17
  • Relief cuts 1.gif
    Relief cuts 1.gif
    114.8 KB · Views: 7
  • Marking the center line.gif
    Marking the center line.gif
    154.4 KB · Views: 5
  • Template image for cutting the body blank.gif
    Template image for cutting the body blank.gif
    228.3 KB · Views: 4
  • Template image for cutting the body blank.gif
    Template image for cutting the body blank.gif
    228.3 KB · Views: 6
  • Tracing the templet.gif
    Tracing the templet.gif
    123 KB · Views: 4
  • Sizing the body blank.gif
    Sizing the body blank.gif
    52.5 KB · Views: 6
  • Checking the back for evenness.gif
    Checking the back for evenness.gif
    163.2 KB · Views: 5
  • Checking the top for evenness.gif
    Checking the top for evenness.gif
    78.9 KB · Views: 5
  • Glued Top and Back.gif
    Glued Top and Back.gif
    54.6 KB · Views: 8
some more photos
 

Attachments

  • Alder back.gif
    Alder back.gif
    192.9 KB · Views: 24
  • top.gif
    top.gif
    171.4 KB · Views: 31
  • Left overs.gif
    Left overs.gif
    138.5 KB · Views: 9
  • Body routing 2.gif
    Body routing 2.gif
    113.8 KB · Views: 8
  • Routing the body shape using the template.gif
    Routing the body shape using the template.gif
    81.7 KB · Views: 11
  • Headstock design idea.gif
    Headstock design idea.gif
    89.7 KB · Views: 15
Rgand said:
Coming right along. That's a beautiful top.
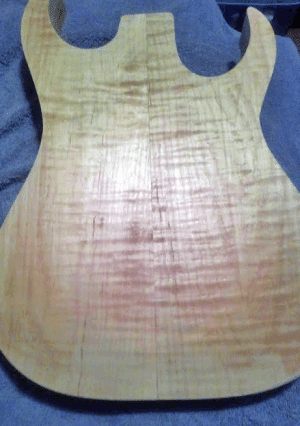
Thanks. I seem to have gotten lucky with the top. It isn't book matched, but the grain from the two pieces seem to lineup pretty good.
 
Back
Top