Leaderboard

Swamp Ash Super Strat

Eleventh

Newbie
Messages
15
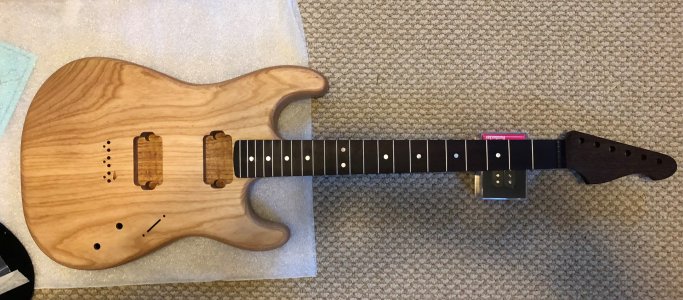
Got my body and neck from Warmoth the other day and got right to work, here are the specs:

Body:
-Stratocaster,
-Right handed
-Swamp Ash,
-Rear Rout
-F-Holes: None
-Pickup Rout: (Humbucker (Neck), None (Middle), Humbucker (Brdg))
-Controls: (X-T-T-5 (Strat))
-Bridge: Narrow Strat Flat
-Mount, Jack Rout: 1/2" (13mm) Side Jack Hole
-Tummy Cut
-Forearm Contour
-Contoured Heel,
-Mounting Holes: Standard 4 Bolt, Neck
-Pocket: Strat Shape
Top Finish: Clear, Back Finish:Clear,
-Finish Type: Satin Finish

Neck:
-Warhead, Modern Construction
-Right Handed
-Neck Wood: Wenge, Standard thin
-Fretboard Wood: Indian Rosewood (Dark) 1-11/16" Nut Width,
-Frets: SS6150 (Stainless)
-Mother Of Pearl Dots Inlay, No Side Dots

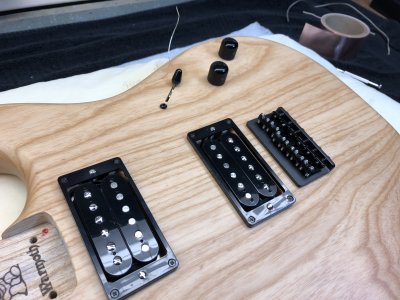
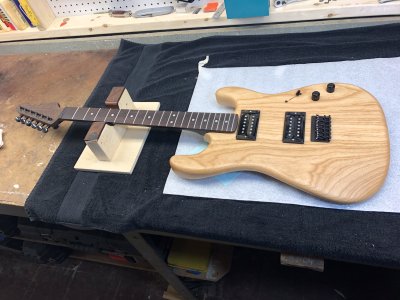
Here's a mockup right out of the box:
 

Attachments

  • IMG_2809.JPG
    IMG_2809.JPG
    1.6 MB · Views: 61
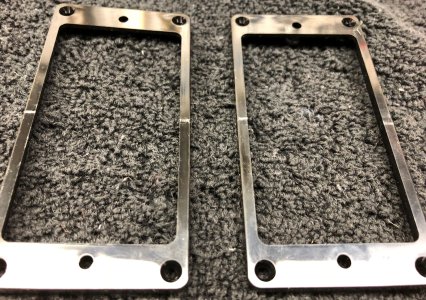
The first thing I took on was mounting the pickup rings. In retrospect this was a mistake, because it made working on the back of the guitar trickier. But hey, first build, live and learn!

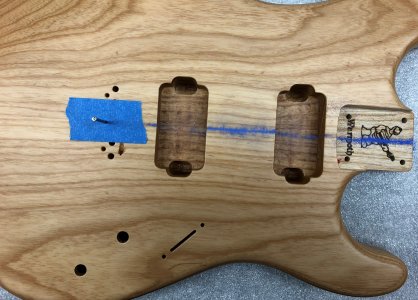
I found the body center line using the center bridge route hold and the neck holes. Snapped a chalk line (not the most precise, but it was the best I could do). Then I carefully measured and found the center of the pickup rings and marked that in pencil.


Attachments

  • IMG_2821.JPG
    IMG_2821.JPG
    2.4 MB · Views: 19
  • IMG_2822.JPG
    IMG_2822.JPG
    3 MB · Views: 9
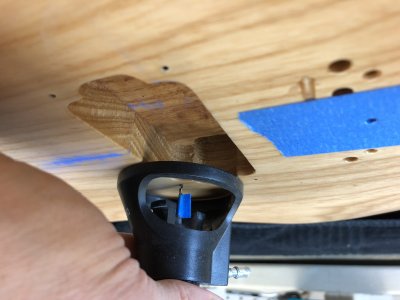
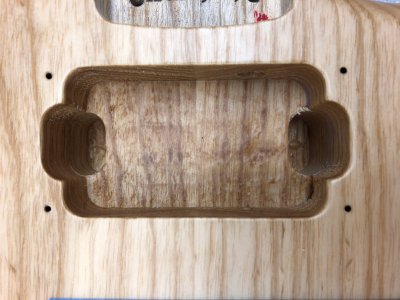
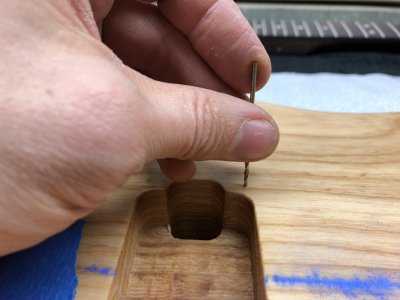
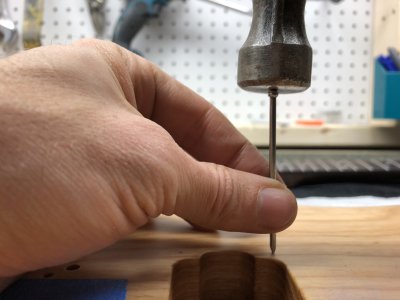
I lined the pencil lines on the pickup rings up with the chalk line on the body. Since there were two marks on the pickup rings I knew they were both centered and not rotated. Then I marked the hole locations on the body with a pencil. I started the hole with a nail (I've found this works better than an awl, at least my awl). Then I used my hand to slowly drill through the finish. Finally, I used a dremel fitted with a jig to keep the bit perfectly square.
 

Attachments

  • IMG_2834.JPG
    IMG_2834.JPG
    1.9 MB · Views: 7
  • IMG_2835.JPG
    IMG_2835.JPG
    2.7 MB · Views: 6
  • IMG_2833.JPG
    IMG_2833.JPG
    2.3 MB · Views: 6
  • IMG_2823.JPG
    IMG_2823.JPG
    1.8 MB · Views: 6
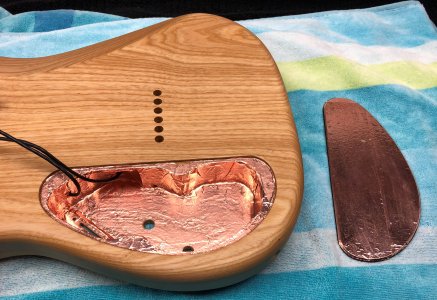
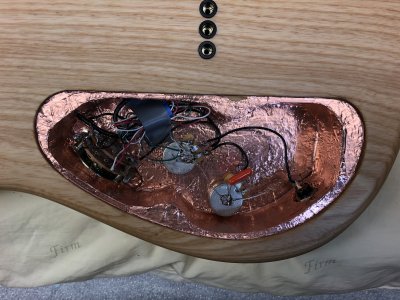
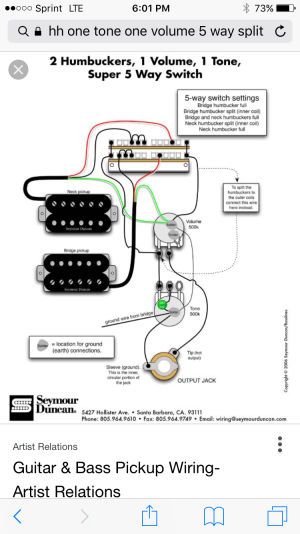
Next up, control cavity. I lined the cavity with copper shielding tape along with the cover. Then I wired it for two humbuckers with a single tone knob and coil splitting, using a super switch.

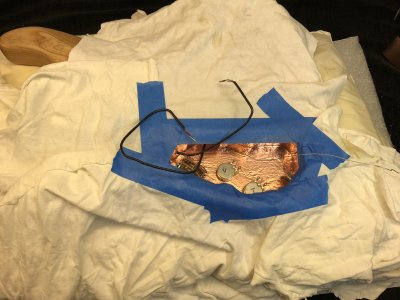
I put rags around the body to protect it while soldering - looks like a patient in for surgery  :).
 

Attachments

  • IMG_2837.JPG
    IMG_2837.JPG
    2.3 MB · Views: 11
  • IMG_2853.JPG
    IMG_2853.JPG
    3.7 MB · Views: 11
  • PIckup Wiring.PNG
    PIckup Wiring.PNG
    396.8 KB · Views: 6
  • IMG_2850.JPG
    IMG_2850.JPG
    3 MB · Views: 5
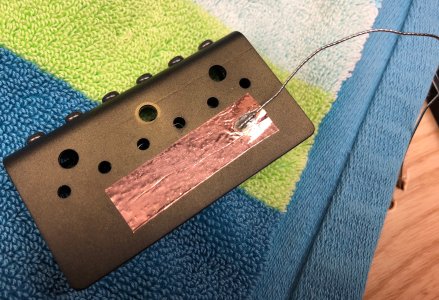
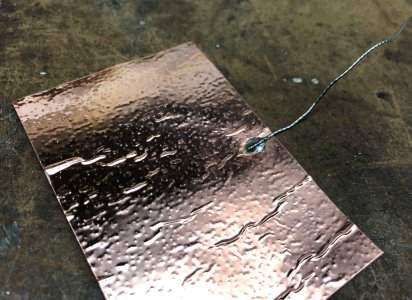
I grounded the bridge by soldering the grounding wire to a piece of copper tape, then adhering that under the bridge to ensure a good connection.
 

Attachments

  • IMG_2847.JPG
    IMG_2847.JPG
    2.5 MB · Views: 10
  • IMG_2844.JPG
    IMG_2844.JPG
    2.3 MB · Views: 5
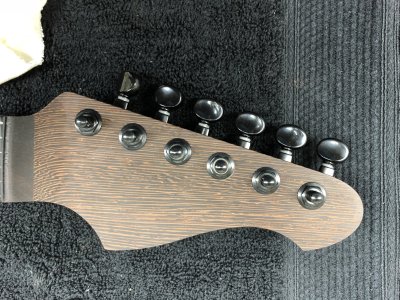
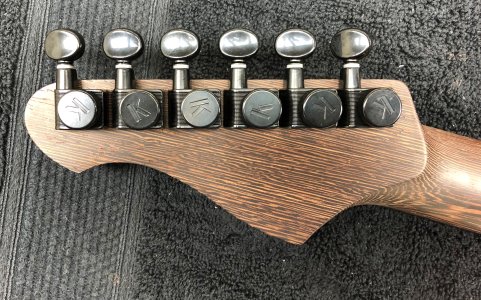
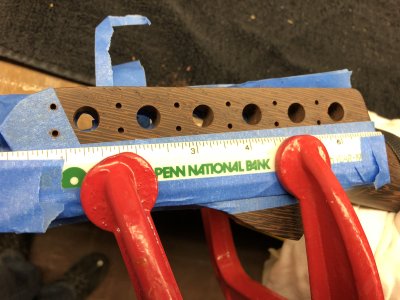
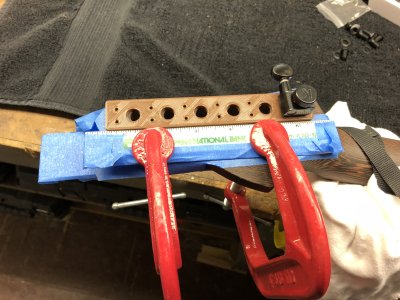
I 3d printed a jig for the tuner alignment pins. Unfortunately, it was made for a standard strat head, so the tuner holes themselves were spaced differently. Fortunately the space between the tuner hole and the alignment pins was still correct, so I just used the first hole and moved the jig down the head for each tuner.


Attachments

  • IMG_E2820.JPG
    IMG_E2820.JPG
    3.3 MB · Views: 9
  • IMG_E2819.JPG
    IMG_E2819.JPG
    2.5 MB · Views: 17
  • IMG_2818.JPG
    IMG_2818.JPG
    3 MB · Views: 9
  • IMG_2817.JPG
    IMG_2817.JPG
    3.6 MB · Views: 14
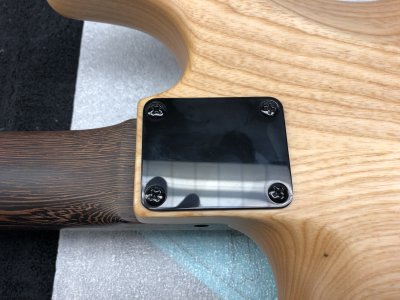
Mounting the neck was relatively simple. I just waxed the screws (as I did with all the others) and went slowly, backing the screws out a full turn for every 2-3 turns I made.


Attachments

  • IMG_2854.JPG
    IMG_2854.JPG
    3.2 MB · Views: 15
  • IMG_2855.JPG
    IMG_2855.JPG
    3.4 MB · Views: 21
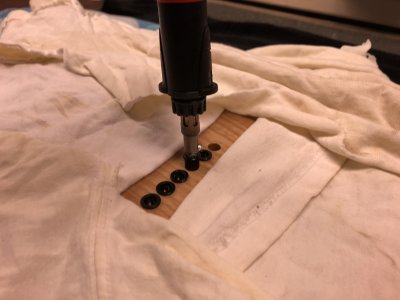
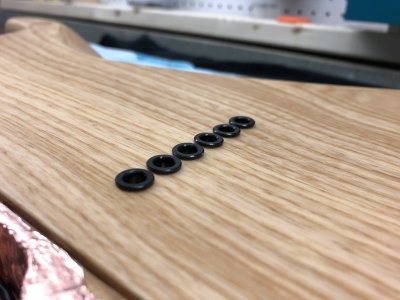
I installed the ferrules using the solder iron technique - wow did this make things easy!
 

Attachments

  • IMG_2840.JPG
    IMG_2840.JPG
    1.7 MB · Views: 12
  • IMG_2842.JPG
    IMG_2842.JPG
    2.3 MB · Views: 7
I've strung it up and set it up and it sounds and plays great. More vanity shots will be coming soon.

I still need to do a proper fret dress and level, but overall I am very happy with my first build. Comments, criticisms and suggestions are very welcome!
 
Nice work!

That bridge looks like it has a finish on it? Between that and the adhesive on the copper tape you used to make a ground connection, it might not be a bad idea to take an ohmmeter and check for continuity between your ground wire and the bridge. Glue and finish are usually both insulators, so you may not be as grounded as you'd like.
 
So far it looks good. One suggestion I would make would be to get the neck fitted and aligned prior to deciding on the final positioning of the humbucker mounts to ensure alignment of pole pieces and strings.
 
Back
Top