stripping the finish on body

leftystratman

Newbie
Messages
18
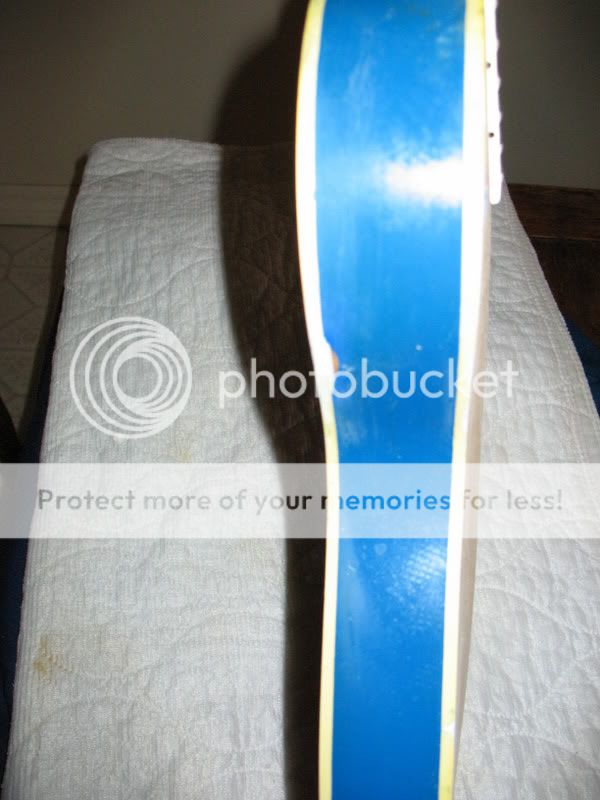
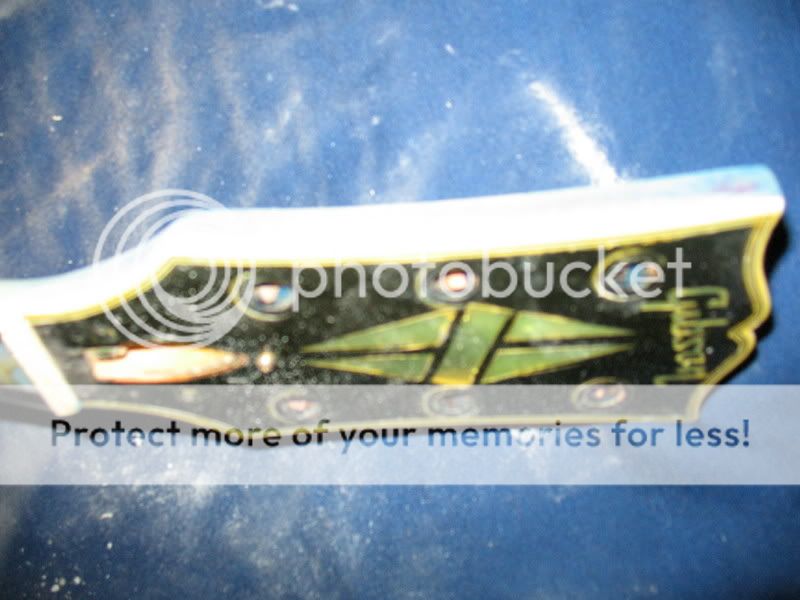
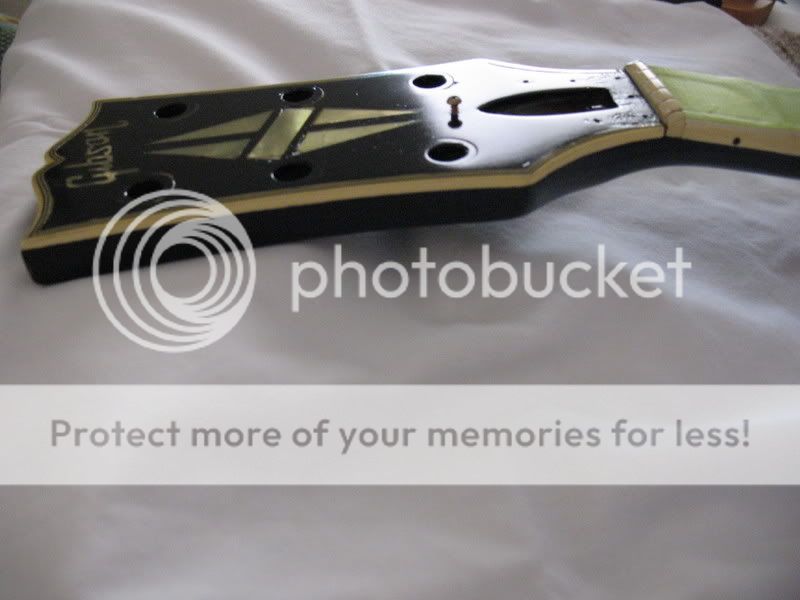
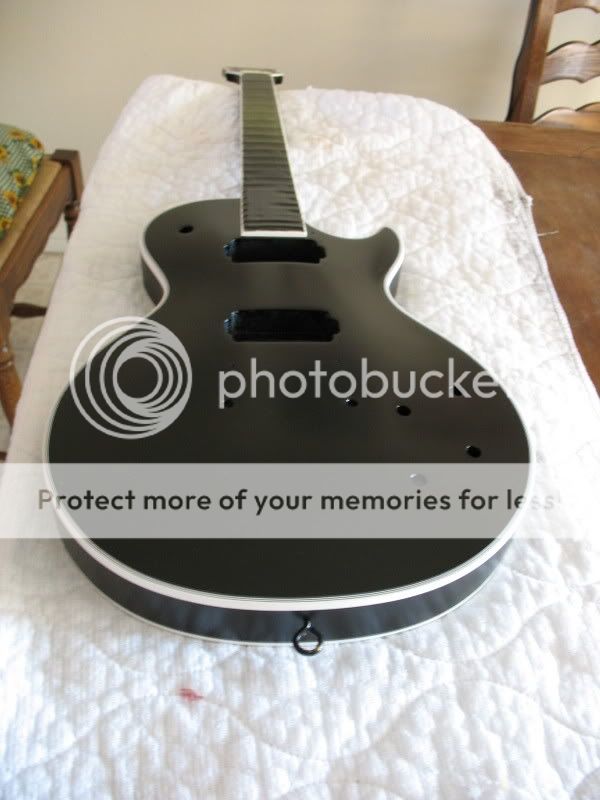
I just received a hollow strat body with a washed red dye maple top and trans red korina back.  I've assembled it, and it's the lightest and most resonant strat ever!  the trans red back is simply gorgeous!  nothing like the back of an Epiphone Les Paul.  it's got a top notch quality.  I wish I had ordered the whole body in trans red.  but the washed red dye maple top was way less than impressive.  the washed red dye strats in Showcase section have deep pink and red in them, and they look amazing, but mine looks more like skinless flesh with blood stains, I guess it's too washed out, and somewhat uneven.  and there's no burst around it either.  so I'm not digging the top at all.

I really don't want to send it back because everything else is perfect, and there's no way I'd wait another 3 - 4months.  so I want to strip only the maple top and finish the the top myself (I've finished 2 bodies so far)  and leave the back untouched.  it's got the binding, so I assume it could be pretty tricky to mask?

can anyone share useful links for stripping and masking / finishing a body with binding?

much appreciated.
 
Stripping is not as hard as it seems but there are some tricks you need to be aware of to keep from messing things up.  I wish I had some pictures during the process but I will attach some of a guitar that I stripped with comments.  I will just go through the steps that I would use to do your guitar.
1, Shopping list.
   A. Jasco Paint and Epoxy Remover
   B. 12" Masking Paper, 3M Green Lacquer Tape, 3M 1/4" pin stripe tape (not the blue vinyl)
   C.  Acetone
   D.  0000 steel wool
   E.  A good natural bristle paint brush.  Get a 1 1/2" angle brush.
   F.  A bondo palstic spreader.

2.  Tape the back and sides off 2 times, that way you have plenty of paper and tape to protect the finish.
3.  Run the pin stripe tape along the binding on the face of the guitar.  I would go out off the binding onto the finish to keep any stripper from soaking under the tape.
4.  Pour the stripper into a small paint bucket and start brushing it on from there. Here are things to remember.
   A.  Stay away from the tape so the stripper will not soak under it.  You can go back in later and scrape the binding and any finish you missed with a blade.
   B.  Stripper has parifinn in it that forms a seal to help in the stripping process.  If you continue to brush it back and forth after you apply it you will stop it from being effective.  Brush it on in one direction and leave it alone.  
   C.  After it bubbles take the bondo spreader and scrape it off.  The reason I like the plastic spreader is it conforms to the surface and will not gouge it like a putty knife.
   D.  You may have to do a few applications.
5.  After your are done stripping take the Acetone and the 0000 steel wool and wash the surface down.  Finally wash it down with clean rags and acetone.  Do not allow the acetone to soak the binding as it will also melt the plastic. Do not use water for this even though the stripper cay says it is ok.  Water will swell the wood and cause problems.  
6.  Cautions.
    A.  Go slow!
    B.  Do not let stripper or actetone flow through any wiring holes/neck bolt hole to the back of the guitar.  You may want to stay out of the pick up routes it you can.  You can do this but you have to be very careful.  I refinished Pete Anderson's 1960 strat from a bad white refin to the origional 3 tone sunburst.  Thankfully the first guy to refinish it left the trem route with the origional finish and pencil dates.  I just had to go really slow to make sure that none of that was effected during the strip and then I could rematch the color from what was in the trem route.
    C. FOLLOW ALL THE SAFTY DIRECTIONS ON THE CANS FOR DISPOSAL OF RAGS AND WASTE.  USE RUBBER GLOVES, A RESIPRATOR, AND EYE PROTECTION.

In this picture I have scraped the binding to see how far to put my tape in to keep from melting the binding.

IMG_0151-1.jpg


Here you can see how I stripped the sides of the head stock but saved the finish on the face of the head stock.

IMG_0163.jpg


Here the headstock is refinished comlpete with the aged binding. Notice how the binding matches on the front of the headstock and the side.  You can see in the last picture how white the binding was before I aged it.

IMG_0201.jpg


Here is the guitar black lacquered.

IMG_0033.jpg


Real men use sandpaper. Use a relatively rough grit like 80/100 to sand through the finish, then succeeding 220 and 400 grits until you have that "baby's ass" smooth finish to start your dye job/refinish.

I've done this several times in the course of refinishing guitars, unfortunately as it's not a flat top I wouldn't recommend a small electrical sander that would be suitable for a flat top, but on the plus side you'll build up your forearms/triceps.

You still need to mask off the binding as not to hit it with the sandpaper and scratch it....
 
Back
Top