You are using an out of date browser. It may not display this or other websites correctly.
You should upgrade or use an alternative browser.
You should upgrade or use an alternative browser.
Scratch Bass Build
- Thread starter dmraco
- Start date
bagman67
Epic Member
- Messages
- 9,211
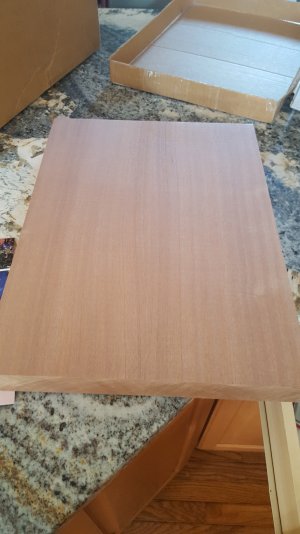
That's a handsome slab. And it is of course always fun to watch you work your way through a project. Your practical approach to problem solving is encouraging to the rest of us duffers.
When you find yourself headed into another project, I happen to have a one-piece 14"x 21" (approx) mahogany blank that's already thickness-sanded to 1.75". It has a nice swervy figure to it. Let me know if you're interested. It's the lower photo in this post:
http://www.unofficialwarmoth.com/index.php?topic=22549.msg334447#msg334447
dmraco
Master Member
- Messages
- 4,655
Bagman67 said:When you find yourself headed into another project, I happen to have a one-piece 14"x 21" (approx) mahogany blank that's already thickness-sanded to 1.75". It has a nice swervy figure to it. Let me know if you're interested. It's the lower photo in this post:
http://www.unofficialwarmoth.com/index.php?topic=22549.msg334447#msg334447
That is nice. I would hate to have cut that up for this. Maybe for a one piece build.
How much shipped to Philadelphia? PM me.
dmraco
Master Member
- Messages
- 4,655
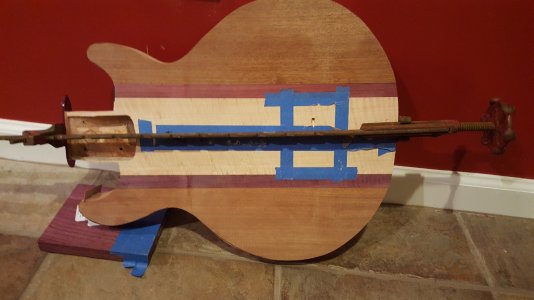
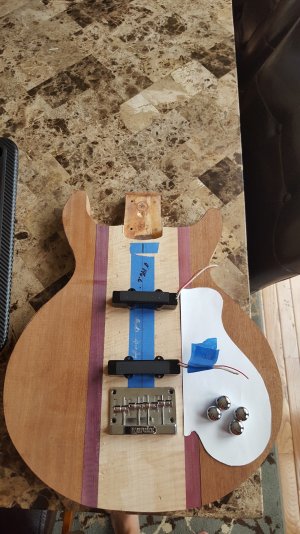
Rough cut. I added some wings on the side of the neck. My son wanted to have the neck set like the LP Jr. guitars and that leaves very little material around the neck joint. This was a compromise. I will shape the so they are not obtrusive. I think it looks great so far. Now to the sander to finish shaping.
Attachments
dmraco
Master Member
- Messages
- 4,655
Hendrix
Hero Member
- Messages
- 710
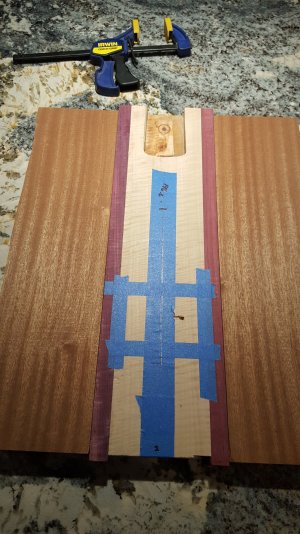
DMRACO said:The wood is planed and mocked up. Time to glue. I really like the color contrast. The Roasted maple is almost the exact color as the mahogany.
After a night in the clamps I will trace the body and cut.
nice :cool01: where did you buy Roasted maple and other wood ?
dmraco
Master Member
- Messages
- 4,655
Hendrix said:DMRACO said:The wood is planed and mocked up. Time to glue. I really like the color contrast. The Roasted maple is almost the exact color as the mahogany.
After a night in the clamps I will trace the body and cut.
nice :cool01: where did you buy Roasted maple and other wood ?
Sorry if I was not clear. The neck is roasted maple. the other wood I got on eBay.
DangerousR6
Mythical Status
- Messages
- 15,478
Very cool... :headbang1:
dmraco
Master Member
- Messages
- 4,655
Cagey said:Lookin' sharp!
Thanks Cagey. I figured I would ask you your best thoughts on polishing poly. In the past I have treated like nitro but it usually is only about 95% as good. Have you used poly and what method did you use?
DangerousR6
Mythical Status
- Messages
- 15,478
Very cool Dave.... :headbang1:
Kinda reminds me of the Kramers of yore..
Kinda reminds me of the Kramers of yore..
Cagey
Mythical Status
- Messages
- 24,425
DMRACO said:Thanks Cagey. I figured I would ask you your best thoughts on polishing poly. In the past I have treated like nitro but it usually is only about 95% as good. Have you used poly and what method did you use?
Not on guitars. Used to use catalyzed poly on cars years ago, and it didn't need buffing/polishing. Came out looking like wet glass, and stayed that way. I don't have a good place to shoot it anymore, so I use nitro.
Now that I think about it, I did shoot a couple guitars with it along with the cars. One was a '58 Tele, and the other was a '61 Melody Maker. Sounds foolish now, but it seemed like a good idea at the time. They weren't "vintage" back then, they were just old and in need of finishing. Never gave it a second thought.
dmraco
Master Member
- Messages
- 4,655
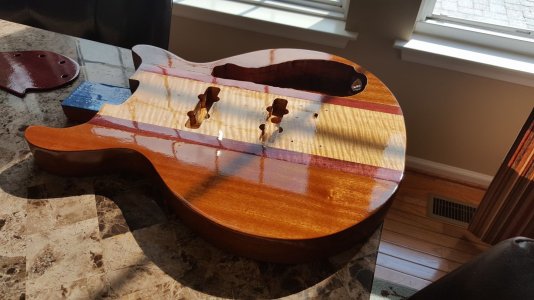
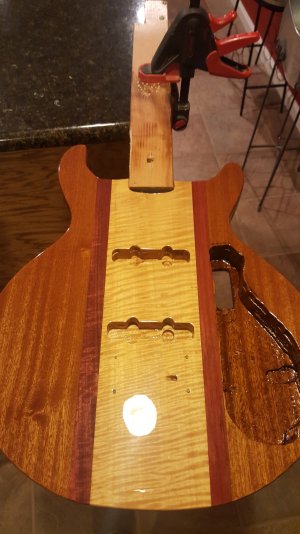
This came out very good. I ALMOST could leave it be. As you can see by the reflection there are a few waves. It may improve as it drys. I have polished before but a few ultra fine scratches remain. I may let this cure a bit longer and try to decrease the wheel speed and pressure on this attempt.
Cagey
Mythical Status
- Messages
- 24,425
Poly's not as heat-sensitive as lacquer, but slowing down the buffer certainly won't hurt anything. Might stretch your time out, but probably not so much that it'd be a problem. It does almost look like you could leave it. I can't tell from here if what I'm seeing is orange peel or underlying surface prep. I think I see join lines, which isn't unusual - different densities of wood are tough to level. One wants to sand faster than the other.
dmraco
Master Member
- Messages
- 4,655
the wood levels are the same. It took forever and a day to get it right. Sanding purple heart is like sanding Granite, especially when the wood next to it is basswood!
There is a slight wave if you look at the reflection, or that could be because it was still wet. I am going to let it sit thru Monday and evaluate from there. I guess I have to accept if I sand I will NEVER get that untouched poly shine.
There is a slight wave if you look at the reflection, or that could be because it was still wet. I am going to let it sit thru Monday and evaluate from there. I guess I have to accept if I sand I will NEVER get that untouched poly shine.
Similar threads
- Replies
- 6
- Views
- 196
- Replies
- 51
- Views
- 5K


