docteurseb
Hero Member
- Messages
- 774
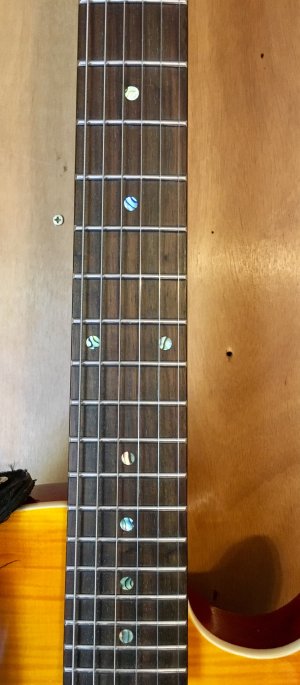
There are a few Tele "in-stock" necks I like for an upcoming build but they usually have cream dot inlays.
Maybe I could upgrade the dots as explained here and learn a new trick (or ruin a neck) in the process:
https://www.youtube.com/watch?v=ki0YqTZXI78
That looks simple, right ?")
I wonder if the cream dot material Warmoth uses will be as cooperative as the plastic dots seen in that video.
Has anyone tried something this ?
Maybe I could upgrade the dots as explained here and learn a new trick (or ruin a neck) in the process:
https://www.youtube.com/watch?v=ki0YqTZXI78
That looks simple, right ?
I wonder if the cream dot material Warmoth uses will be as cooperative as the plastic dots seen in that video.
Has anyone tried something this ?