Leaderboard

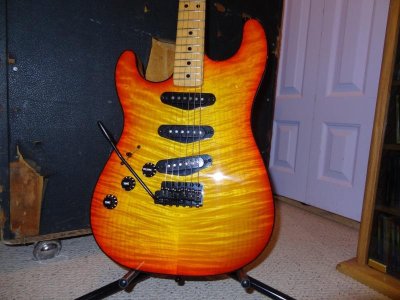
It's another Tequila Sunrise

adked

Junior Member
Messages
59
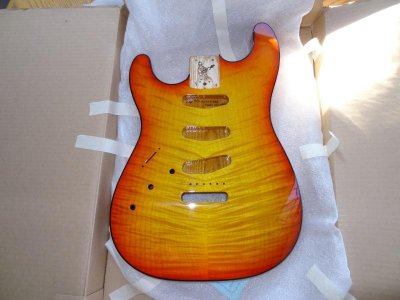
I've never done anything like this before and I'm not real good with tools so it's both exciting and a little scary. Don't want to ruin anything so I'm trying to be careful.

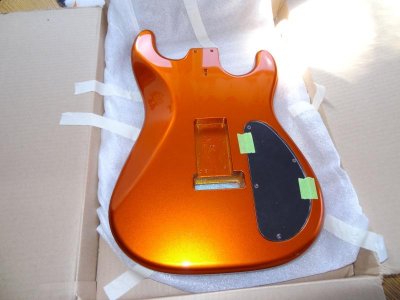
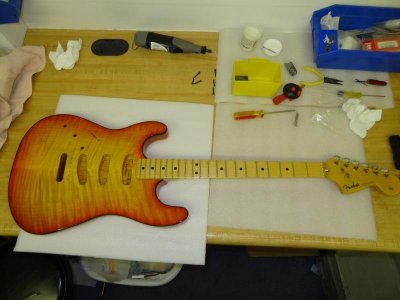
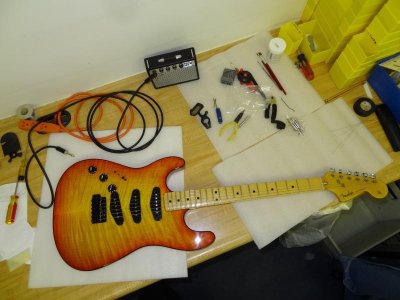
First a couple of box photos, then a quick neck and bridge assembly to make sure it's going to work at all.

Everything seems to line up ok, so that's a relief.  Wasn't really sure what was going to happen when I put a right-handed neck on a left-handed body, but it seems to fit just fine.
 

Attachments

  • strat1.jpg
    strat1.jpg
    52.8 KB · Views: 29
  • strat2.jpg
    strat2.jpg
    47.8 KB · Views: 23
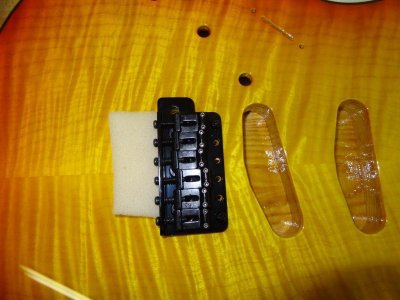
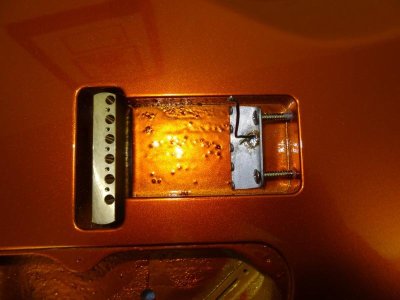
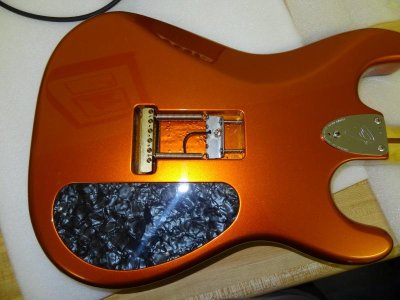
Having some trouble with attachments, so can't post a lot of pix.  Bridge attachment.
 

Attachments

  • strat10.jpg
    strat10.jpg
    59.6 KB · Views: 13
  • strat12.jpg
    strat12.jpg
    51.8 KB · Views: 8
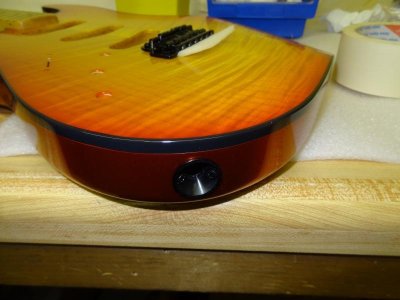
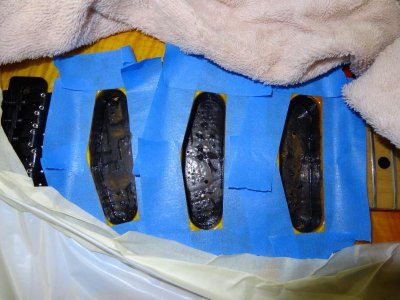
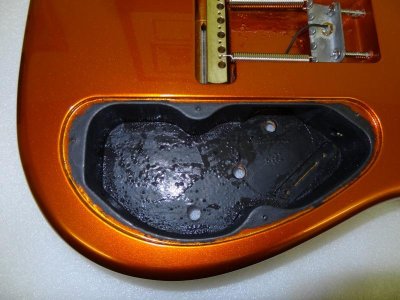
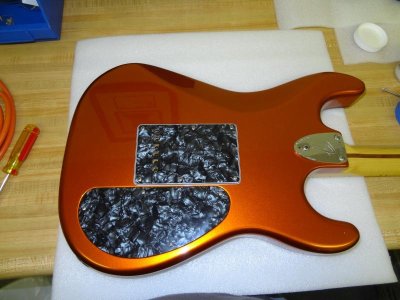
Some conductive paint and jack plate attachment.
 

Attachments

  • strat17.jpg
    strat17.jpg
    62.7 KB · Views: 11
  • strat14.jpg
    strat14.jpg
    49.2 KB · Views: 7
  • strat16.jpg
    strat16.jpg
    74.7 KB · Views: 6
  • strat15.jpg
    strat15.jpg
    72.6 KB · Views: 5
So that completes the first day's work.  I'll get together the photos from yesterday and post them shortly.

Today I have to do the hard parts - the strap buttons and back plate.
 
well the good thing is that you can line up the bridge Strap button with the Lam top center line.
As far as the upper I mount it SG Style:
WP_000953.jpg


And when you say back plate I assume you mean the control cavity cover?
 
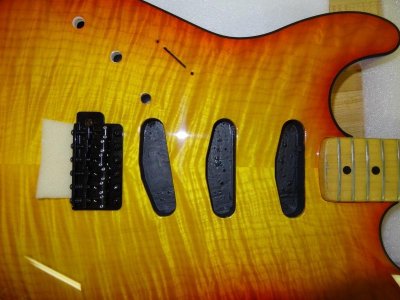
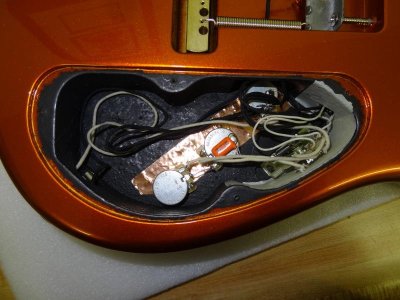
Took care of setting up the tremolo and the wiring yesterday.  Ended up with 3 springs, that's all I need to float the trem with .009's.  This Gotoh vintage trem is very responsive, gotta get used to it.

I had to move the switch over to the other side of the controls but didn't really want to re-wire everything.  There was just enough wire to move it but it doesn't look as nice as it should in there.

Plugged it in to test that everything was working and all is well.
 

Attachments

  • strat19.jpg
    strat19.jpg
    68.1 KB · Views: 8
  • strat20.jpg
    strat20.jpg
    61.4 KB · Views: 9
  • strat21.jpg
    strat21.jpg
    58.5 KB · Views: 8
Pretty much finished things up today.  Installed the trem cover first.  I should have ordered some black screws for both covers, used the new screws for control cavity cover and old ones from other body for the trem cover.

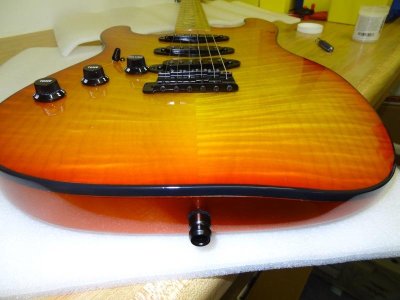
Finally, I went for the last thing, installing the strap buttons.  This was pretty scary but ended up alright.

Ran though a setup, but there wasn't much to change.  I raised the saddles a quarter turn from my first guess and got the intonation set.  Then adjusted pickup height a little to even things out and that's it.  It's a guitar!

Been playing it all day and it's a big improvement. I'm getting great sustain, nice tone selections, and ridiculously low action without buzzing.
 

Attachments

  • strat23.jpg
    strat23.jpg
    51.7 KB · Views: 5
  • strat22.jpg
    strat22.jpg
    65 KB · Views: 7
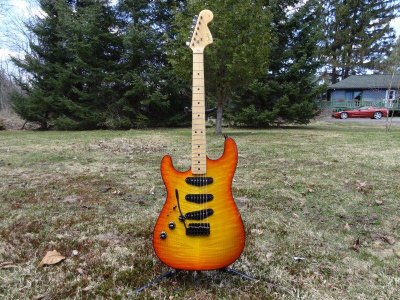
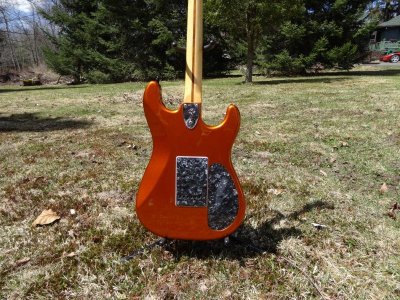
A couple of finish photos -
 

Attachments

  • strat24.jpg
    strat24.jpg
    159 KB · Views: 25
  • strat25.jpg
    strat25.jpg
    154.1 KB · Views: 7
  • strat26.jpg
    strat26.jpg
    70.1 KB · Views: 14
sixstringsamurai said:
well the good thing is that you can line up the bridge Strap button with the Lam top center line.
As far as the upper I mount it SG Style:


And when you say back plate I assume you mean the control cavity cover?

Yeah, I used the line down the middle to center the button left to right.  For top to bottom, I put on some tape, took it off and creased it, then put it back on.  That gave me a pretty good idea where the center was.

The horn button was a little more....no... a lot more difficult trying to figure out where to put it. Then I kept thinking the bit was going to break off inside the wood, but fortunately that didn't happen.  Strap buttons held up fine tonight, so hopefully it will stay like that.
 
Back
Top