Has anyone made their own pickguard?

exalted

Hero Member
Messages
723
!BP,+OhgCGk~$(KGrHgoH-CYEjlLlq68ZBJzmoRj-yw~~_35.JPG


This Hellcat makes me want to put either a blue or green pickguard on mine. I see that Warmoth sells pickguard blanks - does anyone have any experience cutting their own?
 
Make a template out of 1/2" MDF. Make it as smooth as you can. Use a matching drill bit on the four inside corners of the pickup holes to get them correct in one shot; sawing them out sucks. If you have access, use a band saw or scroll saw to cut out the shape and the pickup holes, then use hot melt glue or bondo to fill up the part where the saw cut 'to' the pickup holes (the red lines in the photo; you have to get to those areas somehow, so then just go back and fill them in so the router doesn't hit a bump at those points. In your case I'd cut into the neck pickup hole, then from there into the other two. Go slowly and watch your thumbs.

Use the old 'guard to drill 4 or 5 holes through the new blank. Recess them to keep the screws flush with the surface (but not more than the rest will be. Use those holes to attach the blank to the MDF (on top). You can rough-cut the blank to shape first, but I don't think its crucial.

Use a flush-cut bit (bearing on the bottom) on a laminate router (the small ones) to cut it to shape, then a 45 degree bit to bevel the edges.  Drill and recess your holding screws, drill your control holes, and there you go.

I hope that helps; don't hesitate to ask questions.
 
Wow. Thanks for the info. This sounds WAY out of my league. I'll see what my dad thinks - he's way more handy than me.
 
I made a pickguard for my zombie Strat build that I've just finished, as the body is a different shape from a Fender and none of the standard pickguards fit, without using any complicated tools. I will put up pictures at some point, but it's not a Warmoth build so I can't post them in the gallery.

I made a template from paper then stuck it onto the pickguard blank.

I cut roughly around it with a coping saw, used a Dremel-type rotary tool to cut it down to the exact size and bevel the edge, then files and sandpaper to smooth it.

To cut out the pickup holes, I drilled holes near the corners, then again used the coping saw to cut the rough shape, the rotary tool (not an actual Dremel but a cheap imitation) to get to the right place then files for the final smoothing.

Drill and reamer for the control holes.

It took quite some time, and the result is not absolutely perfect; the bevel around the edge is not completely even and at the same angle all the way round, but from 3 feet away you'd never notice. Someone with more skill and patience than me could probably get it as good as a 'real' one.
 
One thought as I have made a pickguard or two..... the stuff melts rediculously when you cut it with a power scroll saw.  A band saw isn't as bad, but you cannot cut the pickup holes with  a bandsaw.  Honestly the best way is with a template and a router.  You can use an old pickguard to make your template with a router and a laminate bit.  But you really want to use a router for the final cuts as it cuts that plastic pickguard material best.

If you are having trouble I can do a pickguard for you if you have a template or you can direct me to a template PM me if you like
 
BigBeard said:
... the stuff melts rediculously  ... But you really want to use a router for the final cuts as it cuts that plastic pickguard material best.

QFT! I have made two pickguards using Dremel, files and what not. It is a time consuming and ill smelling task not using a router.
 
never having made a pickguard, but having made a few wooden airplanes using nothing but wood block, some epoxy, and a lot of elbow grease, I'd say the best advice I've seen from this thread and which I'd echo is: buy material enough for three pickguards, and by the time the third version comes around, you'll probably have something worth drilling holes in body wood
 
I make custom pickguards on a regular basis. here's my typical workflow ...

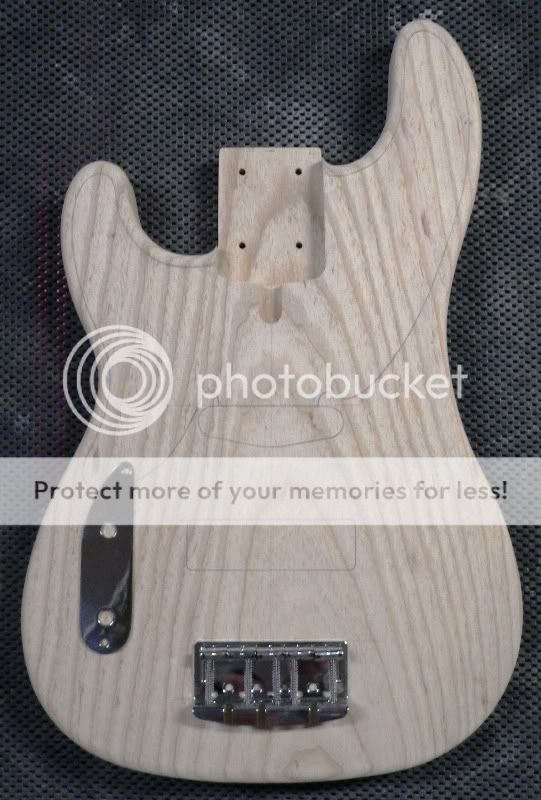
1) design the pickguard on the body (easier for a customer to visualize the rounded edges) being careful not to leave impressions or graphite marks on the wood

RH09503L-PickguardPlusHardwareAr-1.jpg


2) make a paper template and position it on the finished body, massage if needed, secure client buy-off

RV09502P-PickguardDesign-Take2.jpg


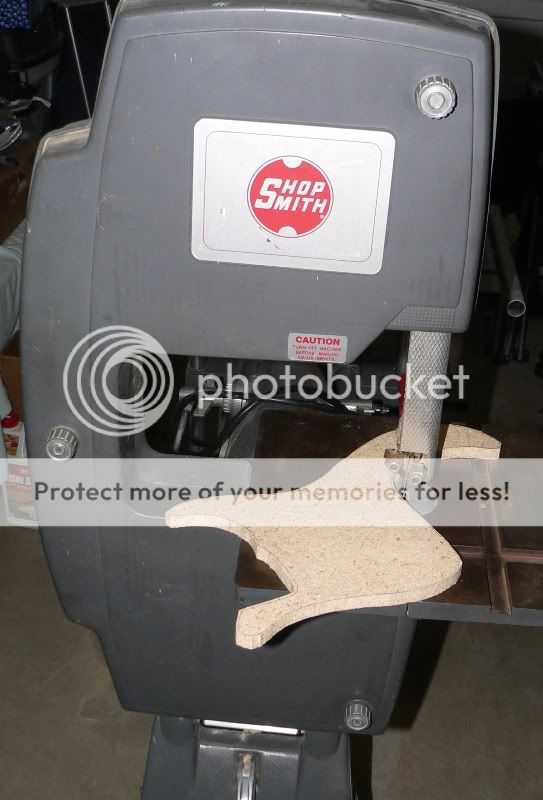
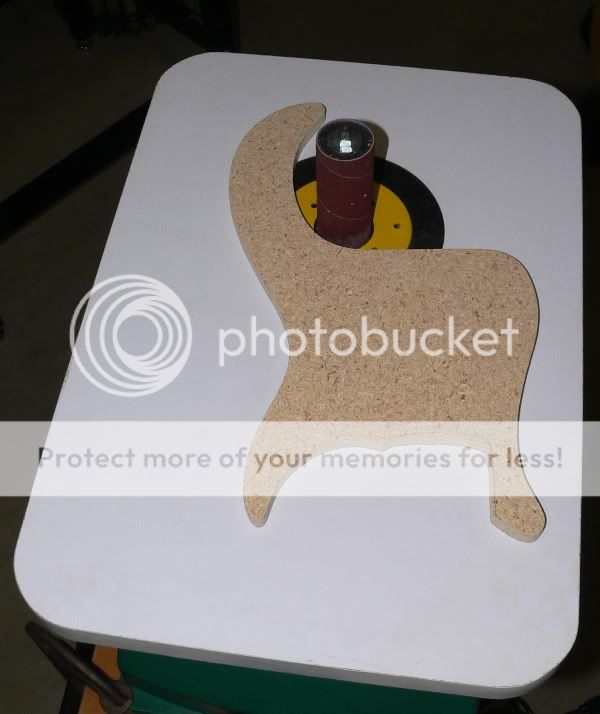
3) make a wooden template by tracing the pattern, cutting it out at the bandsaw, and detailing it with an ascillating drum sander and sanding blocks

RGW-PinJig-FirstPickguardTemplateRo.jpg

RGW-PinJig-FirstPickguardTemplateDe.jpg


4) double stick tape the pickguard blank to the template and use a template bit to cut the perimeter.

51Tele5P_K_PickguardFreshlyCut.jpg


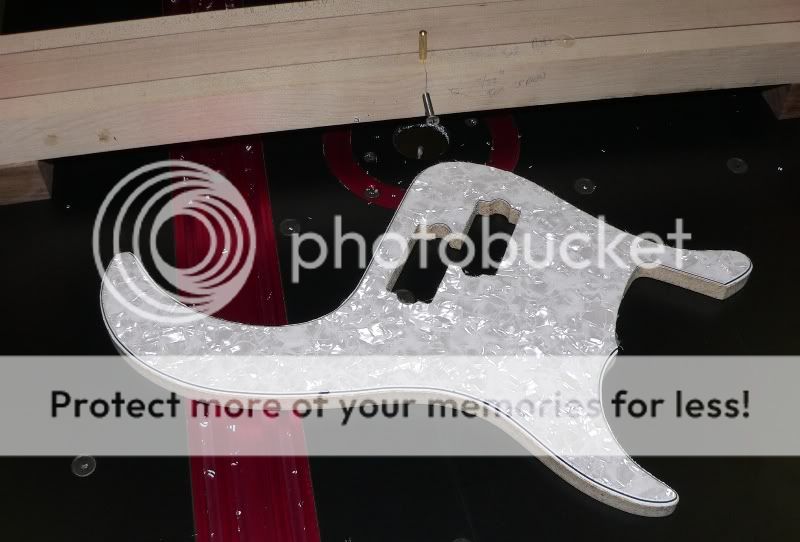
5) use a home made 'pin router jig' to cut the pickup holes. I went this route because of the very small corner radius needed for may pickup shells

RGW-PinJig-FirstPickupCutout.jpg


6) use a chamfer edge router bit to add the edge detail (the angle I use varies by pickguard design and material thickness.)  once removed from the template, I use various grits of sandpaper to detail and buff the beveled edges

RGW-PinJig-FirstPickguard.jpg


7) I then drill the mounting holes and countersink them with a bit that matches the angle of the mounting screws

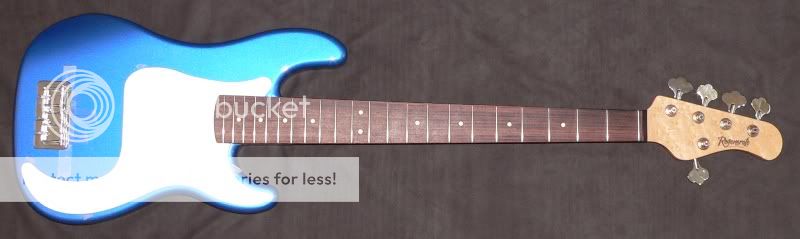
8) the completed pickguard installed

RV09502P-Complete-BodyFront.jpg


all the best,

R
 
That is some nice work.

I tried making a pickguard out of that clear plastic stuff.
I would always get to the very and and would be doing some final sanding and boom the thing would shatter.
Very frustrating haha.
 
Back
Top