

ARCnet78
Junior Member
- Messages
- 72
Placed order March 19, received notification of shipments (two) last evening. :hello2: Now the wait for trans border/continent shipment from the Pacific coast of USA to the Atlantic coast of Canada. :dontknow:
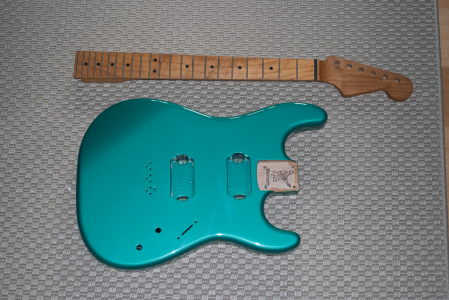
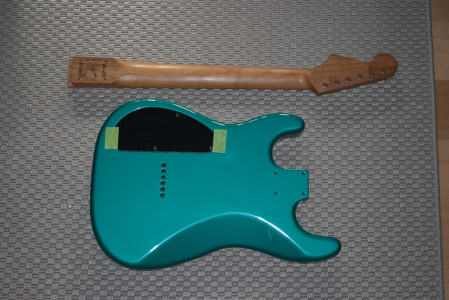
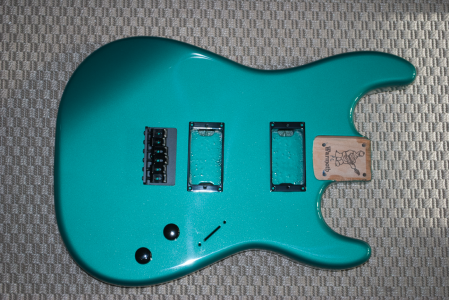
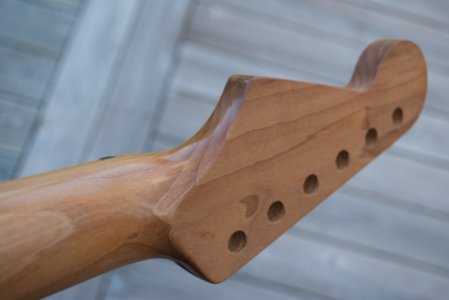
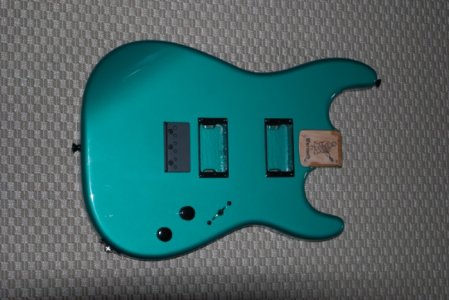
What I ordered from Warmoth
Showcase
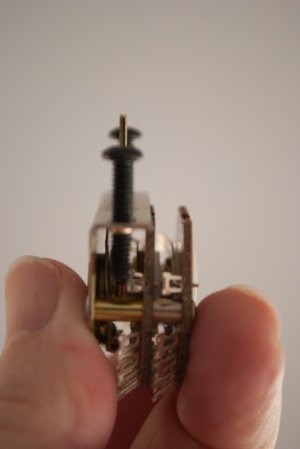
Pickups, bits and pieces, tools and materials from various other sources.
I built a Solo strat kit a few years ago and I quite enjoyed working through all the processes to complete it. My vision for this build based on the MIJ Boxer, but hardtail and 24 ¾ scale with all black hardware. Very much looking forward to working through this prep and build. Stay tuned, photos to come, as long as I remember to take them.
I’m pretty excited! :blob7: It's a 60th birthday present to myself.
What I ordered from Warmoth
Showcase
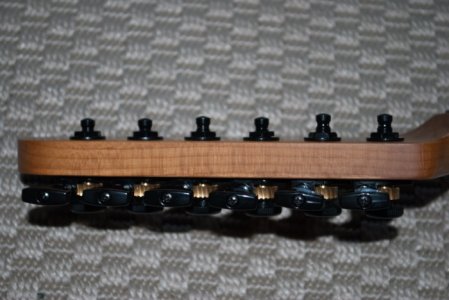
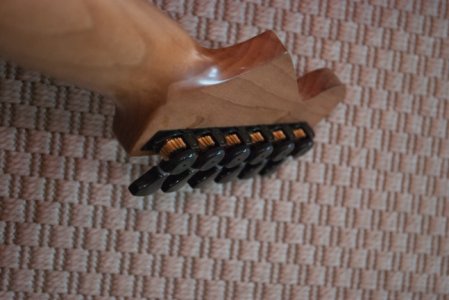
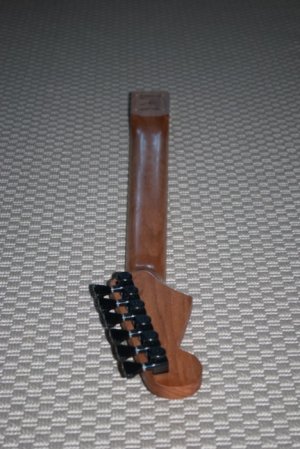
- Roasted maple neck
- Gibson conversion
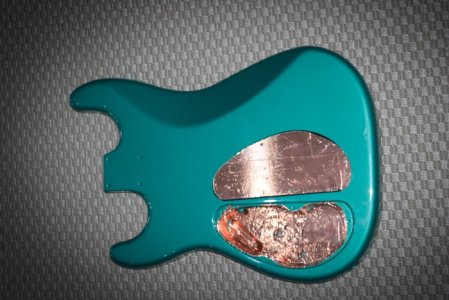
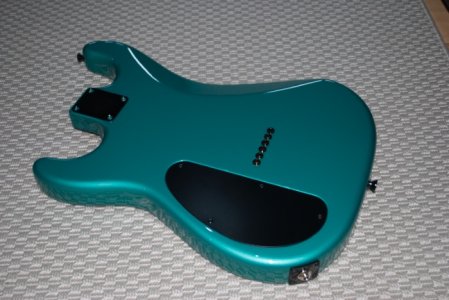
- Alder, chambered
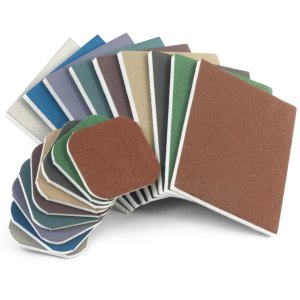
- Sherwood green
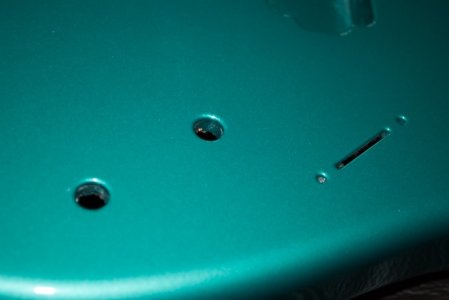
- Rear rout control cavity
- HH pickup rout
- Hardtail bridge
- Side jack
Pickups, bits and pieces, tools and materials from various other sources.
I built a Solo strat kit a few years ago and I quite enjoyed working through all the processes to complete it. My vision for this build based on the MIJ Boxer, but hardtail and 24 ¾ scale with all black hardware. Very much looking forward to working through this prep and build. Stay tuned, photos to come, as long as I remember to take them.
I’m pretty excited! :blob7: It's a 60th birthday present to myself.

 ccasion14: thanks