Leaderboard

Arctic White Teledeluxe Neck Install and Assembly

Rick

Epic Member
Messages
6,669
I finished the tuner installation:

http://unofficialwarmoth.com/index.php?topic=24413.0

So now I'm moving onto the neck install and final assembly.
This was a Chris Shiflett model that I got at a deep discount.
To my mind, it'll wind up being a blend of a tele, a strat, a jazz master, an LP, a Parker Fly and a Warwick.
When I'm done I'll list out all the parts.
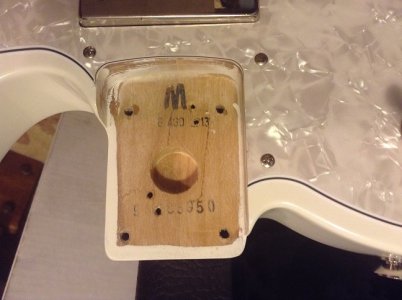
Here's the neck pocket.  As you can see it was born on Agusto Ocho, Vente Trece, somewhere in "M"

The body is alder, and has a tummy cut.
 

Attachments

  • TD neck pocket.jpg
    TD neck pocket.jpg
    107.3 KB · Views: 22
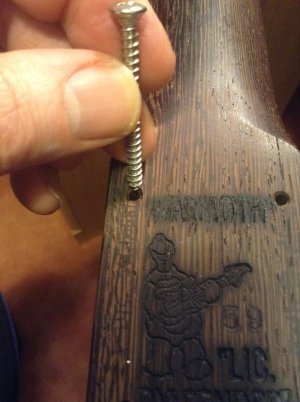
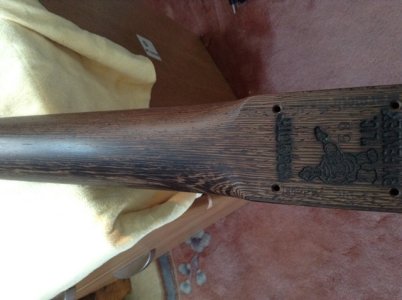
Here's the neck heel.  I'm checking out the size of the screws.  Looks OK.  It's a standard strat neck with 1 3/4 width nut, graph tech black nut, steel frets and LP profile.

Neck is wenge / wenge.  Very slick.
 

Attachments

  • td neck before install.jpg
    td neck before install.jpg
    123.9 KB · Views: 8
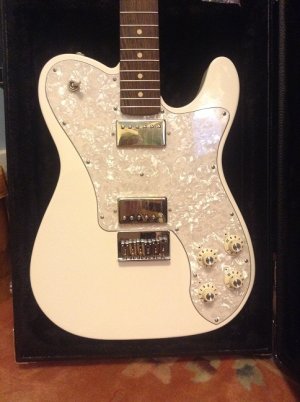
Here's the body.  The humbuckers are pretty good, they are supposed to be Fender's Versions of a Seymour Duncan JB and a '59 specially wound for Senior Shiflett.  Humbuckers have a 16k and 7k resistance.

I believe they are Duncan Designed made in South Korea with no label.  At this point I have no reason to swap them out.  They aren't too bad, in fact just as good as the original seymours!.

The pots are 250 K.
As some of you may know the JB was originally designed to be used with 250k pots, hence the shrillness if 250k pots aren't used with correct caps.  So 250k pots are correct.  The 59 sounds thick.  Some highs are knocked off, but you get presence.

The control knobs are White Jazz Masters and the switch has a white LP tip.  I really like the white jazz master knobs.  Besides being easier to see, they're the right side up (as opposed to the original black witch hats).  Also I switched out the cheapo bent steel original strat saddles with some nice Graph Tech Stainless Saddles with that black tusq insert.  They really increase the sustain, and add warmth.  I believe that's because the saddles transmit the full range of frequencies, not just the top end like the originals.  So you get that fender zing plus the low and mids.

It actually is lot brighter and shinier in person.  When it's done I'll post some outdoor pics.
 

Attachments

  • td body.JPG
    td body.JPG
    117.4 KB · Views: 29
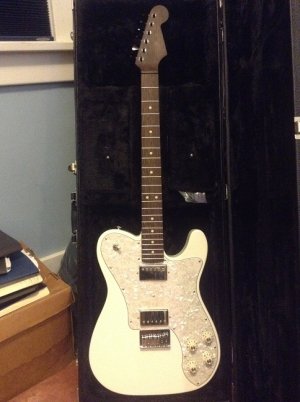
Here's the body and the neck.  They fit like a glove ... thank god!
 

Attachments

  • td body and neck.JPG
    td body and neck.JPG
    121.1 KB · Views: 30
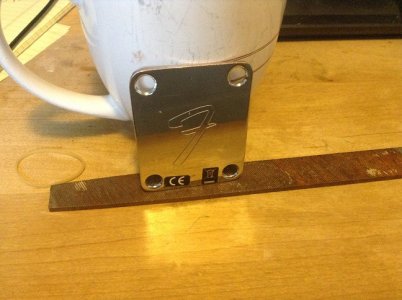
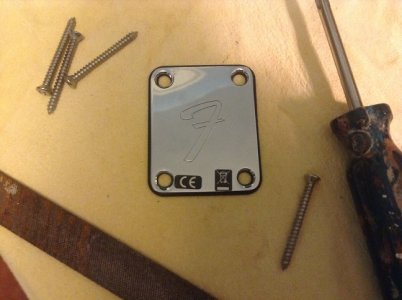
Of course, the neck plate that came with the guitar wouldn't fit the plastic neck plate pad I got from warmoth, so I got out my handy dandy metal file ....
 

Attachments

  • TD - neck plate after filing.JPG
    TD - neck plate after filing.JPG
    132 KB · Views: 11
And here it is fitting ...
 

Attachments

  • td neck plate with plastic.jpg
    td neck plate with plastic.jpg
    112.4 KB · Views: 14
Beginning the neck install.  First let's inspect it ...
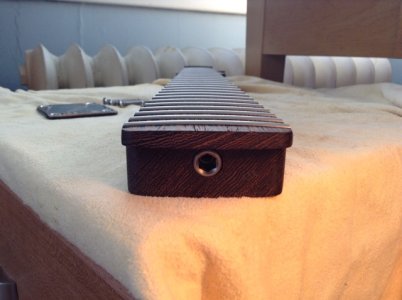
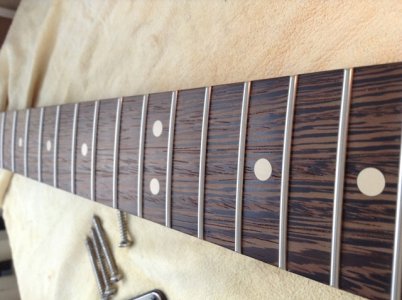
From top to bottom the neck wood looks like quartersawn wenge, however, from the end you can see it's really 45%.
The fret board is flat sawn at like a 10% angle and has interesting grain run out.  A nice combination.
Frets are stainless
 

Attachments

  • td neck looks quatersawn but really 45 degrees fretbd flat sawn showing grain run out.jpg
    td neck looks quatersawn but really 45 degrees fretbd flat sawn showing grain run out.jpg
    94.8 KB · Views: 15
looks almost 1/4 sawn
 

Attachments

  • td neck looks quarter sawn almost.jpg
    td neck looks quarter sawn almost.jpg
    103.2 KB · Views: 13
Grain run out, particularly on the bass side.
 

Attachments

  • td interesting grain run out cant get with quatersawn.jpg
    td interesting grain run out cant get with quatersawn.jpg
    118.5 KB · Views: 18
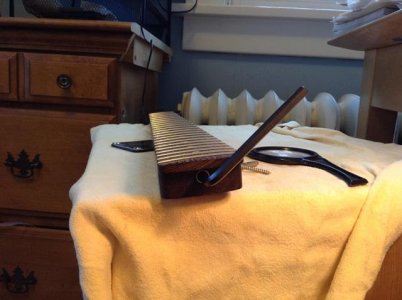
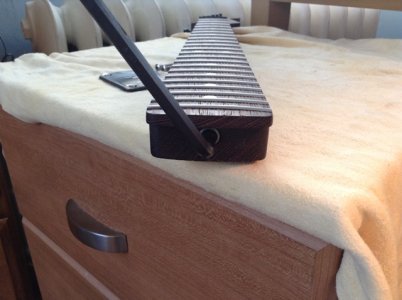
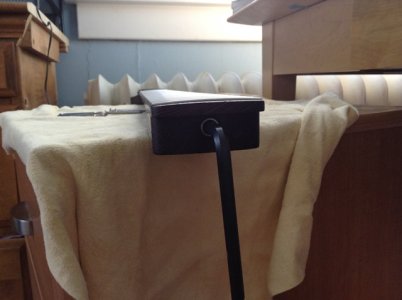
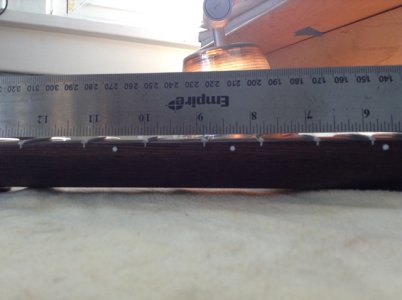
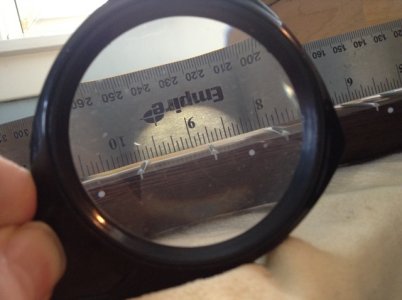
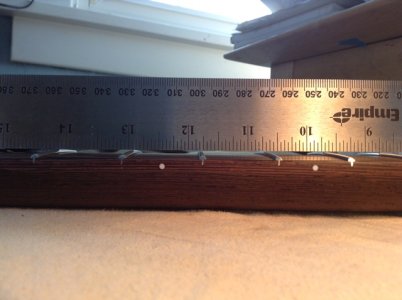
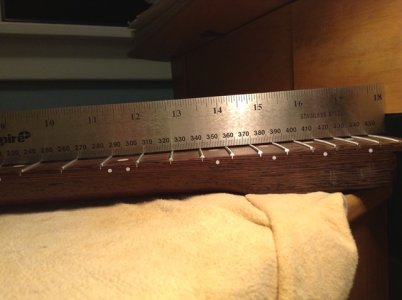
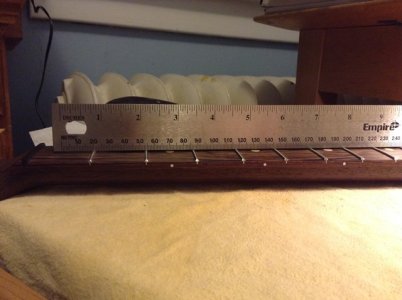
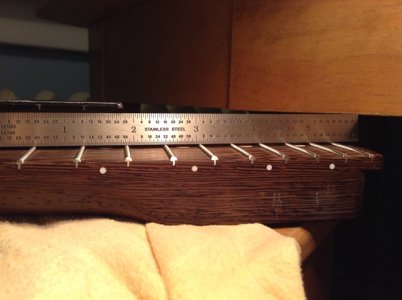
Adjusting the neck to make it flat ... I turned it about 1.5 times to the right to flatten it out.  The neck came to me really loose. Once I got to 1.5 turns it was then 1/4 turn one way, and then 1/8 turn that way until I got it flat, then 1/16, another, then etc.  I would've accepted some fall away from fret 17 to the end, but the neck just wanted to be completely flat so I let it.

Tools:
7/32 hex wrench
18 inch stainless ruler
6 inch stainless ruler
magnifying glass
light

Note that the fret ends look remarkably good and I haven't touched them.

Also, the hex nut moved smoothly whichever way I put it.  Nice!
 

Attachments

  • TD 7 - 32 wrench in the hole.jpg
    TD 7 - 32 wrench in the hole.jpg
    38.5 KB · Views: 5
  • td neck adjust.jpg
    td neck adjust.jpg
    105.9 KB · Views: 5
  • td fret ends more adjusting.jpg
    td fret ends more adjusting.jpg
    83.3 KB · Views: 5
Pictures from the flattening process ... note the gaps under the straight edge .. used an 18 inch ruler.  You can see the lamp I used as the light source for between the ruler and the frets.
 

Attachments

  • td beginning neck adjust.jpg
    td beginning neck adjust.jpg
    76.7 KB · Views: 12
  • td gaps now you can see them.jpg
    td gaps now you can see them.jpg
    86.5 KB · Views: 13
  • td gaps.jpg
    td gaps.jpg
    89.7 KB · Views: 12
And finally it's flat.  I used the 6 inch steel straight edge for to check the butt end.  No matter how I tried I couldn't get the right amount of fall away so I just left it dead flat.  According to Dan Erlwine this is acceptable (plus the warmoth instructions dictate it).
 

Attachments

  • td long ruler final dead flat.jpg
    td long ruler final dead flat.jpg
    91.2 KB · Views: 7
  • td long ruler final neck top dead flat.jpg
    td long ruler final neck top dead flat.jpg
    77.2 KB · Views: 4
  • TD final 6 inches dead flat no fall away.jpg
    TD final 6 inches dead flat no fall away.jpg
    94.2 KB · Views: 6
To get fall away is something you would tend to do after levelling the frets, you want the neck straight to level frets.

To create the fallaway, you can wrap some masking tape around a levelling file for example so it will file at a slight incline creating fallaway, rather than trying to do it with the truss  rod.
 
Thanks strat man.
I won't look for fall away until it's time to do the fret work
 
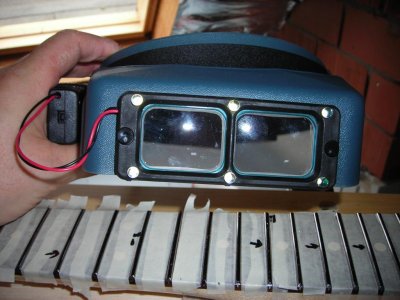
Here you are Rick, I knew I had made a picture of this somewhere.

http://unofficialwarmoth.com/index.php?topic=23725.msg347692#msg347692

Fallaway is a subtle thing and done after the main levelling job. At least that is how I do it.
 
Strat man, where did you get these loups, is that what they are called?  Do they have brand name?  I don't know if you noticed but I had been using a magnifying glass and something like that would make things a lot easier.
 

Attachments

  • FretandFinish5.jpg
    FretandFinish5.jpg
    102.5 KB · Views: 8
Rick said:
Strat man, where did you get these loups, is that what they are called?  Do they have brand name?  I don't know if you noticed but I had been using a magnifying glass and something like that would make things a lot easier.


Quick'n'dirty Google search on "magnifying visor":


https://www.google.com/webhp?sourceid=chrome-instant&ion=1&espv=2&es_th=1&ie=UTF-8#q=magnifying%20visor
 
I got them from StewMac.

http://www.stewmac.com/Luthier_Tools/Tools_by_Job/Maintenance/OptiVISOR_Headband_Magnifier_OptiVISOR_with_Quasar_LS_lights.html

You probably can get them elsewhere. I like the lights on them as you can really see a lot of detail when needed.
 
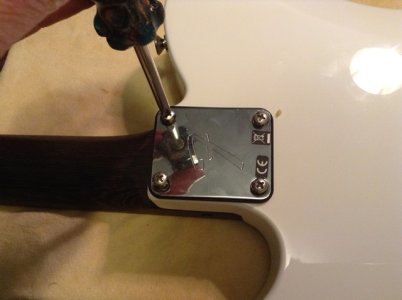
Well ... Brought the git to a guitar tech.  Fender had made the body bolt holes too thin, so there was a gap between the neck and body.
 
Here are some pics.
Here's screwing on the bolts
 

Attachments

  • TD neck screw.jpg
    TD neck screw.jpg
    81.6 KB · Views: 8
Back
Top