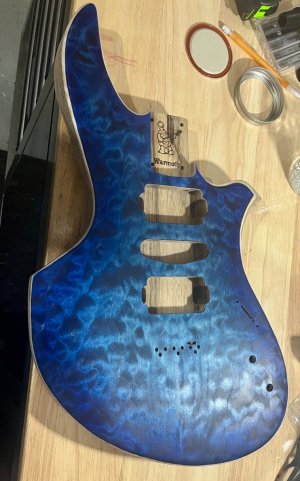
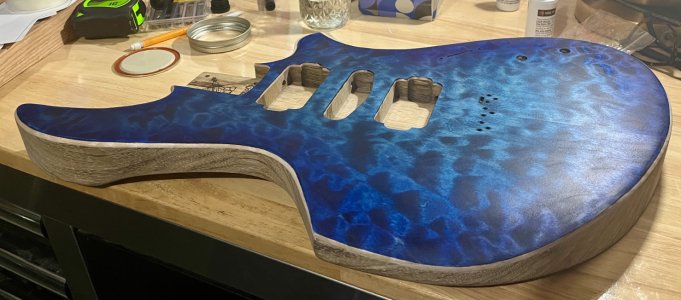
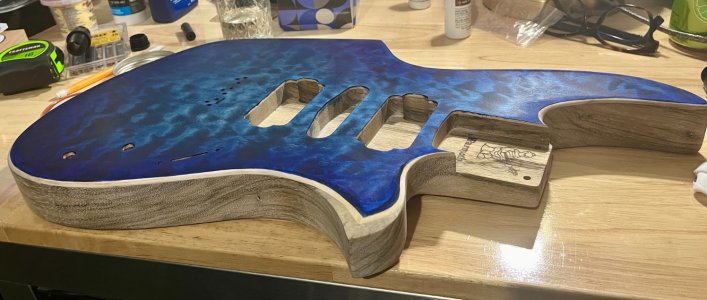
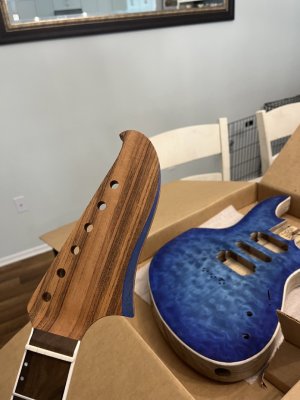
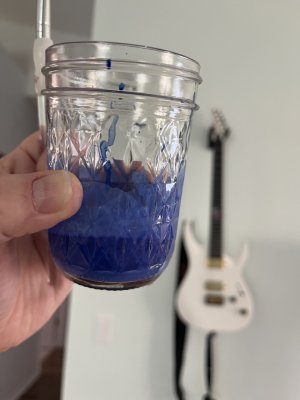
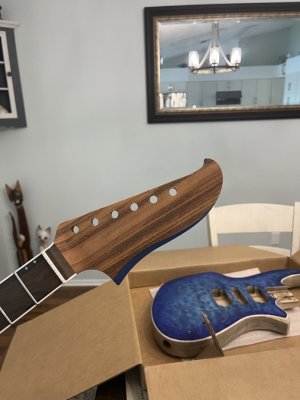
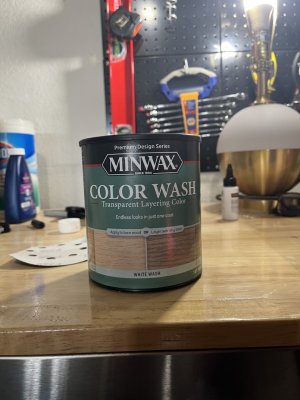
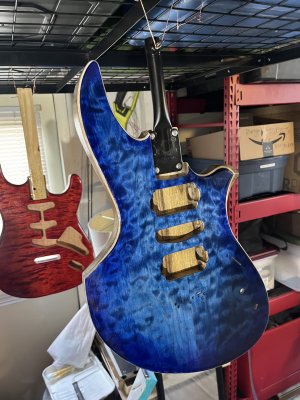
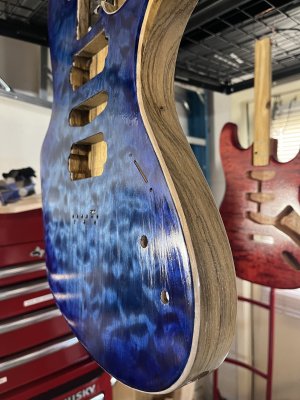
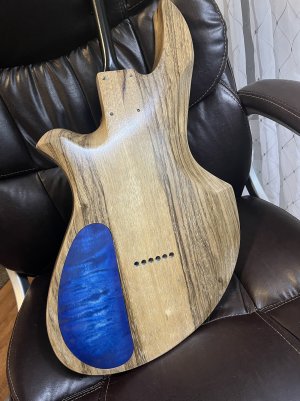
Ok so quick update here. I was VERY unhappy with how the wipe on poly was going with this so I sanded it back and went with rattle can nitro. I was using Oxford brand on the Red Strat in my other post, and ordered Colortone nitro from Stew Mac for this Z Body and boy am I happy with it. I have 4 coats of sanding sealer on and took this photo after the first coat of clear had dried. I should have about 7 more coats stacked on by the end of this week.
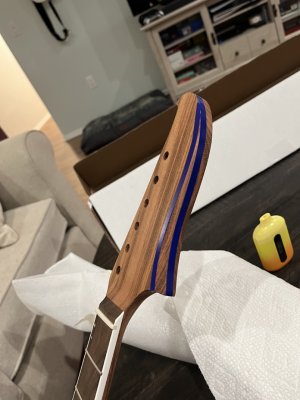
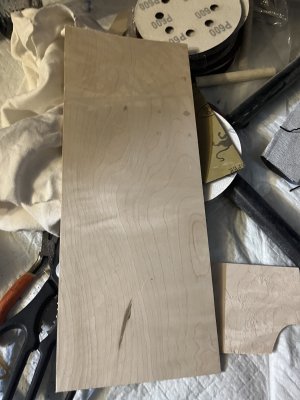
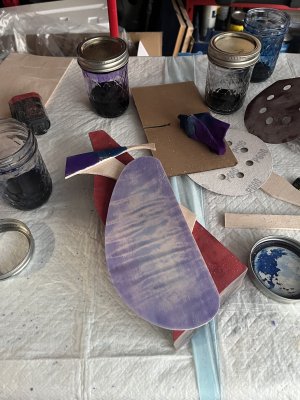
I also got my hands on a piece of 1/8" thick curly maple that I traced out the control cavity plate cover onto and cut out with my scroll saw. I did my best to match the finish to it last night and applied a quick coat of sealer to it. I'll be stacking several more coats of clear on it but I'm pleased with how it came out thus far. Let me know what you guys think
")