Verne Bunsen
Hero Member
- Messages
- 2,511
Having made my career on the Operations side of things, I've developed a somewhat cynical attitude regarding the fun that the guys in Engineering must have deliberately designing things in such a way as to make maintenance nearly impossible. I picture them laughing and patting each other on the back as they route a piece of pipe to run 6 inches above a pump motor or put a critical fastener where it can only be reached by a contortionist with an extra joint (and even then they won't be able to get a tool on it because of proximity to other things, HAHAHA!). Every now and again I encounter something that says, "Hey, we put some thought in to this and made it really easy for you to operate and maintain." This was one of those situations. No solder, no dis-assembling and removing other components just to get to the one I'm working on, just a 2-pin connector and easy access. Thanks Strymon!
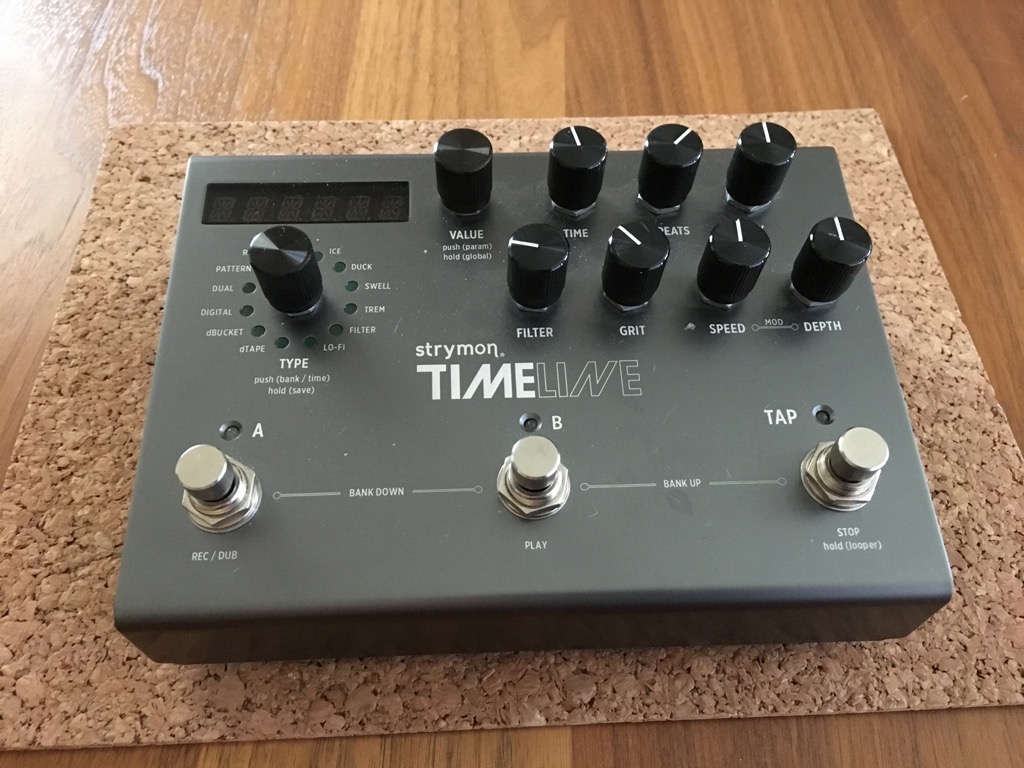
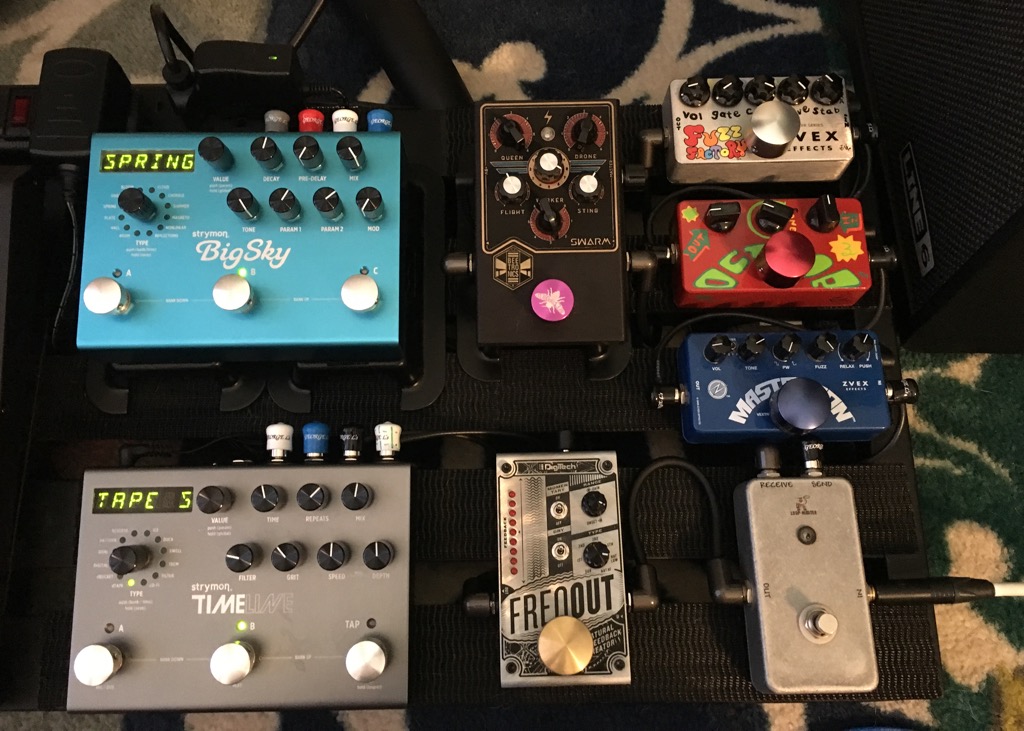
So, with that out of the way, This here is the Strymon TimeLine I recently bought on Reverb (Etsy?).
It was fully functional, but one of the footswitches was getting a little squirrelly in that it would intermittently fail to register a press. I wasn't too surprised; I knew it was a few years old I'd imagine those switches have been through a lot of cycles. It worked most of the time, just missed enough that I noticed. I saw that Strymon sells replacement switches right on the website, so I snagged three. Might as well do them all. As I said, it's a simple procedure, but I still thought it might be of interest to some so I figured I'd just document it anyhow.
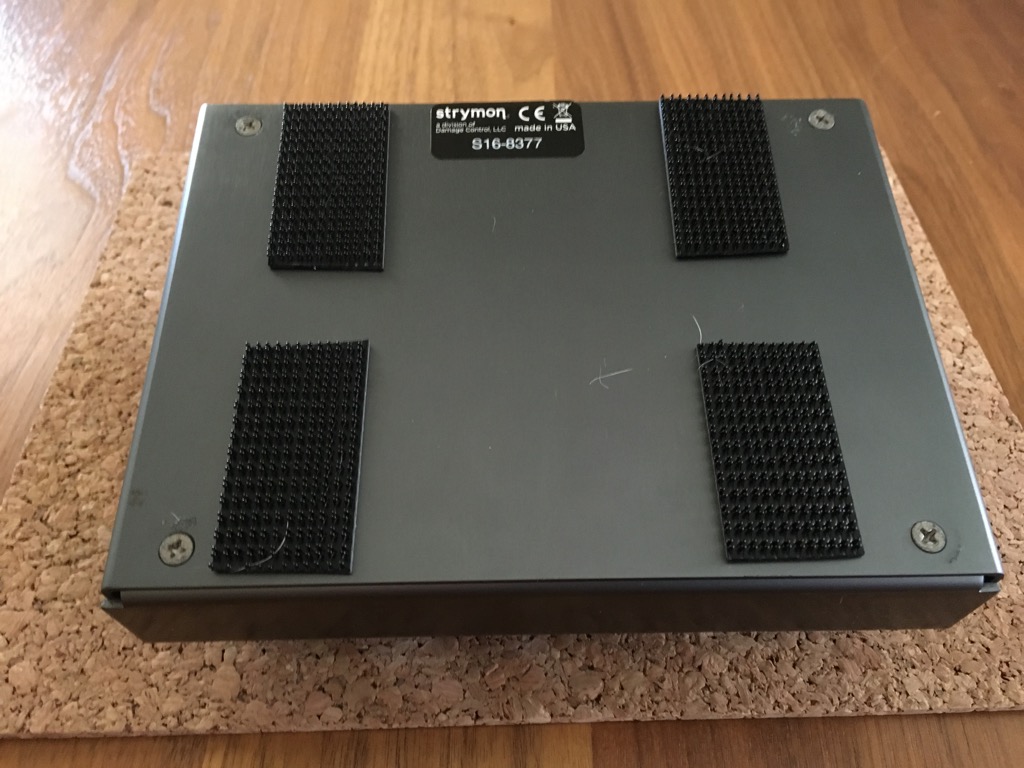
Four screws on the back provide access to the internals.
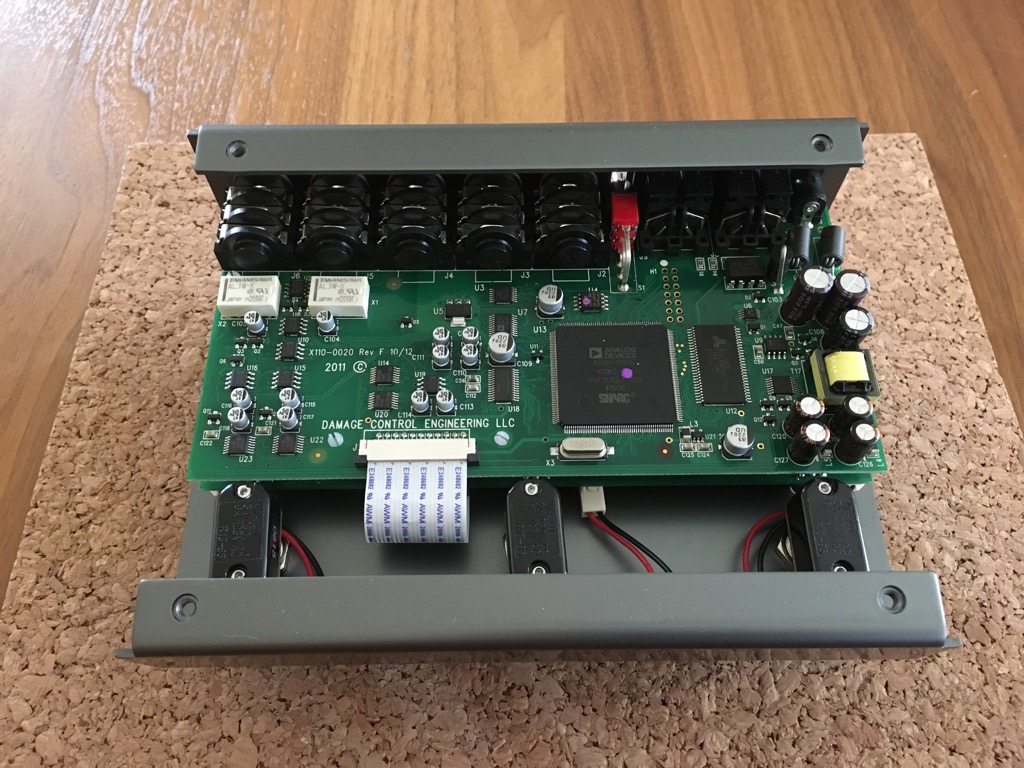
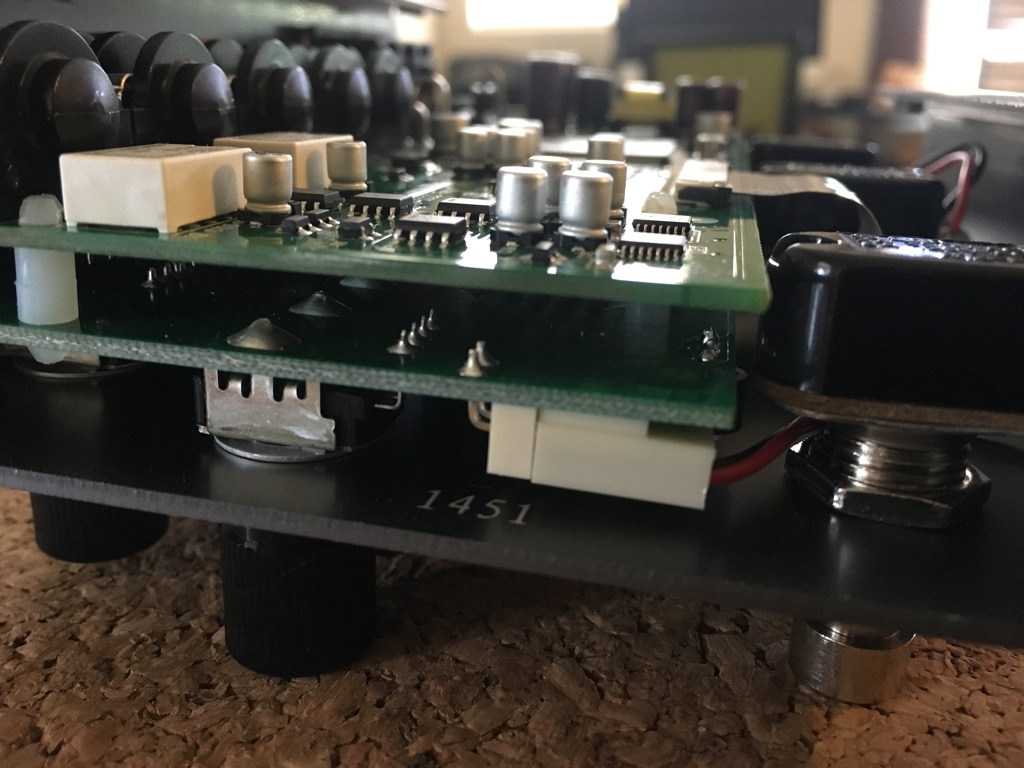
Each switch connects to the board with a simple 2-pin connector. No clips or other complications, they just slide right off. I should have grabbed a picture of it with the connector removed, but..... I didn't.
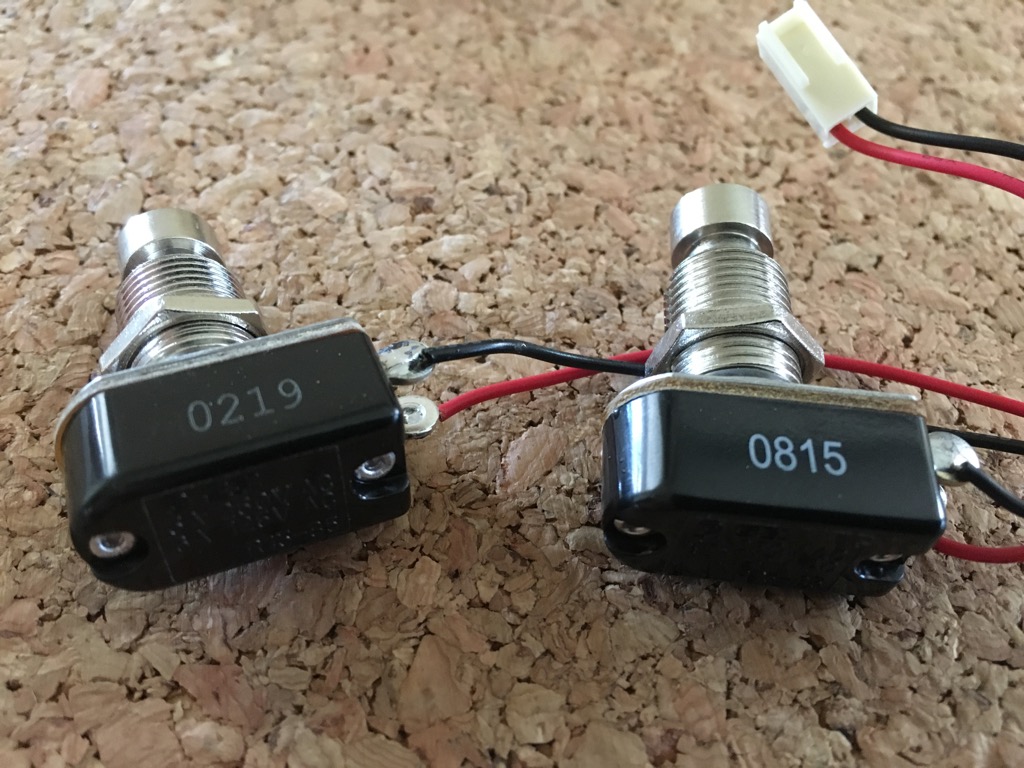
If/when you remove the old switch and set it down right next to the new ones, they are conveniently stamped with a lot number that I believe corresponds to the month/year of manufacture. So you don't put the old one back in.
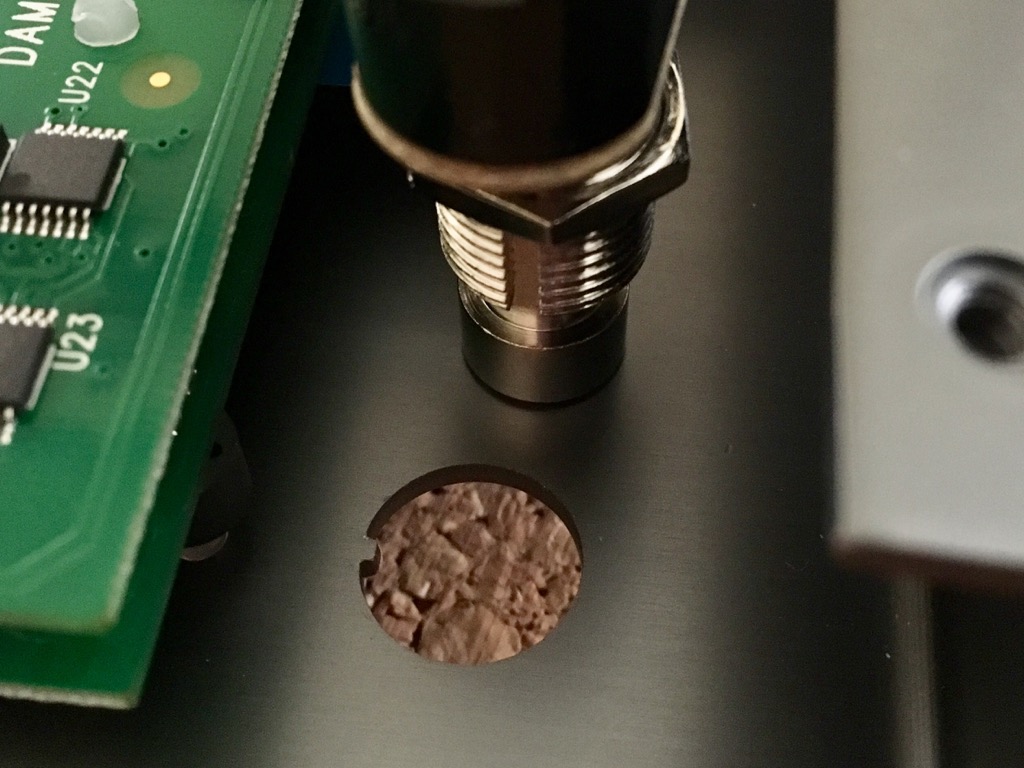
Hole is keyed, switch bushing is keyed, nice.
All three switches replaced in about 20 minutes.
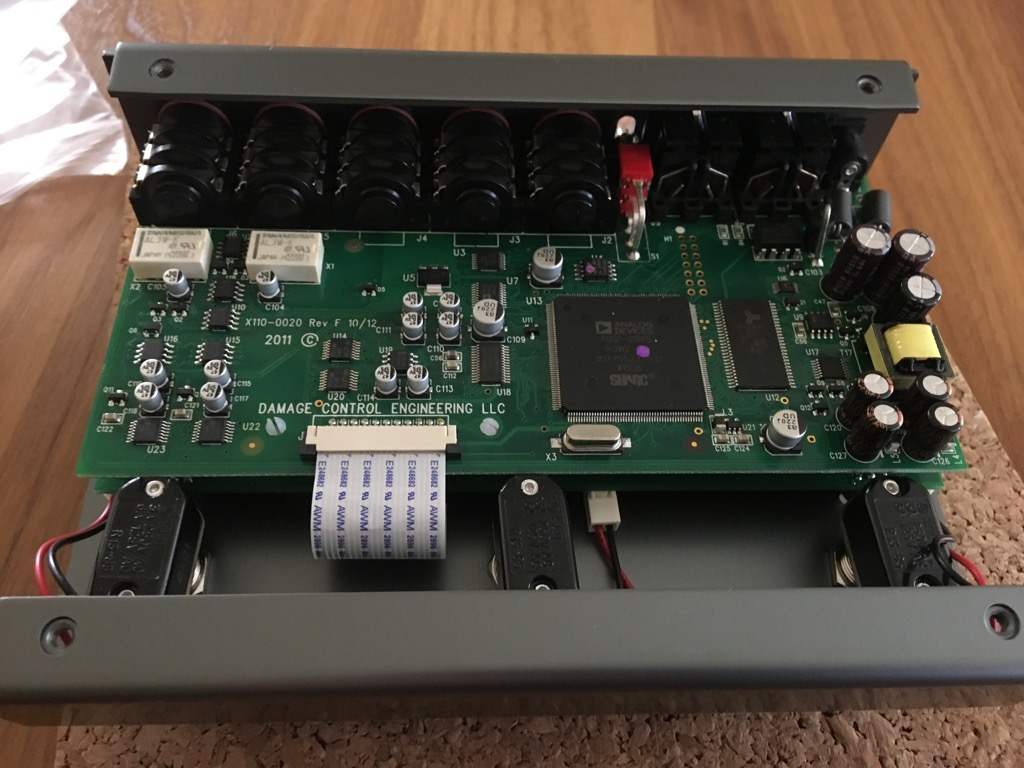
Re-integrated on the board and successfully function tested. The color-coded George L ends sure make it easy to keep the stereo Ins/Outs straight. Also, I topped the new switches off with a set of the BareFoot Buttons "Mini's". I do love the BareFoot Buttons.....
Possibly the easiest electronic repair I have ever executed. I have things where just changing the batteries is harder.
So, with that out of the way, This here is the Strymon TimeLine I recently bought on Reverb (Etsy?).
It was fully functional, but one of the footswitches was getting a little squirrelly in that it would intermittently fail to register a press. I wasn't too surprised; I knew it was a few years old I'd imagine those switches have been through a lot of cycles. It worked most of the time, just missed enough that I noticed. I saw that Strymon sells replacement switches right on the website, so I snagged three. Might as well do them all. As I said, it's a simple procedure, but I still thought it might be of interest to some so I figured I'd just document it anyhow.
Four screws on the back provide access to the internals.
Each switch connects to the board with a simple 2-pin connector. No clips or other complications, they just slide right off. I should have grabbed a picture of it with the connector removed, but..... I didn't.
If/when you remove the old switch and set it down right next to the new ones, they are conveniently stamped with a lot number that I believe corresponds to the month/year of manufacture. So you don't put the old one back in.
Hole is keyed, switch bushing is keyed, nice.
All three switches replaced in about 20 minutes.
Re-integrated on the board and successfully function tested. The color-coded George L ends sure make it easy to keep the stereo Ins/Outs straight. Also, I topped the new switches off with a set of the BareFoot Buttons "Mini's". I do love the BareFoot Buttons.....
Possibly the easiest electronic repair I have ever executed. I have things where just changing the batteries is harder.