New video: The tools you need to assemble a guitar.

You're the man, Aaron. The parts for my first build were just delivered. This is timely and super helpful

Be sure to ask any questions you may have. The experience pool here is deep and wide.

And post pics when you are done!
 
More sources for tools etc at the below post.

 
Great timing for this video; my fiance wants to build her own guitar. Also, potential video idea for the future: testing if there is any difference in sound having a Floyd Rose with a recessed route, vs resting flat on the body/non-recessed.
 
Second tha alligator clip for holding springs when installing pickups. Rather than trying to push wires thru holes, also small zip ties (heat up a needle and poke a hole in the clipping end) and dental floss (attach to the hole in the zip tie, and the other end carefully tie the dental floss to the wire) for pulling wires when installing pick ups. Like threading a needle.
 
Last edited:
Very useful, thanks! Some very nice tricks there!

So usefull that you can feel free to do a totally useless one for the next one, such as tonal difference between pickguar materials... (just kidding).

Thanks again!
 
Very nicely done. Great info and covers a lot of ground

All 3 of my Warmoth builds started with unfinished bodies with applied TruOil finishes.

Additional "standard" tool recommendations....
Orbital Sander
Forstner Drill Bits
Bright work light
Containment area (picture an open top box big enough to hold the guitar body) on the workbench to catch small screws, bolt, springs and that tend to fly away at the most inconvenient times

Additional "Luthier" tools
Router and needed bits
Router jig
Jigsaw
Japanese Fret Saw
Dremel and needed bits and attachments (includes jig for routing)

Finish related tools
Bag of rags for finish application
Naptha or Mineral Spirits for finish application
Piece of wood about 24+" long / 3" wide / 1" thick to bolt to the neck screw holes on the body, to hold body while finish is applied
Vinyl gloves....lots of vinyl gloves
 
Does anyone know if a “chamfer bit” the same as a countersinking tool? I also remove some of the finish around the holes, but I use a larger (sharp) drill bit as a hand tool which is ok most of the time.
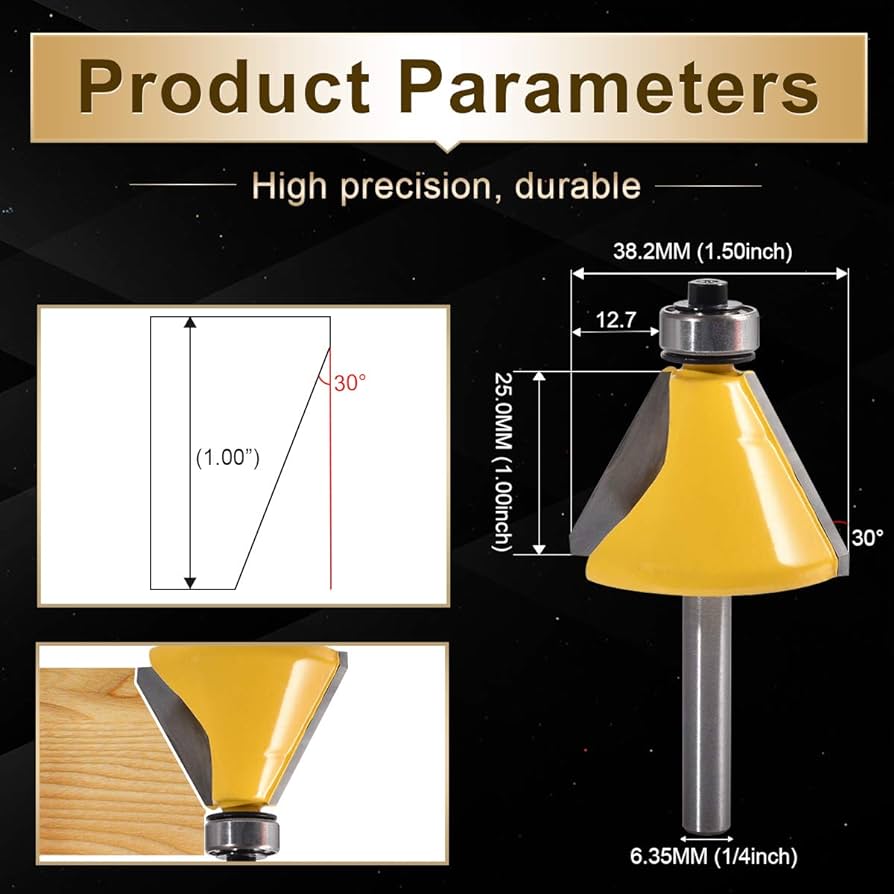
 
Does anyone know if a “chamfer bit” the same as a countersinking tool? I also remove some of the finish around the holes, but I use a larger (sharp) drill bit as a hand tool which is ok most of the time.

No, a chamfer bit is for beveling with a router. It has a wheel on the bottom of it to follow along the body.
61oLmucY5JL._AC_UF894,1000_QL80_.jpg
 
I have found this quite handy to make sure the neck is on securely.
 

Attachments

  • IMG_5130.jpg
    IMG_5130.jpg
    109.6 KB · Views: 6
Does anyone know if a “chamfer bit” the same as a countersinking tool?

No, a chamfer bit is for beveling with a router. It has a wheel on the bottom of it to follow along the body.

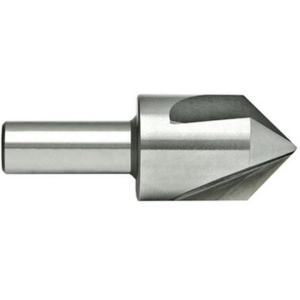
In the video, I suspect Aaron is using a countersink bit and calling it a "chamfer bit".

A countersink bit, of course, looks like the example below. This is the type of tool I use for the purpose mentioned.

1707377543000.png
 
In the video, I suspect Aaron is using a countersink bit and calling it a "chamfer bit".

A countersink bit, of course, looks like the example below. This is the type of tool I use for the purpose mentioned.

View attachment 61211

I'm using this countersink tool from StewMac.

It's pretty expensive, but the teeth are very fine and sharp and it works like a charm.

I have not found a similar tool available from anywhere else. Most are coarser like the one @stratamania posted a picture of.
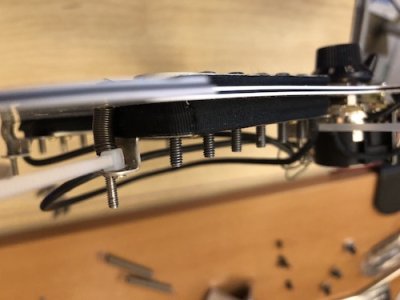
 
I read about the alligator clips for holding the springs when mounting pickups (great idea!) and made a note to self to buy some next time I was at a hardware store, but I never got around to it.

Today I needed to mount humbuckers in a pickguard and, thinking about the function of the alligator clips, I found that small zip ties also work to hold the springs in a compressed state while threading the mounting screws into the base plate of the pickups. It was perhaps a bit trickier than using the alligator clips, but it worked without too much frustration.

IMG_9782.JPG
 
Back
Top