Dark tele (My first shot at veneering)

slashin_velvet

Junior Member
Messages
68
Hey guys,

A while ago I had planned to refinish a painted bass by stripping it back and veneering the top. I bought a few sheets of veneer, before reading about how complicated it would be to strip the paint off the bass. I eventually left that project for dead, and decided to build a tele instead.

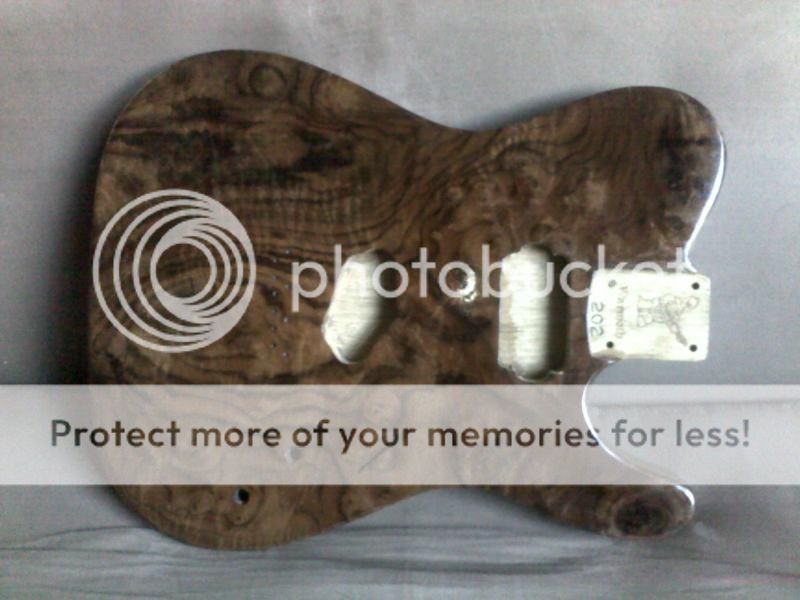
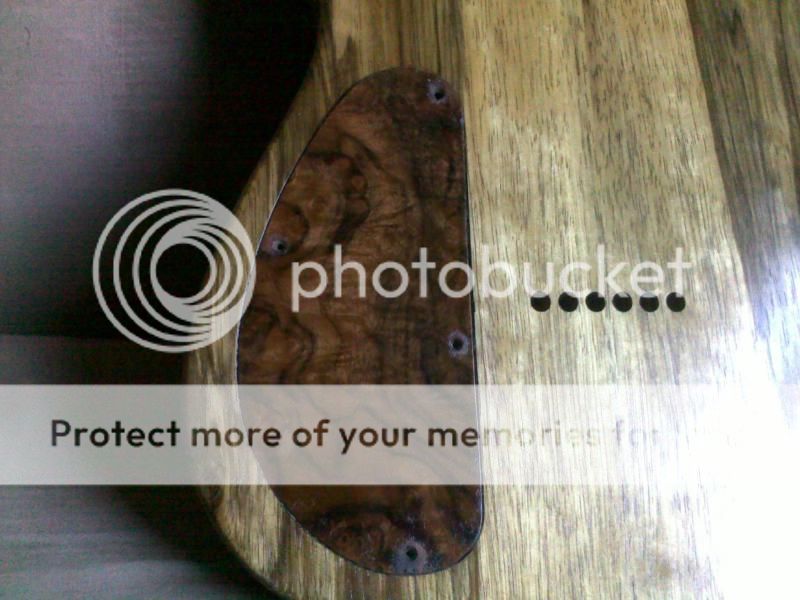
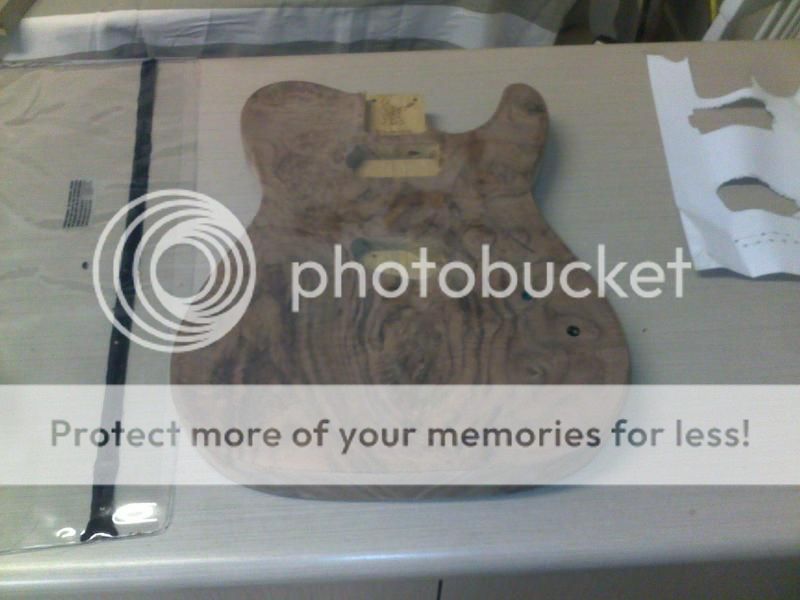
What did I get - Black Korina tele, rear rout, humbucker in the neck, and tele in the bridge (pickups by Mick Brierley - local guy from South Australia...look him up, because he's great). Strat controls (only 2 knobs - vol/tone - and only a 3 way selector). Veneering this piece with a Walnut Burl piece - purely for looks because its paper thin - ive also chosen to do my own body contouring.

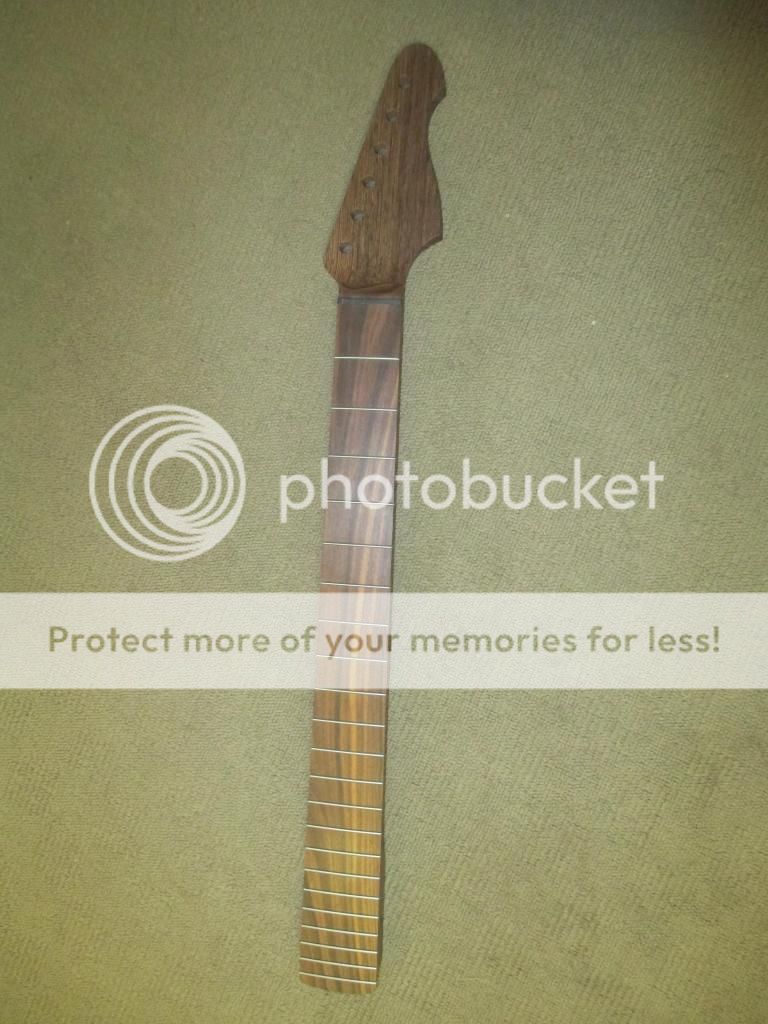
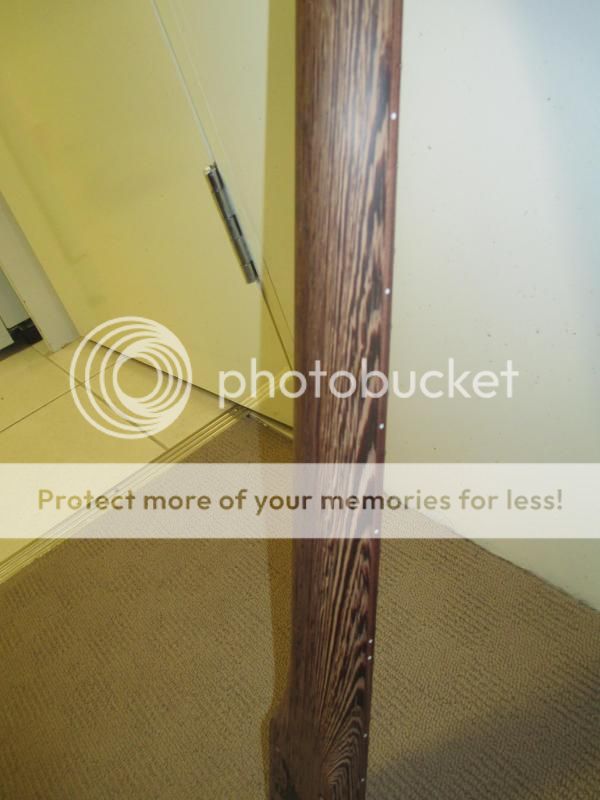
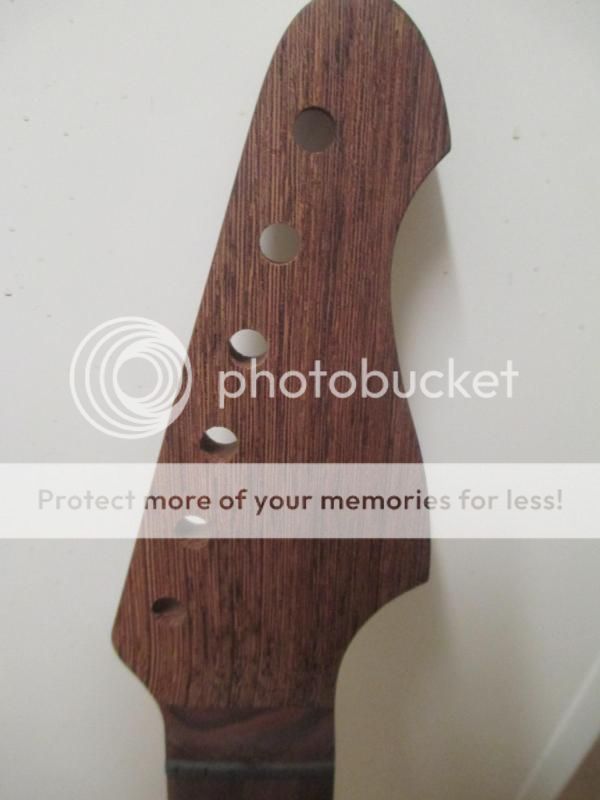
The neck is a Wenge warhead with a Pau Ferro fretboard - boatneck profile, which i've shaved back a bit myself to make it a little less pointy and more to my taste.

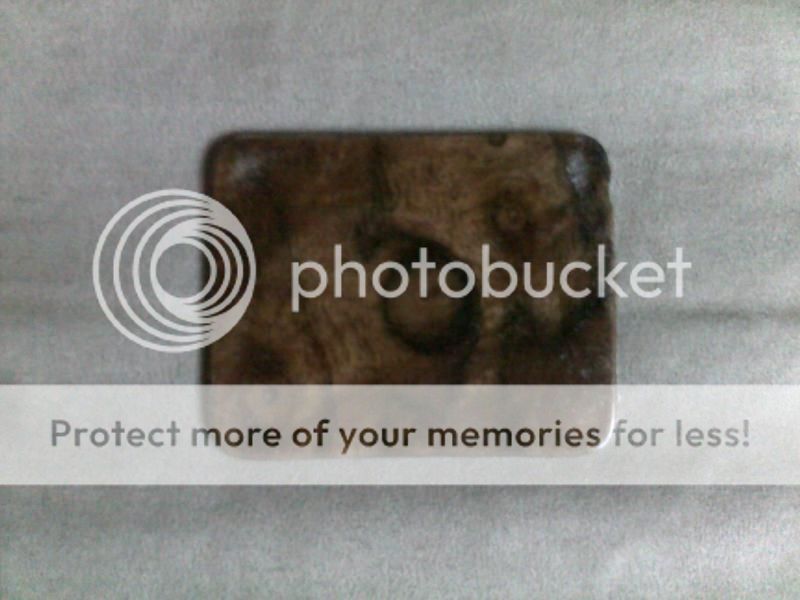
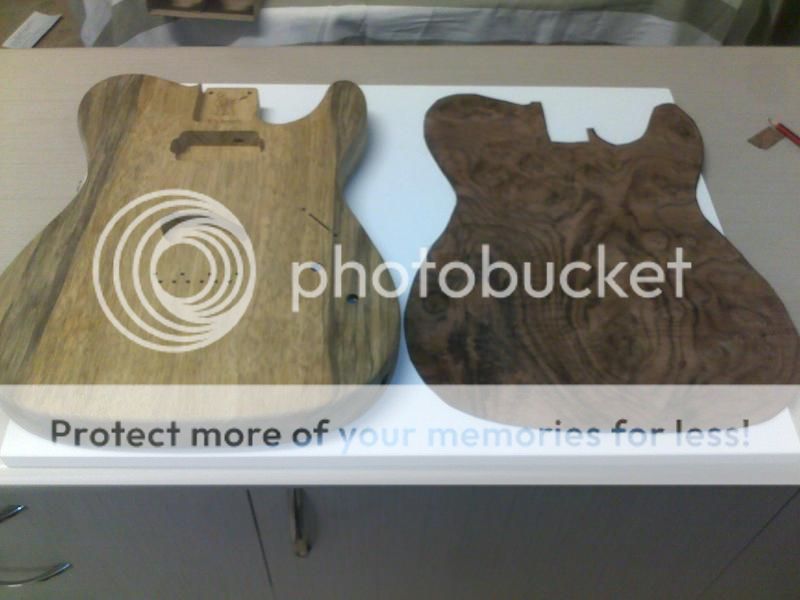
Heres the body with the cutout for the veneer next to it:
25102014325.jpg


And heres it in the vacuum bag:
25102014326.jpg


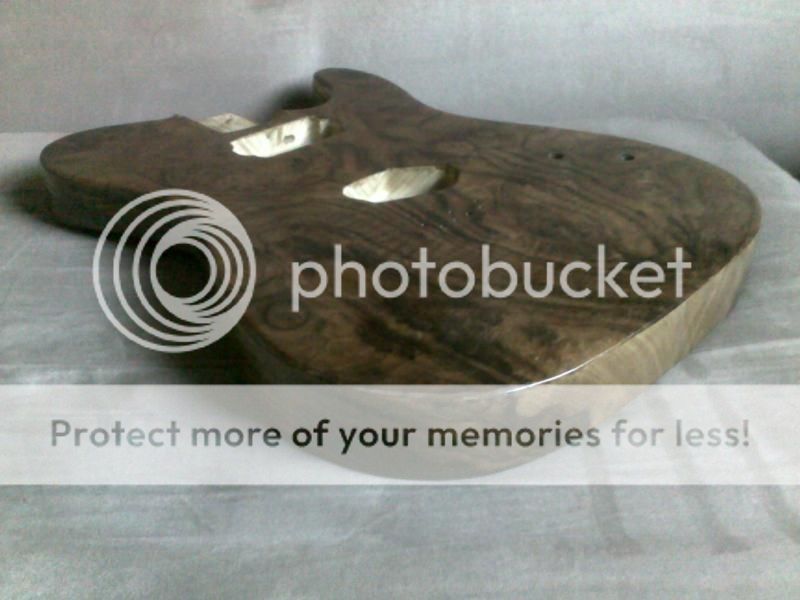
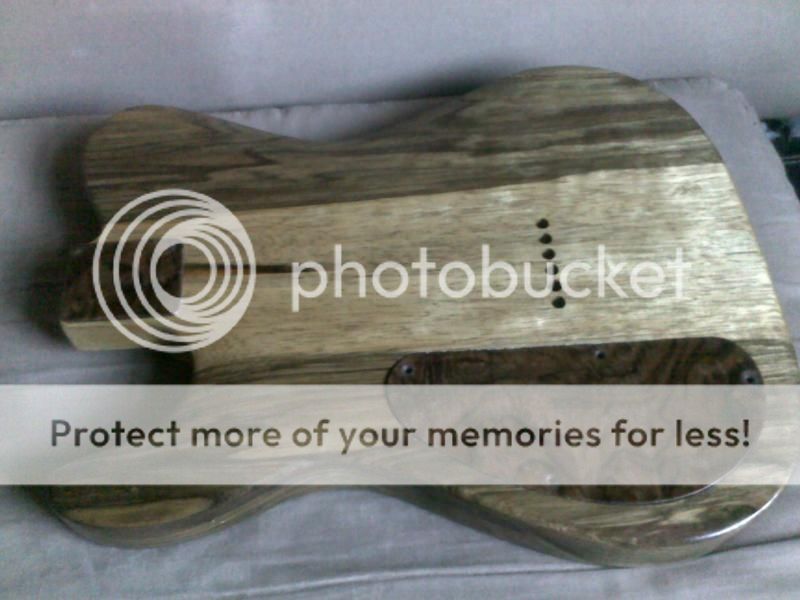
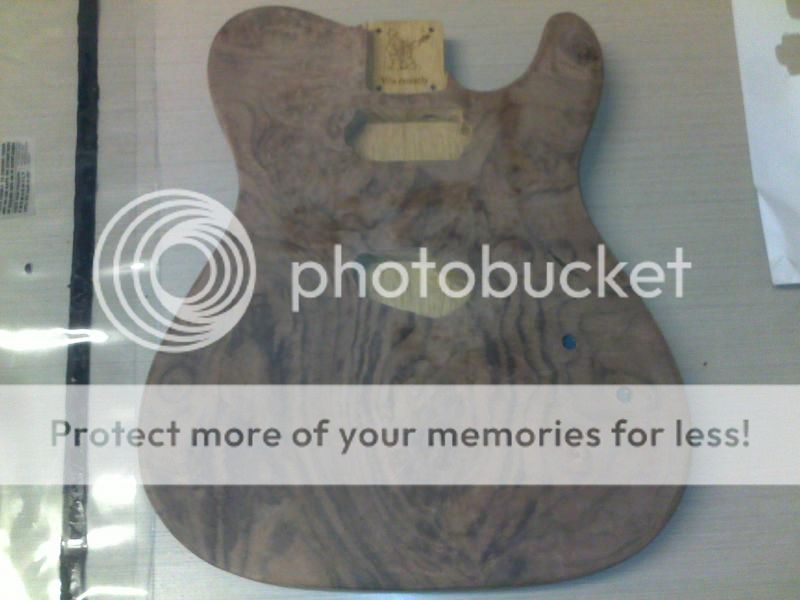
End Product (prior to oiling):
26102014328.jpg

26102014327.jpg

26102014329.jpg


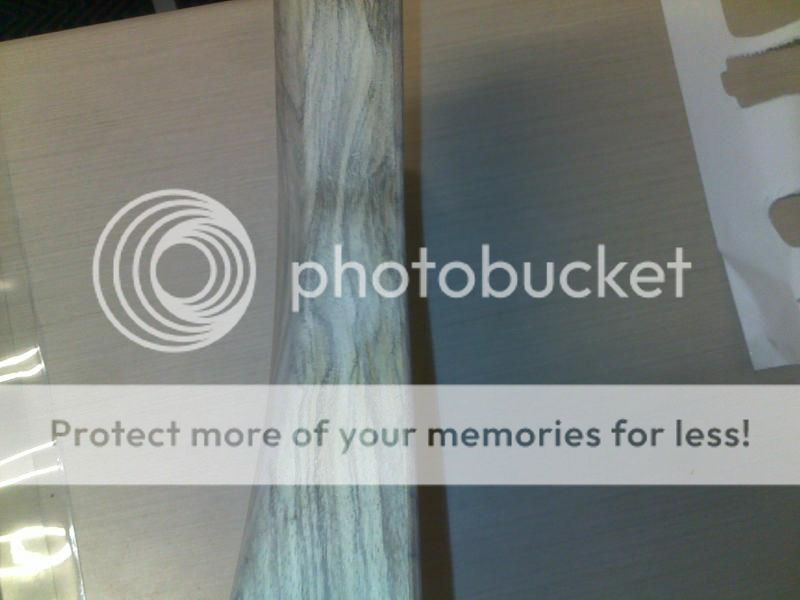
Body contouring (Tummy cut):
26102014330.jpg


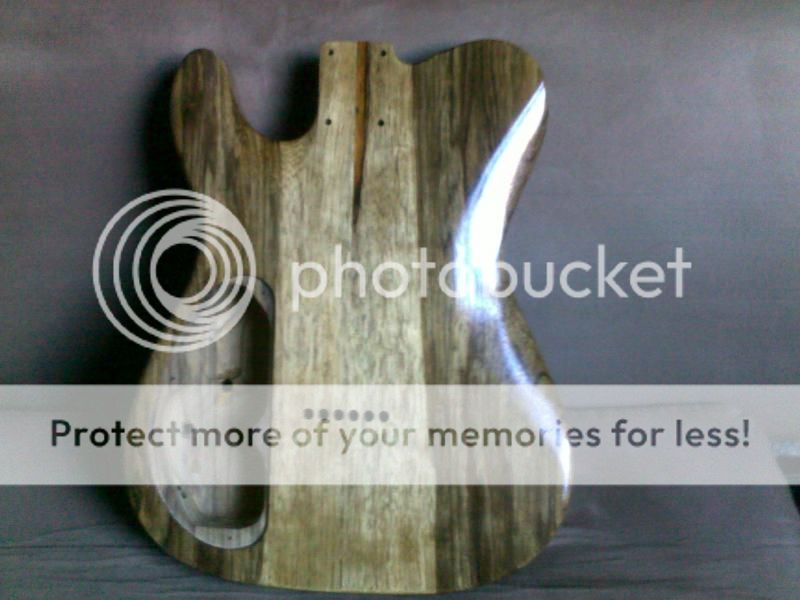
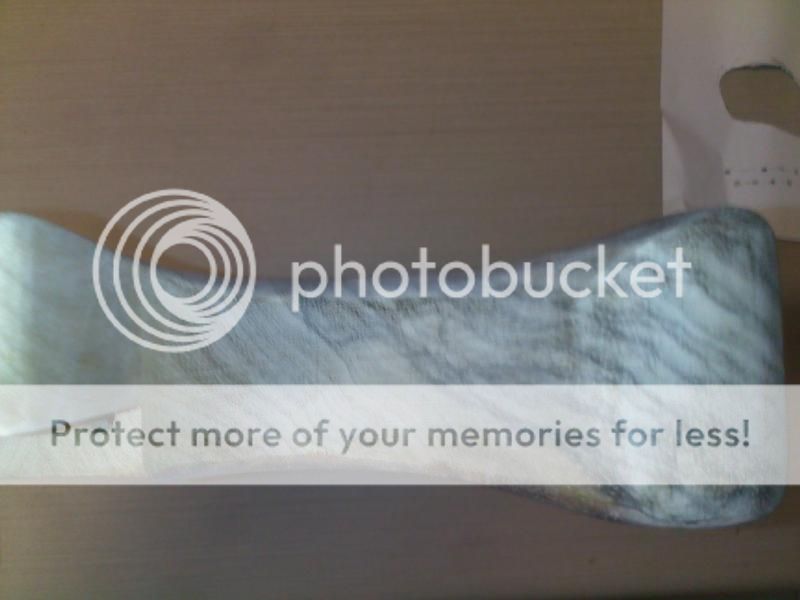
Body contouring (fret hand recess):
26102014331.jpg


The neck (prior to burnishing and waxing up):
138944ac-0225-4042-91ab-9f69493aa48f.jpg

IMG_0435.jpg

IMG_0433.jpg


Will add pictures once I oil it up.
 
Very interesting. I've thought a couple times about veneering a body, just to say I did. There's some really nice veneer available out in the world, and it seems like a bit of intarsia could be fun (although Great Ape will probably beat me to it and be better at it). What did you use to pull the vacuum on that bag?
 
Great Ape said:
Intarsia?? What the...??? :dontknow:

You know you wanna do it. Sometimes it's called "marquetry". It's where you use various grains/species of wood to create images and patterns. Sorta like inlay work. Many examples here. You'd be good at it.
 
Cagey said:
Very interesting. I've thought a couple times about veneering a body, just to say I did. There's some really nice veneer available out in the world, and it seems like a bit of intarsia could be fun (although Great Ape will probably beat me to it and be better at it). What did you use to pull the vacuum on that bag?
Its a "roarockit" manual vacuum press bag. The kit comes with the double sided tape, meshing and a manual hand pump. Takes about a minute or two to get all of the air out of it.
Here's the place I got it from: http://www.carbatec.com.au/roarockit-thin-air-press-kits_c19154

The kits were originally designed for skateboard moulding, but i've adapted it for this purpose. Probably has ended up costing more than getting a straight top put on by Warmoth, but half the reason I'm doing these builds is to expand my horizons, and improve my woodworking skills.

I've started oiling, and will post up pictures later this week once ive built up a few layers. I tend to do a coat in the morning, before work, and then 1 or 2 in the evenings. Leaves each side with a 10-12 hour dry time.

 
Thanks for the link!

As for the oiling/waxing, I can understand why you might want to oil the body, but if you're going to burnish that neck (and I would), you can stop there. It will definitely not need anything more. In fact, anything more will likely wreck it. Just be patient. It takes a long time, and the finer grits of sandpaper/polishing cloths will take increasing amounts of time to have an effect. Plan to spend 1-2 hours at least and be prepared to wear your arm out. But, nothing past that. No finish, no oil, no wax, nothing. It'll be glorious, and stay that way.
 
Cagey said:
Thanks for the link!

As for the oiling/waxing, I can understand why you might want to oil the body, but if you're going to burnish that neck (and I would), you can stop there. It will definitely not need anything more. In fact, anything more will likely wreck it. Just be patient. It takes a long time, and the finer grits of sandpaper/polishing cloths will take increasing amounts of time to have an effect. Plan to spend 1-2 hours at least and be prepared to wear your arm out. But, nothing past that. No finish, no oil, no wax, nothing. It'll be glorious, and stay that way.
I'm a bassist at heart and my favourite basses have been Wenge necks with a wax finish. I've already put some finish on it (sorry - i did it yesterday), but im happy with the result. (Also the weather in Australia can be very humid and unsettling for instruments, and I find the wax finish is the best protection, without sacrificing the feel of raw wood).

I sanded from 120 grit to 1200 grit - about 10 minutes for each type of grit - and applied the Warwick finishing wax that ive been using on my basses for years. The result is super smooth, but also still open pored, so it will be quick enough.
 
As long as you're happy, that's all that counts. Everybody has their thing that works for them  :icon_biggrin:

A friend of mine is a hardcore believer in steel wool for the frets and oil for the 'board every time he changes strings. Somebody told him 100 years ago that that's the way to do it, and he took it to heart. I wouldn't punish a guitar that way if you paid me. But, whaddaya gonna do? It works for him, so you gotta let him go.

Note: he also doesn't like beer.

Silly human.
 
Cagey said:
As long as you're happy, that's all that counts. Everybody has their thing that works for them  :icon_biggrin:

A friend of mine is a hardcore believer in steel wool for the frets and oil for the 'board every time he changes strings. Somebody told him 100 years ago that that's the way to do it, and he took it to heart. I wouldn't punish a guitar that way if you paid me. But, whaddaya gonna do? It works for him, so you gotta let him go.

Note: he also doesn't like beer.

Silly human.

The fingerboard is still raw, and i haven't touched the frets (nor do i plan on it unless they need it). Ive just worked on the back of the neck and the headstock.

I have plenty of time for beer drinkers.
 
Keeping an eye on this one - it's gonna be goooooood!

Can't go wrong with a Warhead in tasty wood.

Lovely top too.  :icon_thumright:
 
frown said:
Can't go wrong with a Warhead in tasty wood.

I agree. Eminently practical and looks equally good on a Strat or a Tele. I just found out a couple years ago that Warmoth will re-cut a Strat headstock to a Warhead, which widens your choices dramatically because they make a helluva lotta Strat necks. Find one of those you like and $45 later it's a Warhead.
 
Say, slashin'.... you wouldn't know what the starting thickness of that veneer was, would you?

And what glue did you use?

And it's hard to see for sure in the pictures, but it looks like you got the veneer on and then drilled the control pot holes through it. How'd that go for ya?

I'm curious because I've had to get m'self edja-macated about veneering. It's an interesting thing. But naturally, it presents its own unique challenges. Definitely a new learning curve. But kinda fun too, huh?
 
Prometheus said:
Say, slashin'.... you wouldn't know what the starting thickness of that veneer was, would you?

And what glue did you use?

And it's hard to see for sure in the pictures, but it looks like you got the veneer on and then drilled the control pot holes through it. How'd that go for ya?
I couldnt say with any certainly what the starting thickness was, but were talking in millimeters not centimeters. It would be 1-2mm as a guestimate. I got them off ebay, where they are sold as sheets. It is purely decorative, and not for any tonal purpose. (Edit - pretty sure I used this guy - http://www.ebay.com.au/itm/Marquetry-Wood-Veneer-Pack-Walnut-Burrs-etc-2-/291187959516?pt=UK_Crafts_Other_Crafts_EH&hash=item43cc27a6dc)

I used titebond original glue (red label) - I know they do a cement, but the local woodwork store didnt have any veneer specific stuff. It's just wood to wood contact, and this seems to be doing the trick. Several days on now, and I havent had any bubbles.

Yeh, I cut the veneer to size with about 5mm of overhand all around. Glued both the substrate and veneer with a roller to make sure i coated the whole area, and then into the vacuum bag. The bag ensures you get even pressure over the top side (flat surface), but also over the curves. This presented a couple issues that I had expected - as the flat veneer was hanging over some curved edges it bent in a touch. this would have been a problem if I wasnt planning on cutting it back to the edge and sanding off anyway. Prior to putting on the top, I mapped out where the pickups were and cut into those with a stanley knife (utility knife/scalpel) and just went slow around the edged area (basically anything not glued down is likely to chip, so you have to be careful). Then for the 3 way switch and pot holes, Ive used a need to poke through from the rear rout, and then cut these out for each side with a knife. For the string holes in the back, ive used a skewer and used the bridge to align the bridge screwholes.

I'm a bit of a backyard DIY'er with all this stuff. I decided to use some scrap excess to do the control cover last night. Used the titebond (but probably should have gotten some plastic glue), and just wedged the control cover between the front of a hardcover book....then used the weight of my coffee table to hold it down whilst it dried. Had the same effect as the vacuum bag on a small flat surface. Also (this might give some of you a laugh), but the bench in those photos is my kitchen, where i've been doing the majority of the work.....one day ill have a shed.
 
Thanks for the info, slashin'. I have a headstock veneering coming up, and as I'm a newbie I can use all the guitar-specific pointers I can get. So thanks again.

I like your workbench. I do my work in a couple of different places. Generally it's done in my woodworking/fabrication facility, aka the rest of the time as "the kitchen". Some of it's done in my electronics/computer lab, aka "the second bedroom". And some is done in my paint booth, aka "converted storage closet".

I envy guys with workshops. Or garages. Or basements.
 
Prometheus said:
Thanks for the info, slashin'. I have a headstock veneering coming up, and as I'm a newbie I can use all the guitar-specific pointers I can get. So thanks again.

Paper thin is perfect for headstocks - so were talking about the same thing :) (When i've told people about veneering, people seem to confuse it with caps or drop tops)

With a headstock, I dont think you'll be able to get the most out a vacuum bag because you're likely to get an air pocket around the neck (because all of it is unlikely to fit in a bag (unless you get a special purpose one).

The good news is that a lot of headstocks are flat, so you dont have to worry about curved edges - and the sharp edge at the side will make trimming down to size a fair bit simpler. The rounded edges on the body of the tele was one of the biggest challenges of this veneering.
 
Yeah, I have one piece from W (thicker) and many square feet from another supplier (thinner). I'll be pressing it to the headstock with a caul. That much I've practiced already while doing test pieces.

ps - I have so much extra veneer, I've been thinking of doing the top of an old Squier Strat, just for fun. Maybe later.

Thanks for the answers !
 
Progress. Finished oiling the body. A few weeks ago, I decided to also have a crack at veneering the rear rout cover and neck plate. Think they've come up pretty good.

13112014352.jpg

13112014351.jpg

13112014357.jpg

13112014354.jpg

13112014356.jpg

13112014358.jpg

13112014363.jpg

13112014362.jpg

13112014365.jpg

 
Back
Top