Steve St.Laurent
Senior Member
- Messages
- 238
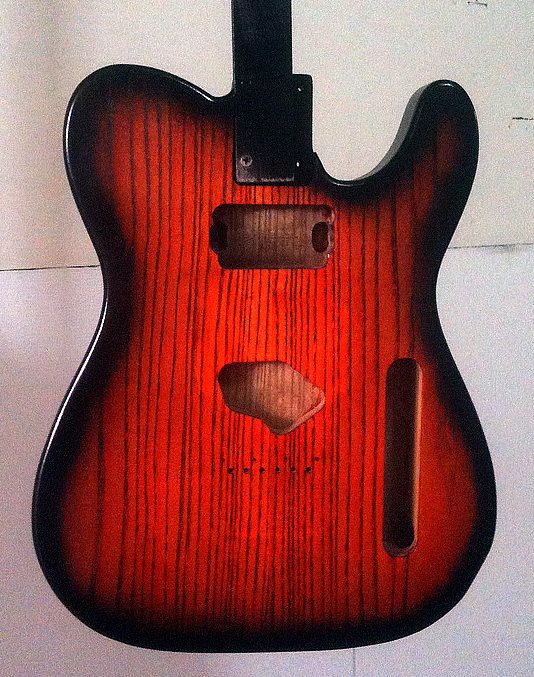
Looking at doing my first finish on a body and need some input. First I'm open to suggestions on specific products - have been looking at reranch and colortone through stewmac but I'm 100% open to others. This is the finish I'm looking for:

It's a swamp ash body and I know I'll need to fill it and seal it but I'm unsure of the order of operations. Also, I'd like for the grain to really pop so I'd like to either dye or paint it black and then sand it before the red dye/stain. I do have an air compressor and spray guns, etc so equipment is not an issue. As it's going to be a travel guitar I'd prefer to go with a poly finish (as opposed to nitro) for durability but again I'm open. I've searched around and haven't found real clear answers.
So some of the questions are:
Do I apply sealer first?
Do I apply filler first, next after the sealer, after the black (after sanding), or after the red?
If the filler isn't clear (I see some are) - won't that cover up the black grain? So am I looking for clear?
Dye, stain, or paint to lay down the initial black to accentuate the grain?
Dye or stain for the red?
Should the red go down before the filler - then again after maybe?
I know how to do the black burst (from the retrench site) and I plan on doing that the very last thing before I apply the poly (or nitro).
How about compatibility of products?
Thanks in advance for the advice. I know if I do this out of order I'm going to create a LOT more work for myself and I'd rather avoid that and I trust the folks here more than anywhere else.
Thanks,
Steve