Hi all! Long time lurker, first time poster. I'm looking to put together my first Warmoth guitar as a present to myself for finishing my PhD in two months' time but I'm a little bit nervous about whether I have the skills to do it myself. I'm pretty comfortable with a soldering iron, much less so with a drill.
I've just about convinced myself that I'd be able to drill the pilot holes for the tuning pegs, but everything else has me a bit worried, particularly bridge and pickup placement. So to the experienced hands out there, is there any part of assembling a guitar that you wouldn't advise a complete novice to attempt? What's the hardest part, and what the things I'm likely to have overlooked in my planning.
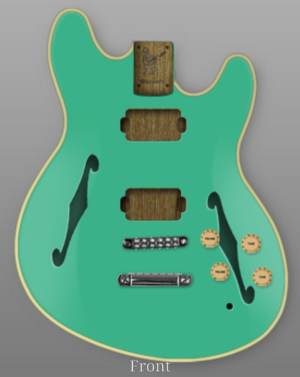
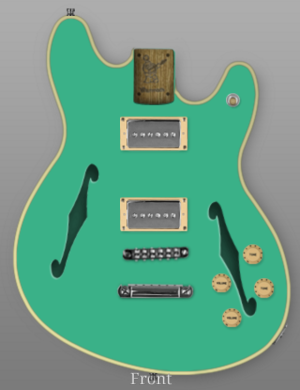
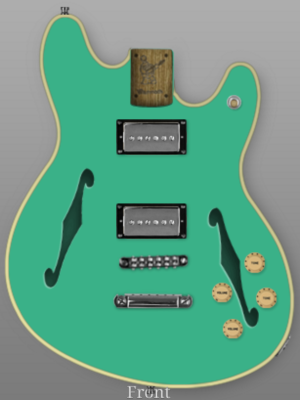
At present, the plan is to go for a black korina Mooncaster with a Goncalo Alves/Pau Ferro Neck, Tune-o-Matic bridge/stop, Filtertrons, and Sperzel Trim-Loks. Is there anything in there that leaps out as a terrible choice?
Thanks in advance!
I've just about convinced myself that I'd be able to drill the pilot holes for the tuning pegs, but everything else has me a bit worried, particularly bridge and pickup placement. So to the experienced hands out there, is there any part of assembling a guitar that you wouldn't advise a complete novice to attempt? What's the hardest part, and what the things I'm likely to have overlooked in my planning.
At present, the plan is to go for a black korina Mooncaster with a Goncalo Alves/Pau Ferro Neck, Tune-o-Matic bridge/stop, Filtertrons, and Sperzel Trim-Loks. Is there anything in there that leaps out as a terrible choice?
Thanks in advance!